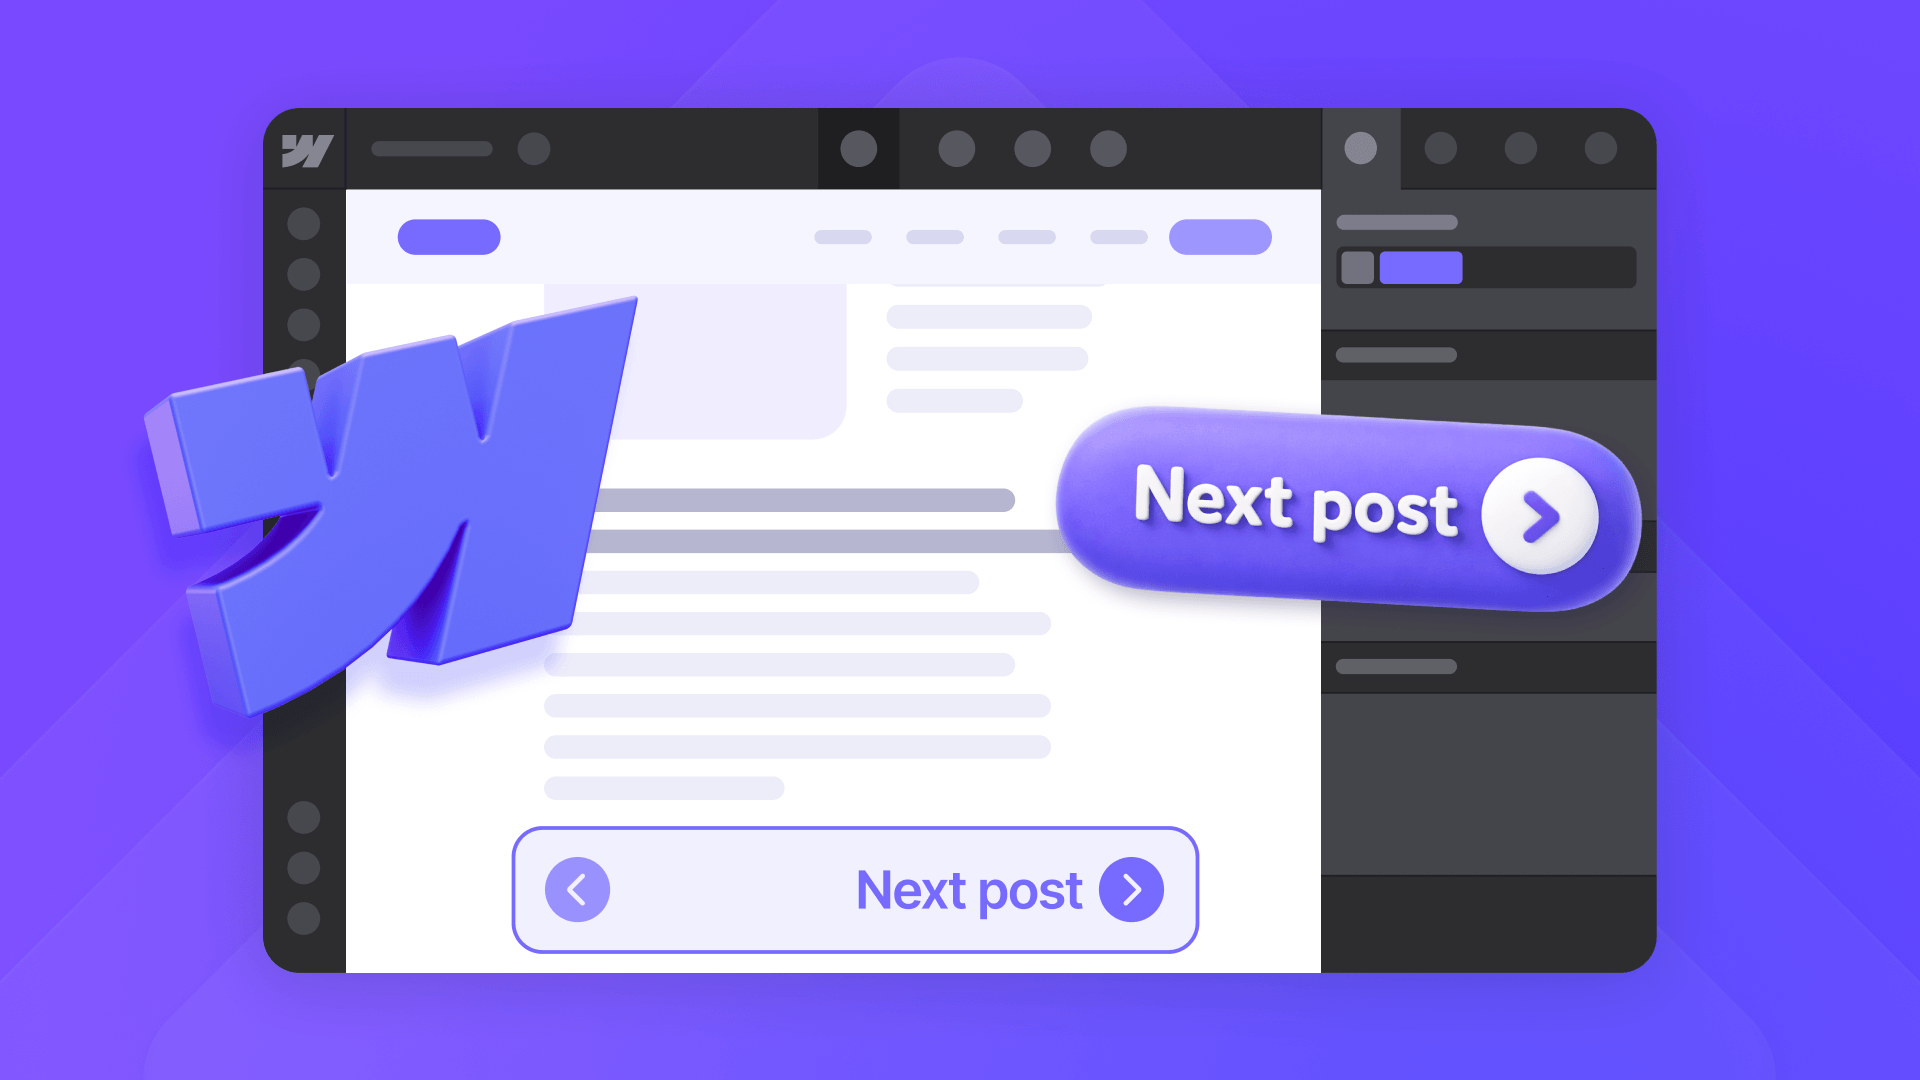
Webflow CMS makes it easy to create blog posts, case studies, and portfolio pages — but it doesn't include a built-in way to link them in sequence. You can list all your posts on an index page, but there's no native feature that adds "Previous post" and "Next post" links on individual CMS pages. If you want readers to move from one article to the next in a defined order instead of going back to the blog feed every time, you need to build that yourself.
The good news is that there are two solid methods, and both work well once you understand the logic behind them. The manual method uses Reference fields to connect each post to its neighbors — best for small, curated collections like portfolios. The automated method uses a hidden Collection List and a script like BRIX Post Nav to figure out adjacency automatically — best for active blogs that publish regularly.
Before either method works, you need to answer one question that most tutorials skip: what does "next" actually mean for your content? That depends on your sort order, and getting it wrong is how people end up with navigation that technically works but feels completely random to readers.
Why Webflow CMS doesn't include next and previous navigation
Webflow gives you the building blocks — Collection pages, Reference fields, Collection Lists, sorting, filtering, and Conditionals — but it doesn't assemble them into automatic adjacent-item navigation for you. There's no native feature that detects the current CMS item and outputs the one before or after it based on sort order.
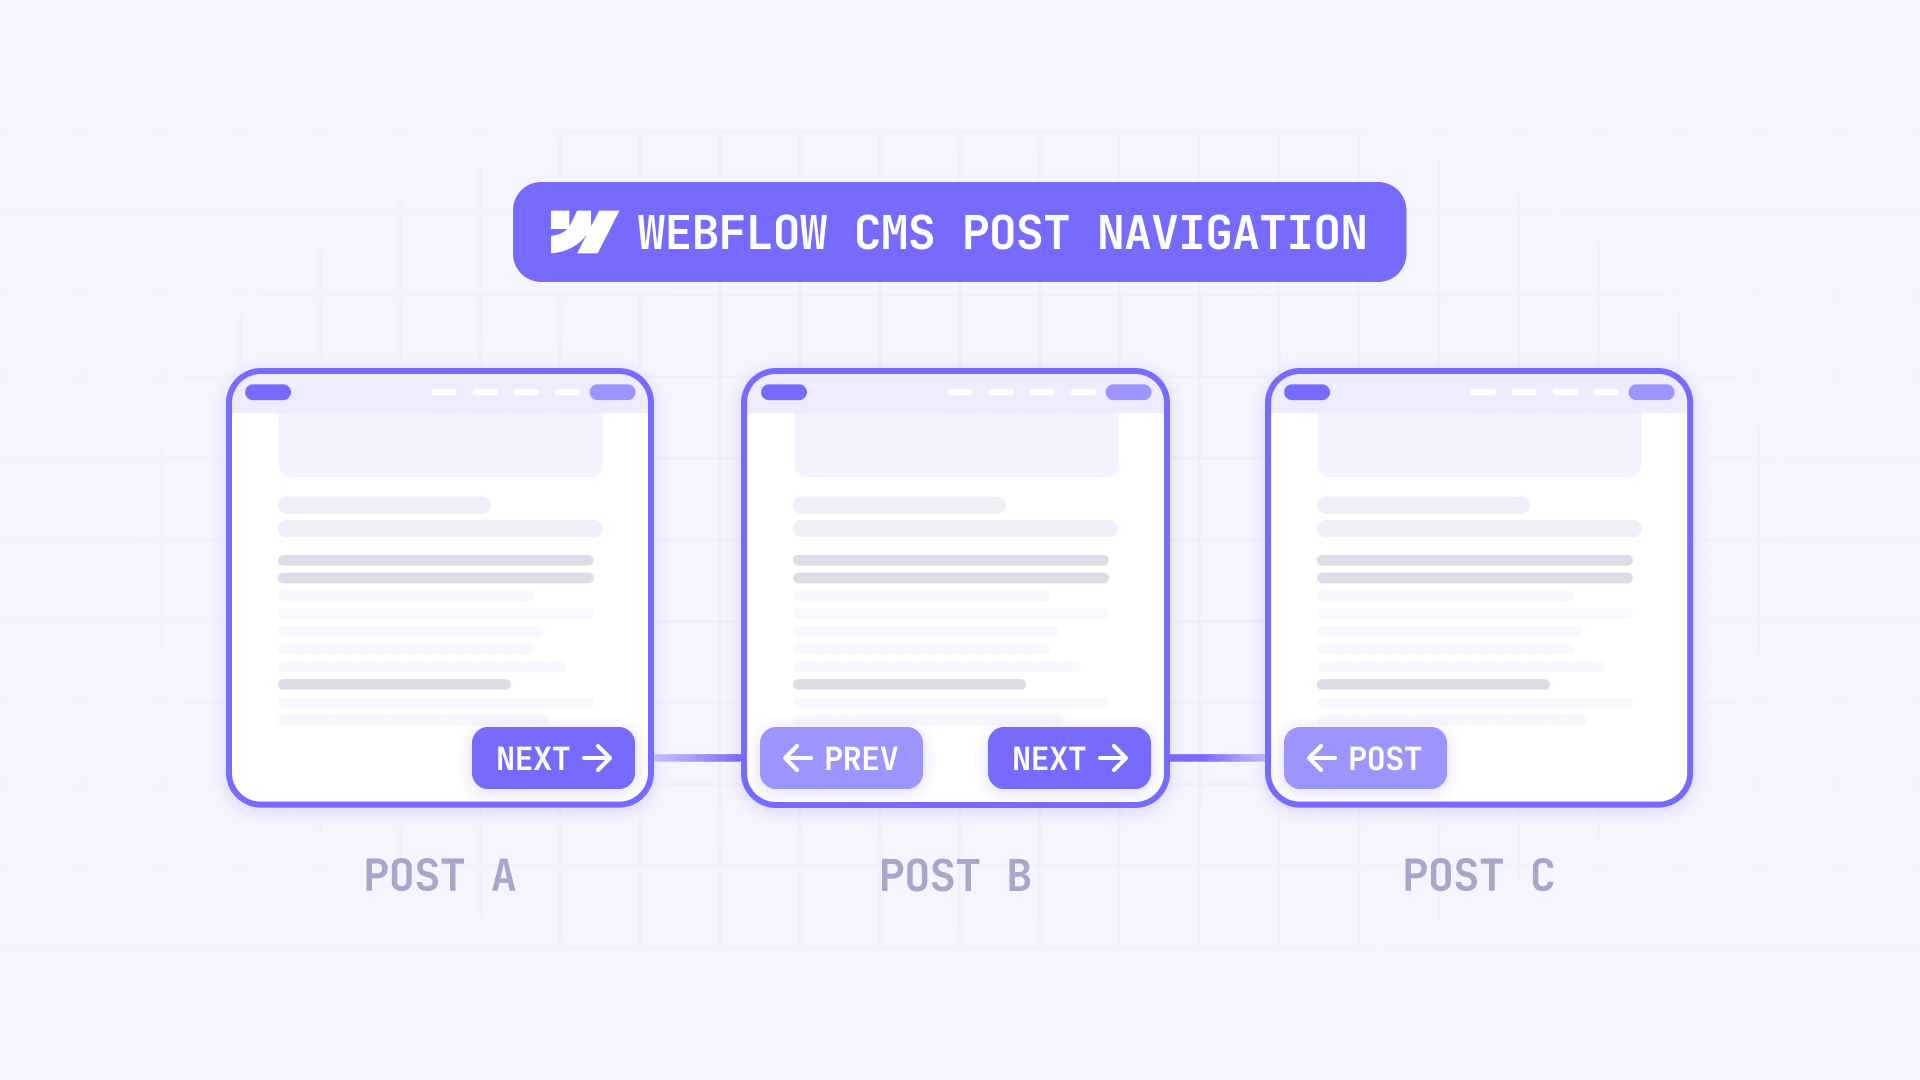
It's also important not to confuse this with pagination. Webflow's native pagination controls move users between pages of a list — page 1, page 2, page 3 of your blog archive. Previous/next post navigation moves users between individual CMS items — from one article to the next article. For example, if you have a collection of courses numbered 1 through 10 and a student finishes Course 3, you want the page to show a link to Course 2 (previous) and Course 4 (next) — not a link to "page 2 of the course list." Those are completely different problems, and the pagination buttons on your blog index page will not create adjacent post links on your article pages.
Which method to use for Webflow CMS next and previous links
There are two methods worth using. The right choice depends on how often your content changes and how many items you're working with.
Manual Reference fields are the best option for small, curated collections where the order is intentional and doesn't change often. Think portfolios, case study showcases, or a carefully ordered tutorial series. You create Previous post and Next post fields in your CMS, manually connect each item to its neighbors, and bind visible buttons to those references. Everything is fully native Webflow — no scripts, no dependencies. The downside is maintenance: every time you add, remove, or reorder content, you have to update the references by hand.
Automated with BRIX Post Nav is the better option for active blogs and larger collections where adjacency should follow a sort rule automatically. You add a hidden Collection List to your template page, the BRIX Post Nav script reads that list, identifies where the current post sits in the sequence, and applies the correct URLs to your visible Previous and Next buttons. The downside is a script dependency and a practical limit: Webflow normally renders only the first 100 items in a Collection List, so blogs with more than 100 posts need extra handling.
For most active blogs, BRIX Post Nav is the better answer. For most curated portfolios, Reference fields are cleaner. If you have a larger operation and already use automation tools like Make or n8n, there's also an advanced hybrid: use the Webflow API to programmatically populate Reference fields, giving you native front-end rendering with automated maintenance. But for most teams, one of the two main methods is enough.
How to define your post order before building anything in Webflow CMS
This is the step most people skip, and it's the reason most broken implementations feel wrong even when they technically work.
"Previous" and "next" are meaningless until you define the sequence. Think of it this way: imagine your blog posts laid out in a single line, left to right. Which post comes first? Which comes last? And what rule determines that order? That rule is what makes "next" and "previous" mean something.
Your order might be based on:
- Publish date — newest to oldest, or oldest to newest
- A custom number field — like a Sort order field where you assign 1, 2, 3 manually
- Alphabetical title order — less common but sometimes useful for glossaries or directories
- Manual curation — you decide the exact sequence regardless of date
The choice matters because both methods inherit this order. If your Collection List is sorted Newest to oldest, then "next" means an older post — which might confuse readers who expect "next" to mean newer. If you sort Oldest to newest, it flips.
For most blogs, publish date with a clear direction works fine. For portfolios or tutorial series where order matters more than date, create a dedicated Number field called something like Sort order and assign each item a value. For a complete walkthrough of this approach, see our guide to manually ordering items in Webflow CMS collections. Number fields are more stable than title sorting (which breaks with punctuation and special characters) and safer than publish date (which changes if you ever republish or backdate content).
One absolute rule: never use Random sort for this. Webflow reshuffles random order on every publish, which means your "next" post would change every time you publish anything. That makes the navigation useless.
How to add next and previous links with Reference fields in Webflow CMS
This is the manual method. It's fully native, clean on the front end, and works without any scripts. The trade-off is that you maintain the relationships by hand.
Creating the Reference fields for Webflow CMS post navigation
The idea is simple: you create two fields that point from one post to another post in the same collection. One says "this is the post that comes before me" and the other says "this is the post that comes after me."
- Open the CMS panel in Webflow
- Click the Settings icon on your collection (e.g., Blog posts)
- Click Add new field and choose Reference
- Name it Previous post and point it to the same collection
- Repeat to create a Next post Reference field pointing to the same collection
- Save the collection
You now have two fields on every CMS item that can each point to another item in the same collection. Think of them as arrows: each post can point backward to one post and forward to another.
A note on limits: Reference fields count toward your plan's field limits, so adding these two fields consumes two of your available reference slots.
Connecting buttons to the Reference fields on your Webflow CMS template
Now you need visible navigation on the page that follows those arrows.
- Open your blog Collection Template page in the Designer
- Add a section near the bottom for navigation — a simple flexbox with two containers works well
- Inside the first container, add a Link Block or Button
- In Link settings, choose the dynamic option that links to a Collection page through the Previous post reference
- Repeat for the second container using the Next post reference
- Style both links however you want — simple text labels like "Previous post" and "Next post" work, or you can add richer content
If you want richer navigation cards instead of plain text links, add elements inside each container and bind them to fields from the referenced item. You can pull in the neighboring post's title, thumbnail image, date, or category — so readers see where they're going, not just a generic arrow.
Populating the references for each Webflow CMS item
This is the manual part. Someone has to tell each post who its neighbors are.
- Decide your canonical order first (date, number, or manual curation)
- Open each CMS item
- Set Previous post to the item that should come before it
- Set Next post to the item that should come after it
- Leave Previous post empty on the first item in the sequence
- Leave Next post empty on the last item
- Publish the changes
This works well for 10-30 items. It becomes tedious at 50+ and genuinely painful on an active blog where new posts shift the sequence regularly.
Hiding empty states with Webflow CMS Conditionals
The first post has no previous item, and the last post has no next item. Without handling this, you'll show empty buttons that link nowhere.
- Select the Previous post container or link block
- Open Element settings → Conditionals
- Add the condition Previous post is set
- Repeat for Next post with Next post is set
Webflow removes elements hidden by Conditionals from the published HTML entirely, so you're not just hiding them visually — they're gone from the page. That's cleaner than an empty link that could confuse users or cause accessibility issues.
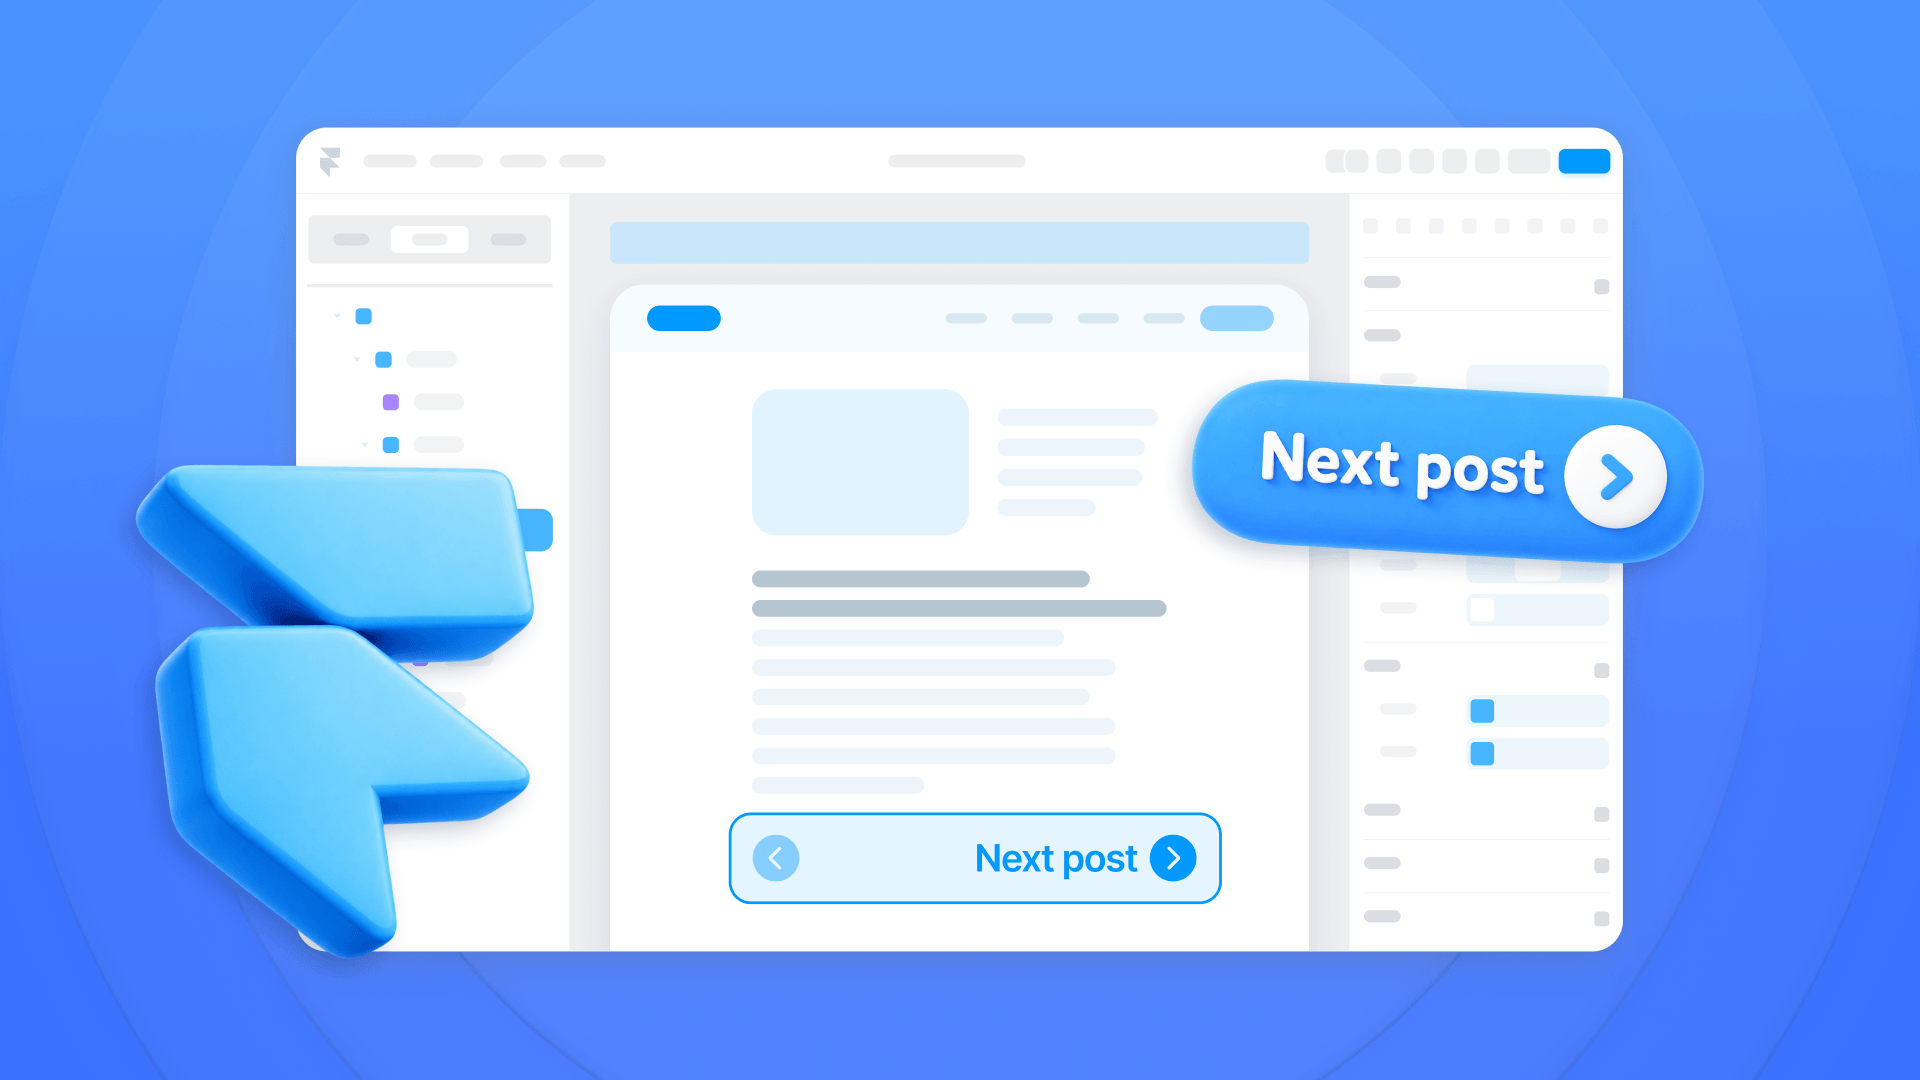
How to add next and previous links with BRIX Post Nav in Webflow CMS
This is the automated method. Instead of manually connecting each post to its neighbors, you let a script read a sorted list and figure out adjacency for you.
How the BRIX Post Nav method works logically for Webflow CMS
Before jumping into the setup, it helps to understand what's actually happening. The logic is straightforward once you see it:
- You place a Collection List on your blog template page that contains all your posts in a specific order
- Each item in that list includes a link to its own CMS page
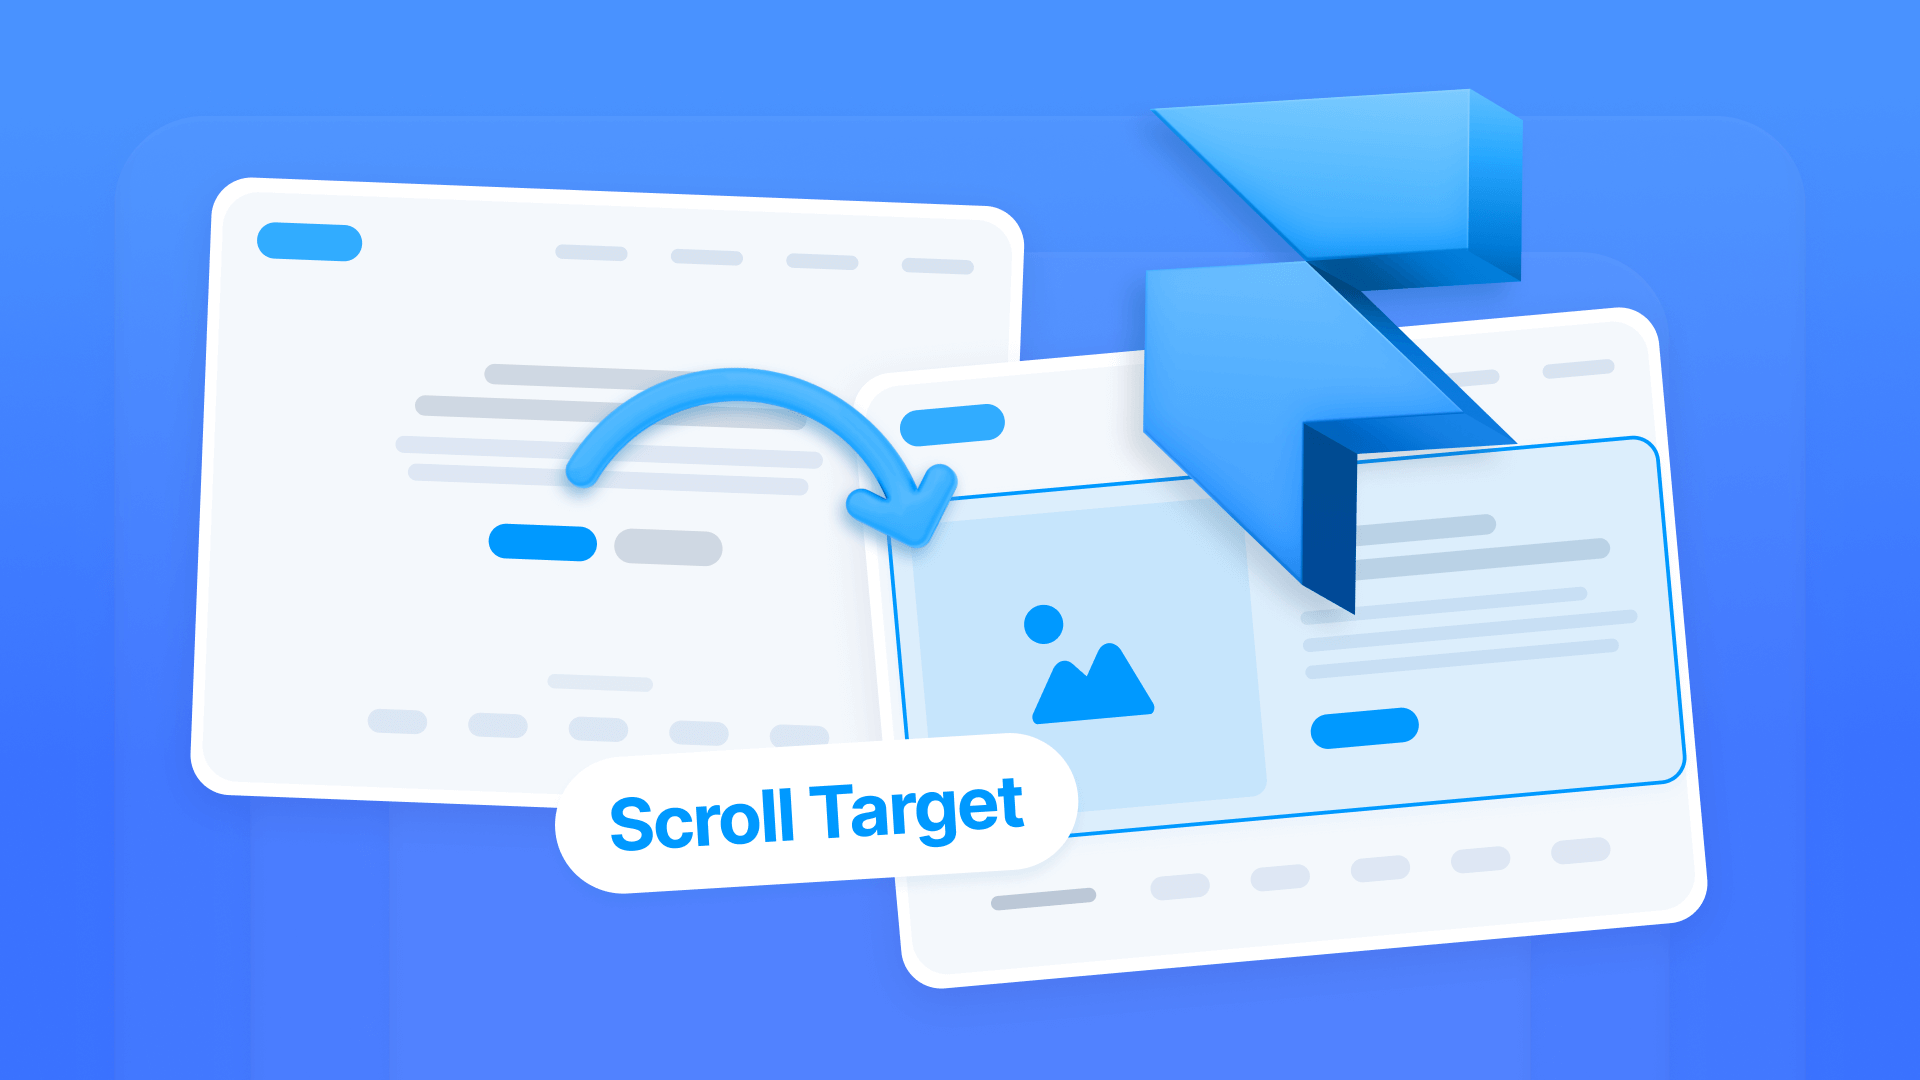
- When a reader opens a specific blog post, the BRIX Post Nav script looks at that list and finds the current post by matching the page URL
- Once it finds the current post, it grabs the item before it (previous) and the item after it (next) from the list
- It then assigns those URLs directly to your visible Previous and Next buttons
Think of it like a playlist: the hidden list is the full playlist in order, and the script finds the currently playing song and wires your controls to the tracks on either side. The order of the playlist determines the order of the navigation.
That's why the sort order of this hidden list is the single most important decision. If the list is sorted wrong, the navigation is wrong — even if everything else is set up correctly.
Setting up the source Collection List for BRIX Post Nav previous and next navigation
- Open your blog Collection Template page in the Designer
- Add a Collection List connected to the same collection (e.g., Blog posts)
- Make sure it's a dynamic list (not curated) so sorting and filtering apply
- Set the sort order to exactly how you want adjacency to work — e.g., Publish date: newest to oldest
- Inside each Collection List item, add a Link Block that points to that item's CMS page
- Inside that Link Block, add a simple text element such as the post title so the item is not empty
- Add the custom attribute brix-post-nav with value list to the Collection List wrapper
- Hide the list visually with display: none
This hidden list is the backbone of the entire system. Its order defines what "previous" and "next" mean. If you skip a filter or change the sort later, the navigation changes with it.
Connecting your visible previous and next elements in Webflow CMS
Now add the visible elements readers will actually interact with. The BRIX Post Nav script supports two setup styles, depending on how simple or how visual you want the navigation to be.
Option A: Standard Previous and Next buttons
This is the simplest setup. Add the custom attribute brix-post-nav with value prev to your visible Previous button, and brix-post-nav with value next to your visible Next button. The script reads the hidden source list, finds the adjacent items, and assigns the correct previous or next URL to those visible controls. This is the best option when you already have branded buttons in your layout and just want them to link correctly.
Option B: Previous and Next cards
This is the richer visual setup. Instead of applying the attribute to a button or Link Block, you apply brix-post-nav="prev" and brix-post-nav="next" to empty container elements where you want the adjacent posts to appear. In this mode, the script clones the full source item from the hidden Collection List into the visible target. That means whatever you design inside the source item — title, thumbnail, category, date, icon, or any other layout — is what readers will see in the previous and next areas. This is the better option when you want editorial-style navigation instead of plain buttons.
In both cases, the hidden source list remains the same. The only difference is the type of visible target you use: buttons or links for Option A, empty containers for Option B.
If you do not want the first or last control to disappear, you can optionally add brix-post-nav-empty="disable" to the visible target. Otherwise, the default behavior is to hide it when there is no previous or next item.
Loading the BRIX Post Nav script for Webflow CMS
Add the BRIX Post Nav previous and next script before the closing body tag in your site or page custom code:
<script>
/*!
 * BRIX Templates — Post Navigation for Webflow CMS
 * ----------------------------------------------------------------------------
 * Uses a hidden, sorted Collection List to resolve the previous and next
 * adjacent CMS items on Collection Template pages.
 *
 * Supports:
 * - Link / button targets: assigns the previous or next URL
 * - Container targets: clones a full source item into the target
 *
 * Required:
 * - brix-post-nav="list" on the hidden source Collection List
 * - brix-post-nav="prev" on the visible previous element
 * - brix-post-nav="next" on the visible next element
 *
 * Optional:
 * - brix-post-nav="item" on the exact source card or source link to use
 *   (recommended when a source item contains multiple links)
 * - brix-post-nav-empty="disable" to keep empty targets visible but disabled
 *
 * Notes:
 * - The source Collection List order defines what "previous" and "next" mean
 * - Webflow usually renders only the first 100 Collection List items by default
 *
 * Version: 1.1.0
 * Author: BRIX Templates
 */
(function () {
  "use strict";

  if (window.__brixPostNavLoaded) return;
  window.__brixPostNavLoaded = true;

  var ATTR = {
    main: "brix-post-nav",
    empty: "brix-post-nav-empty"
  };

  var VALUE = {
    list: "list",
    item: "item",
    prev: "prev",
    next: "next"
  };

  function one(selector, root) {
    return (root || document).querySelector(selector);
  }

  function all(selector, root) {
    return Array.prototype.slice.call(
      (root || document).querySelectorAll(selector)
    );
  }

  function isAnchor(el) {
    return !!el && el.tagName && el.tagName.toLowerCase() === "a";
  }

  function isButton(el) {
    return !!el && el.tagName && el.tagName.toLowerCase() === "button";
  }

  function normalizePath(url) {
    try {
      var parsed = new URL(url, window.location.href);
      var path = parsed.pathname || "/";
      path = path.replace(/\/+$/, "");
      return path || "/";
    } catch (error) {
      return "";
    }
  }

  function getCurrentPath() {
    var canonical = one('link[rel="canonical"]');
    return normalizePath(
      canonical && canonical.href ? canonical.href : window.location.href
    );
  }

  function getCollectionItems(listEl) {
    var itemsContainer = listEl;

    if (
      !(itemsContainer.classList && itemsContainer.classList.contains("w-dyn-items"))
    ) {
      itemsContainer = one(".w-dyn-items", listEl) || listEl;
    }

    var directChildren = Array.prototype.slice.call(
      itemsContainer.children || []
    );

    var directItems = directChildren.filter(function (child) {
      return child.classList && child.classList.contains("w-dyn-item");
    });

    return directItems.length ? directItems : all(".w-dyn-item", itemsContainer);
  }

  function getLinkLabel(linkEl) {
    return (
      linkEl.getAttribute("aria-label") ||
      (linkEl.textContent || "").replace(/\s+/g, " ").trim() ||
      "Open article"
    );
  }

  function buildSourceItem(sourceEl, linkEl) {
    var href = linkEl.href || linkEl.getAttribute("href") || "";
    if (!href) return null;

    return {
      href: href,
      path: normalizePath(href),
      label: getLinkLabel(linkEl),
      linkEl: linkEl,
      cloneEl: sourceEl || linkEl
    };
  }

  function buildSourceItemFromExplicit(el) {
    if (!el) return null;

    var linkEl = isAnchor(el) ? el : one("a[href]", el);
    if (!linkEl) return null;

    return buildSourceItem(el, linkEl);
  }

  function buildSourceItemFromCollectionItem(itemEl) {
    if (!itemEl) return null;

    var explicit = one('[' + ATTR.main + '="' + VALUE.item + '"]', itemEl);
    if (explicit) return buildSourceItemFromExplicit(explicit);

    var linkEl = one("a[href]", itemEl);
    if (!linkEl) return null;

    return buildSourceItem(itemEl, linkEl);
  }

  function getSourceItems(listEl) {
    var collectionItems = getCollectionItems(listEl)
      .map(buildSourceItemFromCollectionItem)
      .filter(Boolean);

    if (collectionItems.length) return collectionItems;

    return all('[' + ATTR.main + '="' + VALUE.item + '"]', listEl)
      .map(buildSourceItemFromExplicit)
      .filter(Boolean);
  }

  function rememberTabIndex(targetEl) {
    if (!isAnchor(targetEl)) return;
    if (targetEl.__brixPostNavSavedTabIndex !== undefined) return;
    targetEl.__brixPostNavSavedTabIndex = targetEl.getAttribute("tabindex");
  }

  function restoreTabIndex(targetEl) {
    if (!isAnchor(targetEl)) return;
    if (targetEl.__brixPostNavSavedTabIndex === undefined) return;

    if (targetEl.__brixPostNavSavedTabIndex === null) {
      targetEl.removeAttribute("tabindex");
    } else {
      targetEl.setAttribute("tabindex", targetEl.__brixPostNavSavedTabIndex);
    }
  }

  function bindButtonNavigation(targetEl) {
    if (!isButton(targetEl) || targetEl.__brixPostNavBound) return;

    targetEl.__brixPostNavBound = true;

    if (!targetEl.getAttribute("type")) {
      targetEl.setAttribute("type", "button");
    }

    targetEl.addEventListener("click", function () {
      var href = targetEl.getAttribute("data-brix-post-nav-href");
      if (href) {
        window.location.assign(href);
      }
    });
  }

  function clearTarget(targetEl) {
    if (isAnchor(targetEl)) {
      targetEl.removeAttribute("href");
      restoreTabIndex(targetEl);
    }

    if (isButton(targetEl)) {
      targetEl.removeAttribute("data-brix-post-nav-href");
      targetEl.disabled = false;
    }

    if (!isAnchor(targetEl) && !isButton(targetEl)) {
      targetEl.innerHTML = "";
    }

    targetEl.removeAttribute("aria-label");
    targetEl.removeAttribute("aria-disabled");
    targetEl.classList.remove("is-disabled");
    targetEl.style.pointerEvents = "";
  }

  function handleEmpty(targetEl) {
    clearTarget(targetEl);

    var mode = (targetEl.getAttribute(ATTR.empty) || "hide")
      .trim()
      .toLowerCase();

    if (mode === "disable") {
      targetEl.style.display = "";
      targetEl.classList.add("is-disabled");
      targetEl.setAttribute("aria-disabled", "true");

      if (isAnchor(targetEl)) {
        rememberTabIndex(targetEl);
        targetEl.setAttribute("tabindex", "-1");
        targetEl.style.pointerEvents = "none";
      }

      if (isButton(targetEl)) {
        targetEl.disabled = true;
      }

      return;
    }

    targetEl.style.display = "none";
  }

  function showTarget(targetEl) {
    targetEl.style.display = "";
    targetEl.classList.remove("is-disabled");
    targetEl.removeAttribute("aria-disabled");

    if (isAnchor(targetEl)) {
      restoreTabIndex(targetEl);
      targetEl.style.pointerEvents = "";
    }

    if (isButton(targetEl)) {
      targetEl.disabled = false;
    }
  }

  function applyLinkMode(targetEl, itemData) {
    var label = itemData.label || "Open article";

    if (isAnchor(targetEl)) {
      targetEl.setAttribute("href", itemData.href);
      targetEl.setAttribute("aria-label", label);
      return;
    }

    if (isButton(targetEl)) {
      targetEl.setAttribute("data-brix-post-nav-href", itemData.href);
      targetEl.setAttribute("aria-label", label);
      bindButtonNavigation(targetEl);
    }
  }

  function applyCloneMode(targetEl, itemData) {
    targetEl.innerHTML = "";

    var clone = itemData.cloneEl.cloneNode(true);

    if (clone.removeAttribute) {
      clone.removeAttribute(ATTR.main);
    }

    var nestedMarkedItems = all(
      '[' + ATTR.main + '="' + VALUE.item + '"]',
      clone
    );

    nestedMarkedItems.forEach(function (el) {
      el.removeAttribute(ATTR.main);
    });

    targetEl.appendChild(clone);
  }

  function populateTarget(targetEl, itemData) {
    if (!targetEl) return;

    if (!itemData || !itemData.href) {
      handleEmpty(targetEl);
      return;
    }

    showTarget(targetEl);

    if (isAnchor(targetEl) || isButton(targetEl)) {
      applyLinkMode(targetEl, itemData);
      return;
    }

    applyCloneMode(targetEl, itemData);
  }

  function initBrixPostNav() {
    var listEl = one('[' + ATTR.main + '="' + VALUE.list + '"]');
    if (!listEl) return;

    var items = getSourceItems(listEl).filter(function (item) {
      return !!item.href && !!item.path;
    });

    if (!items.length) return;

    var currentPath = getCurrentPath();
    var currentIndex = items.findIndex(function (item) {
      return item.path === currentPath;
    });

    if (currentIndex === -1) return;

    var prevItem = currentIndex > 0 ? items[currentIndex - 1] : null;
    var nextItem =
      currentIndex < items.length - 1 ? items[currentIndex + 1] : null;

    all('[' + ATTR.main + '="' + VALUE.prev + '"]').forEach(function (target) {
      populateTarget(target, prevItem);
    });

    all('[' + ATTR.main + '="' + VALUE.next + '"]').forEach(function (target) {
      populateTarget(target, nextItem);
    });
  }

  if (document.readyState === "loading") {
    document.addEventListener("DOMContentLoaded", initBrixPostNav);
  } else {
    initBrixPostNav();
  }

  window.addEventListener("load", initBrixPostNav);
})();
</script>
The script uses one hidden source list and two visible targets:
- brix-post-nav="list" on the hidden Collection List
- brix-post-nav="prev" on the visible previous element
- brix-post-nav="next" on the visible next element
A few important details:
- Every Collection Item in the hidden source list must include a Link Block that points to its own CMS page. That's how the script identifies the current post and determines which items come before and after it.
- If you are using simple button mode, apply the attributes directly to your real visible buttons or Link Blocks.
- If you are using rich card mode, apply the attributes to empty container elements so the script can inject the full adjacent item inside them.
- The script only works on the published site, not inside the Webflow Designer preview. Publish first, then test on real URLs.
Testing and the 100-item limit for BRIX Post Nav previous and next navigation
After publishing, test on real blog post URLs:
- Open a middle item and confirm both previous and next elements work correctly
- Open the first item and confirm the previous state is handled correctly
- Open the last item and confirm the next state is handled correctly
- Verify that the displayed order matches your sort rule
Now the important caveat: Webflow normally renders only the first 100 items in a Collection List. That means if your blog has 150 posts, items 101-150 won't exist in the hidden source list — and the script won't be able to find their neighbors.
This is the most common failure point on larger blogs. The navigation logic is fine, but the source list is incomplete.
If your blog is approaching that limit, you have two options: use a render-all approach so the full source list exists in the DOM, or switch to an API-populated Reference field method where adjacency is calculated externally and stored as native CMS data. For blogs under 100 items, the standard hidden-list approach works well.
Frequently asked questions about Webflow CMS next and previous links
Does Webflow have a built-in next and previous post feature?
No. Webflow CMS provides Collection pages, Reference fields, Collection Lists, sorting, and Conditionals — but it doesn't have a native feature that automatically detects the current CMS item and shows the adjacent ones. Don't confuse this with Collection List pagination, which moves between pages of a list, not between individual CMS items. You need either manual Reference fields or an automated script to build this.
Which method is better: Reference fields or BRIX Post Nav?
Reference fields are better for small curated collections (under ~30 items) where order is intentional and changes rarely — like portfolios or tutorial series. BRIX Post Nav is better for active blogs where adjacency should follow a sort rule automatically and you don't want to update references every time you publish. For most editorial sites, BRIX Post Nav wins. For most curated showcases, Reference fields are cleaner.
What does "sort order" have to do with next and previous links?
Everything. "Previous" and "next" only make sense relative to a defined sequence. If your Collection List is sorted newest to oldest, then "next" means an older post. If it's sorted oldest to newest, "next" means a newer post. If you're using a custom Sort order number field, the sequence follows those numbers. The sort rule is what gives "previous" and "next" their meaning — without it, the navigation is arbitrary.
Why do all my Webflow posts show the same next and previous links?
Your source data isn't dynamic. In the manual method, this happens when every CMS item points to the same Reference value. In the automated method, this usually means the embed or source list isn't using dynamic CMS data — either it's on a static page instead of the Collection Template, or the link inside the source list isn't pointing to each item's own CMS page.
Can I show the next post's title and image instead of just a link?
Yes. With the manual Reference field method, you can bind nested text and image elements to fields from the referenced item — so your navigation cards show the neighboring post's title, thumbnail, date, or category. With the BRIX Post Nav method, the script applies the URL directly to your existing button elements, so you can design those buttons however you like in the Webflow Designer.
How do I handle the first and last post in the sequence?
For the manual method, use Webflow Conditionals — set the Previous post element to only show when Previous post is set, and the same for Next post. Webflow removes conditionally hidden elements from the published HTML entirely. For the BRIX Post Nav method, the default behavior hides the previous or next element when there is no adjacent post — whether you're using simple buttons or rich cards. You can override this by adding brix-post-nav-empty="disable" to keep the element visible instead. Never leave a visible button or card that links nowhere — that's how you get dead clicks or 404 behavior.
Why does my BRIX Post Nav next/previous setup stop working after 100 posts?
Because Webflow normally renders only the first 100 items in a Collection List. If your hidden source list only contains 100 items, posts beyond that number don't exist in the list and the script can't find them. The fix is either using a render-all strategy so the full list exists in the DOM, or switching to API-populated Reference fields for larger blogs. Test item 101 on purpose — don't discover this limit after launch.
Can I automate Reference fields instead of filling them manually?
Yes. Using the Webflow Data API, you can list all items in a collection in your desired order, calculate which item is previous and next for each, and update the Reference fields programmatically. This gives you native front-end rendering with automated maintenance — the best of both methods. Tools like Make, n8n, or custom scripts can run this on a schedule or after each publish.
Conclusion
Adding next and previous post links to Webflow CMS comes down to two solid methods: manual Reference fields for small curated collections, and BRIX Post Nav for active blogs that need automatic adjacency. The manual method is fully native with no dependencies. The automated method is hands-off but requires a script and has a 100-item caveat on larger sites.
The detail that makes or breaks either method is the same: define your sort order before you build anything. Once the sequence is clear, the implementation is straightforward. Another way to keep readers engaged is showing related content — our guide to adding hand-picked related articles to Webflow CMS walks through the setup.
If you want next and previous navigation built correctly on your Webflow blog — with proper sort logic, boundary handling, and clean design — our Webflow specialists can handle the full setup for you.


Join readers commenting on this post!