
Managing styles in Webflow projects can become chaotic when duplicate classes appear unexpectedly. These duplicate classes not only make code maintenance harder, but they can also slightly increase your CSS file size and create confusion when trying to apply consistent styles across your site.
This guide will show you how to identify, remove, and prevent duplicate classes in your Webflow projects using native platform methods to keep your code clean and organized.
Why removing duplicate classes matters for Webflow sites
Keeping your Webflow project free from duplicate classes offers multiple practical benefits that directly impact your workflow and site quality:
- Better organization in the Webflow Style Selectors panel: A clean panel lets you find and reuse existing classes more easily, preventing the creation of even more duplicates and making navigation simpler in large projects
- Easier maintenance of Webflow projects: A clean class system facilitates team collaboration and significantly reduces the time needed to make design changes or fix styles across your site
- Consistent styles across your entire Webflow site: Removing duplicates prevents style conflicts and ensures your changes apply predictably to all elements sharing the same class
- Cleaner and slightly more efficient CSS code: Eliminating unused classes reduces CSS file size. While the direct performance impact is typically minimal for most sites (measured in milliseconds), maintaining clean code makes maintenance easier and can contribute marginally to better load times in very large projects
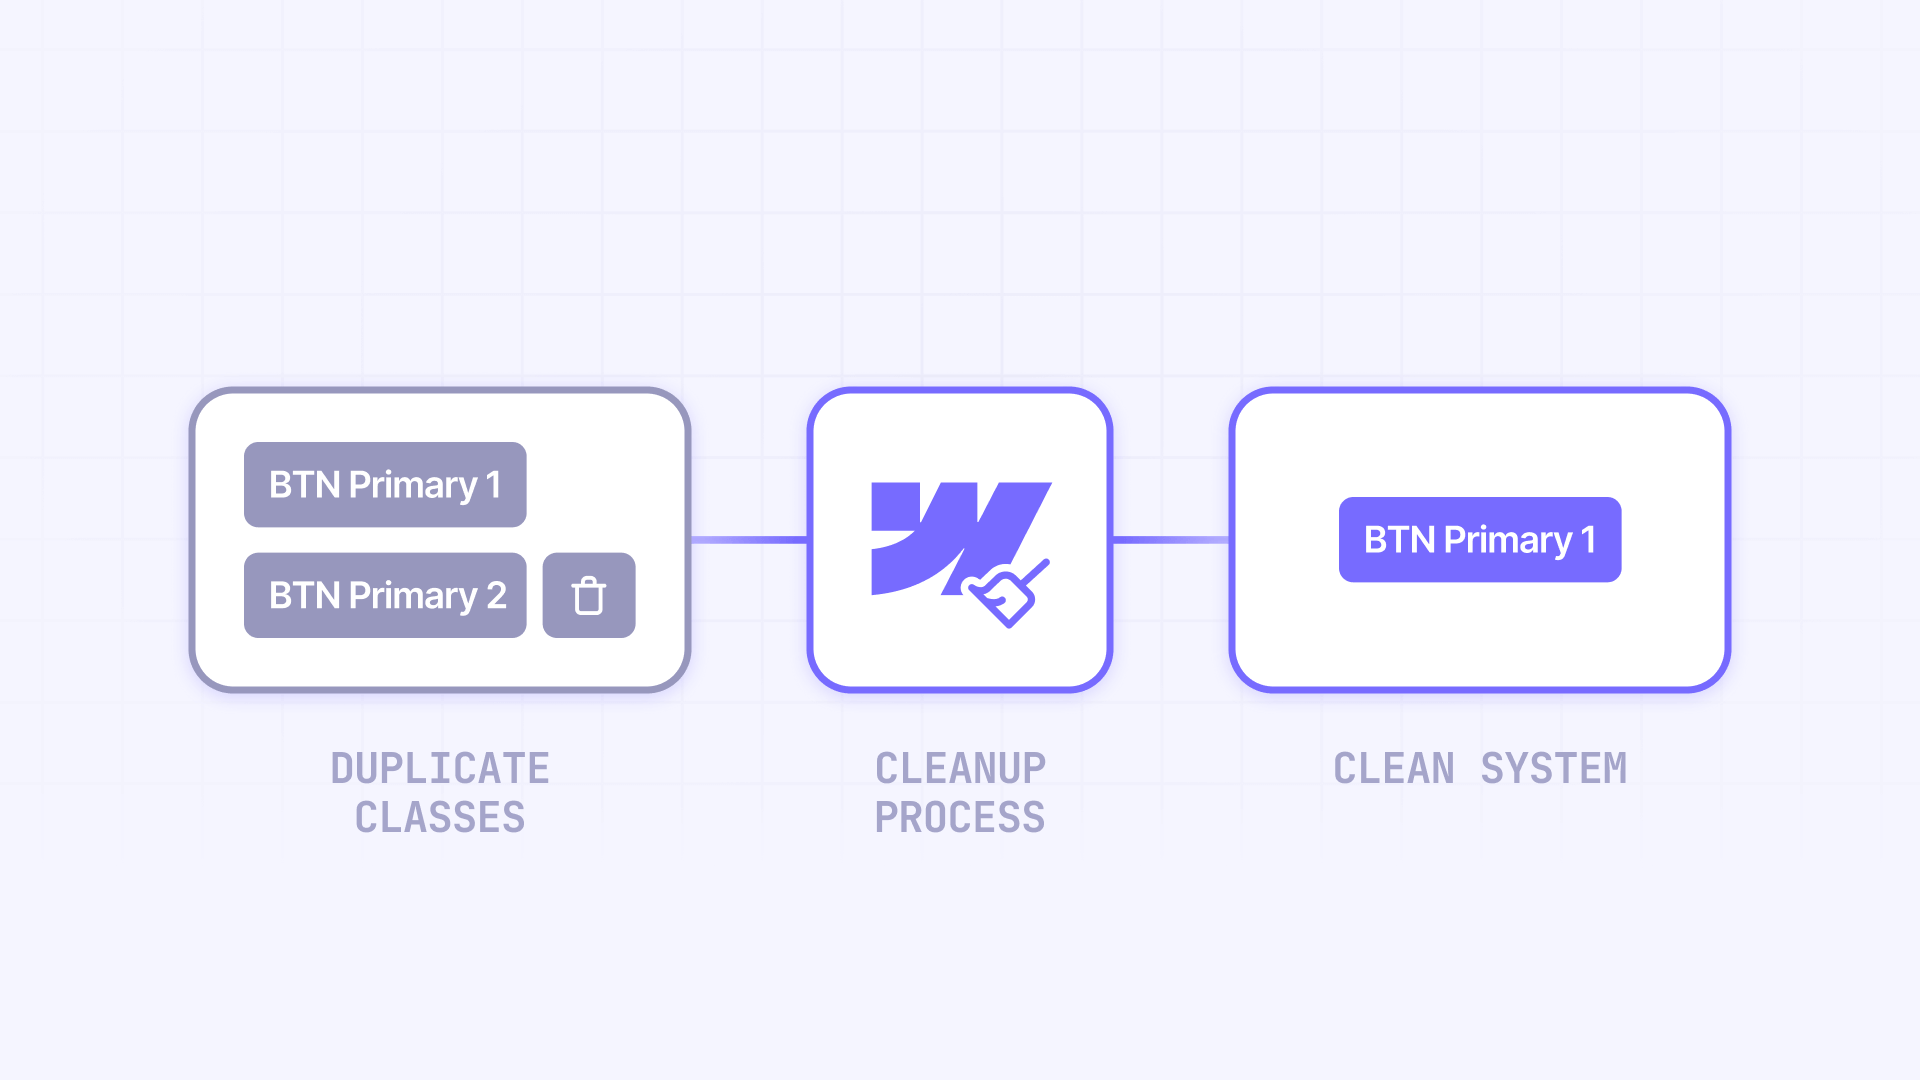
What are duplicate classes in Webflow and why they appear
When you paste a component into a Webflow project, that component might contain classes with the same names as classes already existing in your project, but with different styles. When this happens, Webflow automatically renames the pasted class by adding a number to the end.
For example, if you have a class called button in your project with a border-radius of 8px, and you paste a component that also has a button class but with a border-radius of 16px, Webflow will automatically create a new class called button 2 to avoid style conflicts.
This automatic numbering system can quickly generate dozens of duplicate classes like button 3, button 4, card 2, heading 2, etc., especially when working with component libraries or duplicating pages frequently.
How to identify duplicate classes in your Webflow project
Before removing duplicate classes, you need to correctly identify them in your project.
How to access the Style Selectors panel in Webflow
The Style Selectors panel is your main tool for managing all classes across your site:
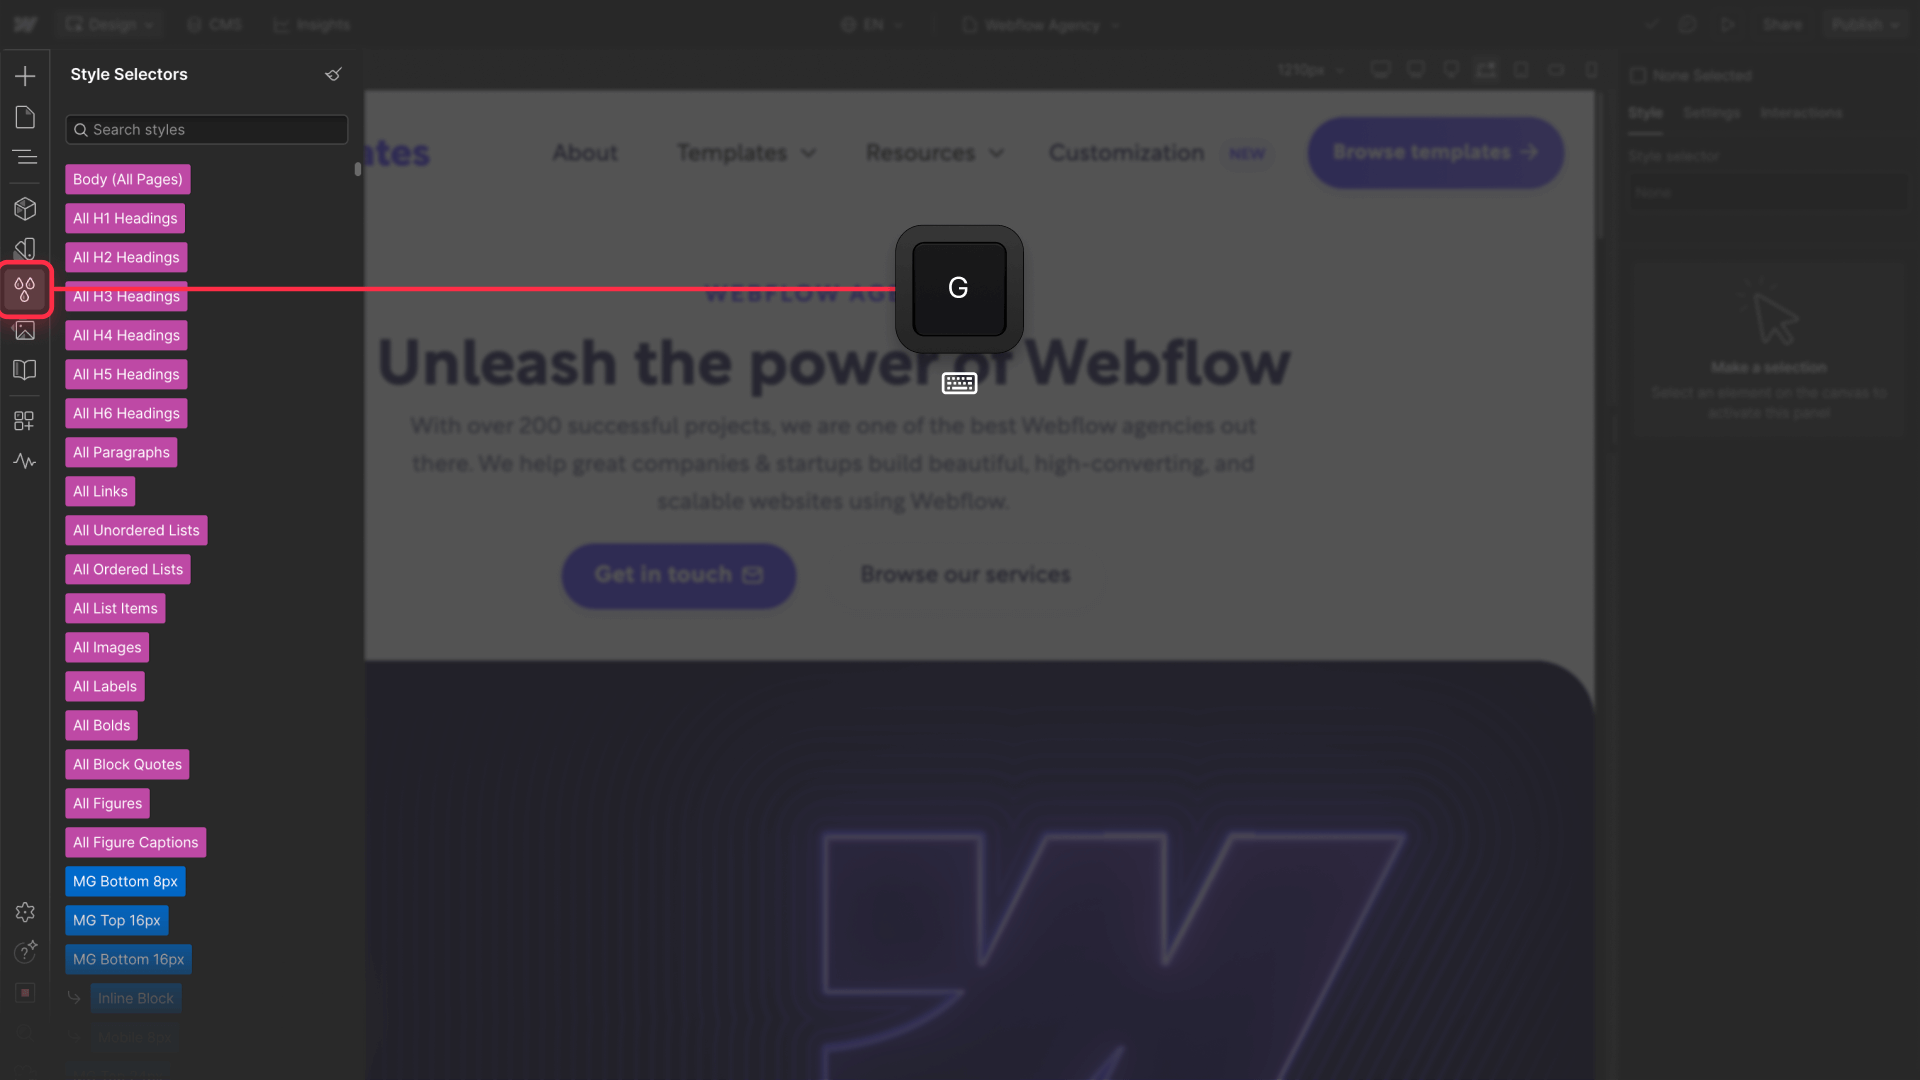
- Open your project in the Webflow Designer
- Press the G key on your keyboard, or click the three droplets icon in the left sidebar
- The Style Selectors panel will display all classes, combo classes, and tags you've created or edited on your site
This panel shows all your classes in creation order, with duplicate classes typically appearing with numbers added to their names (like button 2, container 3, etc.).
How to search for specific duplicate classes in Webflow
The Style Selectors panel includes a powerful search function that helps you locate duplicates:
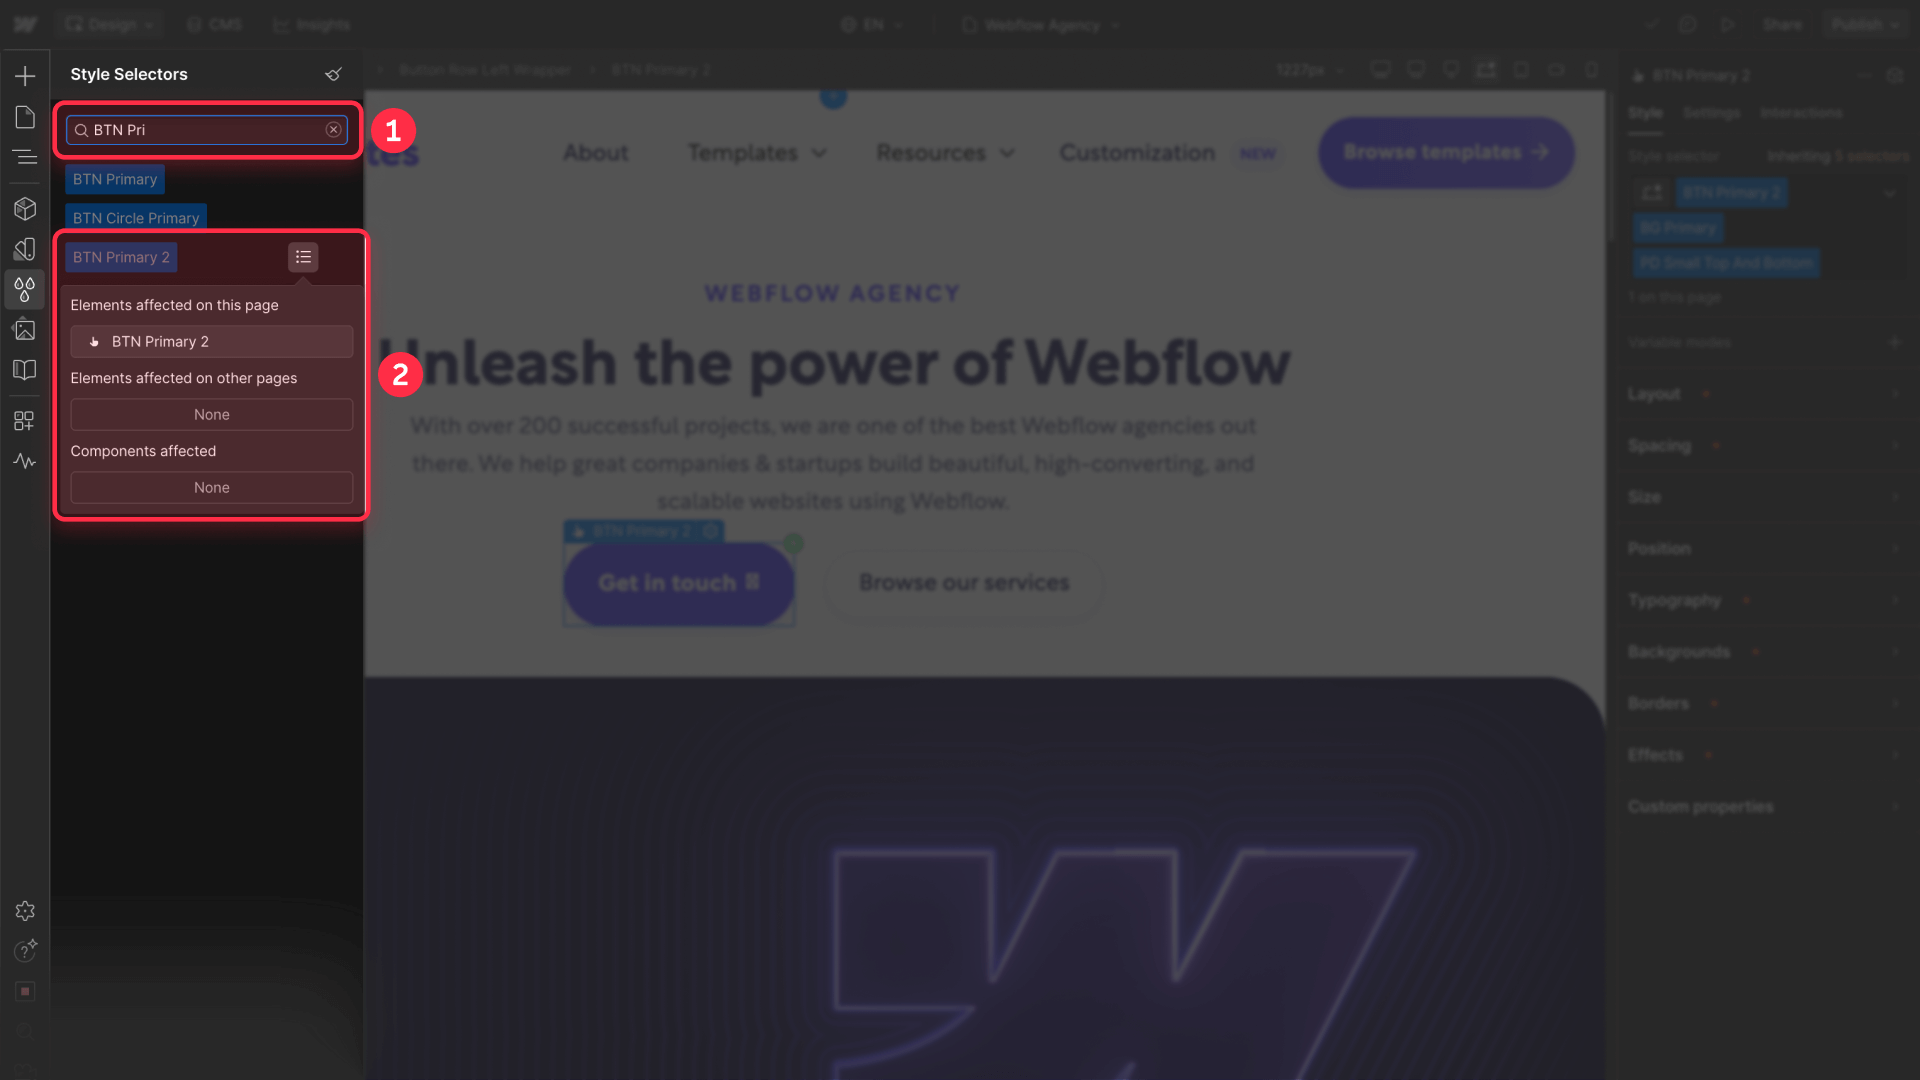
- In the search field of the Style Selectors panel, type the base name of the class you suspect is duplicated
- Observe the results to identify numbered variations of the same class (for example: button, button 2, button 3)
- Click the list icon next to each duplicate class to see all elements using it
The search in the Style Selectors panel also works with CSS properties and values, allowing you to search for terms like "44px" or "background-color" to find classes with specific properties.
How to manually remove duplicate classes in Webflow
The manual method gives you complete control over which classes to keep and how to reorganize your styles.
How to reassign elements before removing classes in Webflow
Before removing a duplicate class, you must reassign all elements using it to the original class:
- In the Style Selectors panel, locate the duplicate class you want to remove
- Click the list icon next to the class name to see all elements using it
- Click each element in the list, which will take you directly to that element on the page
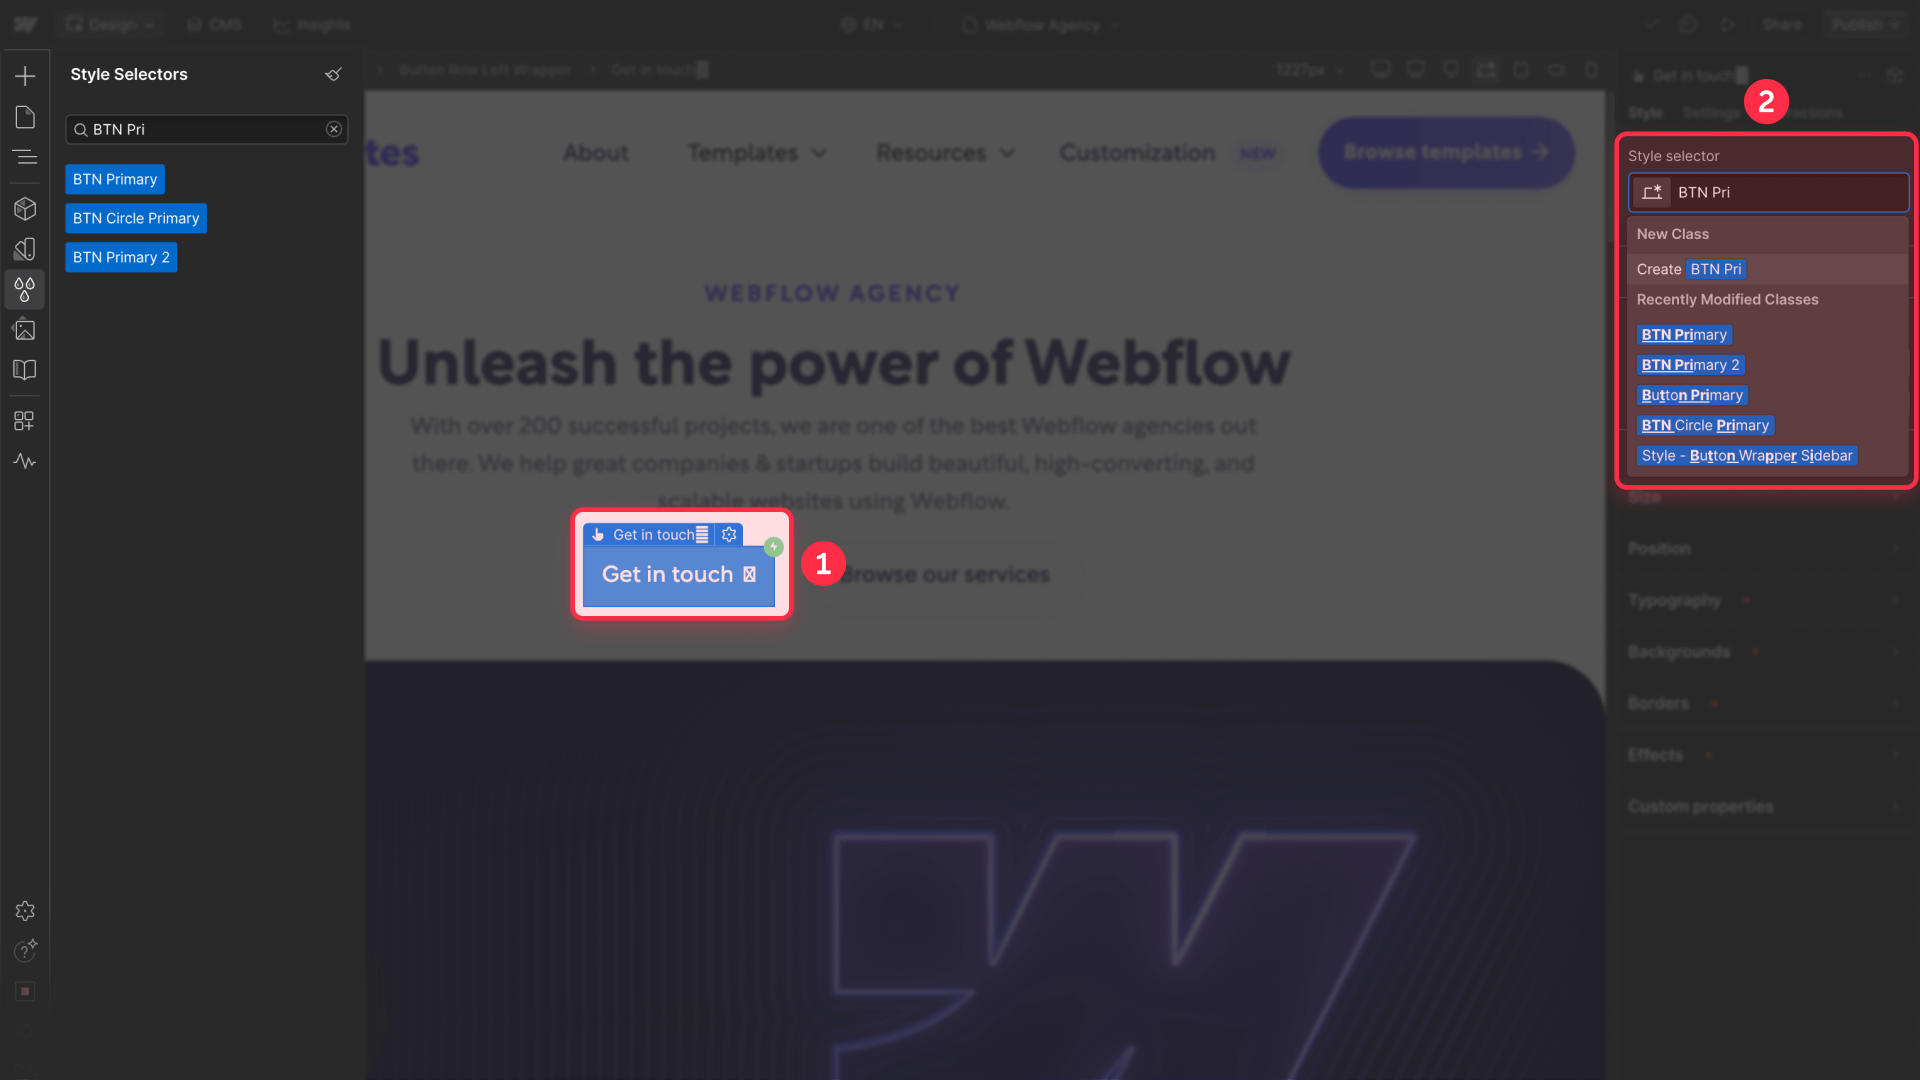
- In the Selector field of the styles panel on the right, delete the duplicate class name (for example, "button 2")
- Type the original class name (without the number) to reassign the element
Repeat this process for all elements using the duplicate class.
How to verify a class is ready for deletion in Webflow
Once you've reassigned all elements, the duplicate class should be empty and ready for removal from your project:
- Return to the Style Selectors panel and locate the duplicate class again
- Verify that the list icon no longer appears next to the class (this indicates no elements are using it)
- If you don't see the list icon, a trash icon will appear in its place
- Click the trash icon to permanently delete the duplicate class from your project
Classes can only be deleted when they're not assigned to any elements on your site. If you still see the list icon, it means you forgot to reassign some element.
How to use the Clean Up function to remove multiple classes in Webflow
Webflow includes an automatic cleanup function that speeds up the process of removing multiple unused classes.
How to access the Clean Up function in Webflow
The cleanup tool lets you remove all unused classes with a single click:
- Open the Style Selectors panel by pressing G on your keyboard
- Look for the small broom icon in the top-right corner of the panel
- Click the broom icon to activate the cleanup function
This function automatically identifies and allows you to remove all classes that aren't assigned to any elements on your site.
What happens when you run Clean Up in your Webflow project
When you execute the Clean Up function:
- Webflow scans your entire project looking for unused classes
- A confirmation window appears showing you how many classes will be deleted
- Review the number of classes to delete to ensure it's reasonable
- Click Confirm to permanently remove all unused classes
It's important to save your work before running Clean Up and consider creating a project backup if you're removing a large number of classes, especially in large projects or those shared with teams.
Best practices to prevent duplicate classes in Webflow
The best strategy to avoid duplicate classes is implementing good practices from the start of your project.
Use Webflow components and symbols instead of copy-pasting
Instead of manually duplicating elements:
- Convert reusable elements into Components (formerly called Symbols)
- Use the Shared Libraries feature for components between projects
- When you need variations, use combo classes instead of creating completely new classes
- Maintain an updated component library in a separate project
Regularly review and clean your Webflow project
Establish a maintenance routine:
- Run the Clean Up function weekly on active projects
- Review the Style Selectors panel after importing external components
- Before delivering a project, perform a final complete cleanup
- Document any intentional duplicate classes with comments
Frequently asked questions about removing duplicate classes in Webflow
What are duplicate classes in Webflow and why do they appear?
Duplicate classes in Webflow are classes with similar but sequentially numbered names (like button, button 2, button 3) that are automatically created when you paste components or elements containing classes with identical names to those already existing in your project. Webflow adds numbers to prevent style conflicts between classes sharing the same name but having different CSS properties. These duplications are most common when working with component libraries like Relume, duplicating entire pages, or copying elements between different Webflow projects.
How do I identify all duplicate classes in my Webflow project?
To identify duplicate classes in Webflow, open the Style Selectors panel by pressing the G key and look for classes with numbers added to their base names. Duplicate classes typically follow the pattern: base-name, base-name 2, base-name 3, etc. You can also use the panel's search function by typing the base class name to see all its variations. The list icon next to each class shows you where it's being used, which is essential before deleting it. For large projects, consider reviewing section by section starting with the most common classes like buttons, containers, and headings.
Can I remove duplicate classes without affecting my Webflow site design?
Yes, you can safely remove duplicate classes by following the correct reassignment process. Before deleting any duplicate class, you must identify all elements using it through the list icon in the Style Selectors panel, then reassign those elements to the original class you want to keep. Once no elements are using the duplicate class, the trash icon will appear and you can delete it without affecting your design. For added safety, create a project backup before removing multiple classes, especially on large sites or those in production.
What's the difference between manually removing classes and using Clean Up in Webflow?
Manually removing classes gives you complete control over which classes to keep and allows you to review each class before deleting it, which is ideal when you need to verify specific styles or work with complex design systems. The Clean Up function, on the other hand, automatically removes all unused classes with a single click, which is faster but less precise since it doesn't let you review each class individually. Clean Up is perfect for general cleanup after reorganizing your site, while manual deletion is better for situations where you need granular control over your class system.
What do I do if I accidentally delete the wrong class in Webflow?
If you accidentally delete the wrong class, immediately use Webflow's undo function by pressing Ctrl+Z (Windows) or Cmd+Z (Mac) to revert the change. If you've already saved or published the changes, you'll need to restore your site from a previous backup. Webflow creates automatic backups that you can access from Site Settings > Backups. Select the most recent backup before the deletion and restore it. To prevent this problem in the future, always verify the styles of each class version before deleting it, and consider creating a manual backup before performing mass class cleanups.
How often should I clean duplicate classes in my Webflow project?
The ideal frequency depends on your workflow. If you frequently copy components between projects or work with component libraries, consider reviewing and cleaning duplicates weekly or after each major design session. For more stable projects with occasional changes, a monthly or quarterly cleanup is sufficient. Set a reminder to review the Style Selectors panel and run Clean Up as part of your maintenance routine. It's also recommended to clean duplicates before delivering a project to a client or before major launches to ensure optimized and organized code.
Does removing duplicate classes improve my Webflow site performance?
Removing duplicate classes primarily improves long-term maintenance and creates a more organized foundation for your project's growth. While performance improvements are usually modest, maintaining a clean class system is a professional practice that benefits the entire team and significantly reduces time spent searching for and fixing styles. The CSS file size reduction from removing unused classes typically results in minimal load time improvements for most sites, but the real benefit comes from improved developer experience and reduced technical debt over time.
Can I prevent Webflow from creating duplicate classes automatically?
Webflow automatically creates numbered class variations to prevent style conflicts, and this behavior cannot be disabled as it's a core safety feature. However, you can minimize duplicate creation by using Components and Shared Libraries instead of copy-pasting elements, establishing clear naming conventions for your team, maintaining a centralized style guide, and regularly cleaning your project before duplicates accumulate. When importing components from external sources, review the Style Selectors panel immediately and merge duplicates while the context is fresh in your mind.
Will removing duplicate classes break my Webflow CMS connections?
No, removing duplicate classes won't break your CMS connections as long as you properly reassign all elements to the original class before deletion. CMS bindings are tied to elements, not to the specific class names applied to those elements. However, if you're using custom code that targets specific class names, removing those classes could affect functionality. Always test your site thoroughly after removing classes, especially if you have custom JavaScript or integrations that rely on specific class selectors. Create a backup before major cleanups on sites with complex CMS structures.
What should I do with duplicate classes that have different styles I want to keep in Webflow?
If you have duplicate classes with legitimately different styles that serve different purposes, the solution is to rename one of them to reflect its unique function rather than delete it. Click on the duplicate class in the Style Selectors panel, then click the class name in the Selector field and type a new descriptive name that clearly indicates its purpose. This transforms it from a confusing duplicate into a properly named, intentional class. Good naming conventions like button-primary, button-secondary, or card-large, card-small help maintain clarity and prevent future confusion about which class to use where.
Conclusion
Removing duplicate classes in Webflow primarily facilitates long-term maintenance and creates a more organized foundation for your project's growth. While performance improvements are typically modest, maintaining a clean class system is a professional practice that benefits your entire team and significantly reduces time spent searching for and fixing styles.
Remember to regularly review and clean your classes, especially after importing components or making significant design changes. With the native Webflow techniques described in this guide (Style Selectors panel, manual deletion, and Clean Up function), you'll have everything you need to keep your CSS code organized and professional.
For more information about the Style Selectors panel, check out Webflow's official documentation on the Style Selectors panel.
Need help implementing these solutions or looking to optimize more advanced aspects of your project? Our specialized Webflow agency can help you create and maintain professional websites with clean, well-structured code.


Join readers commenting on this post!