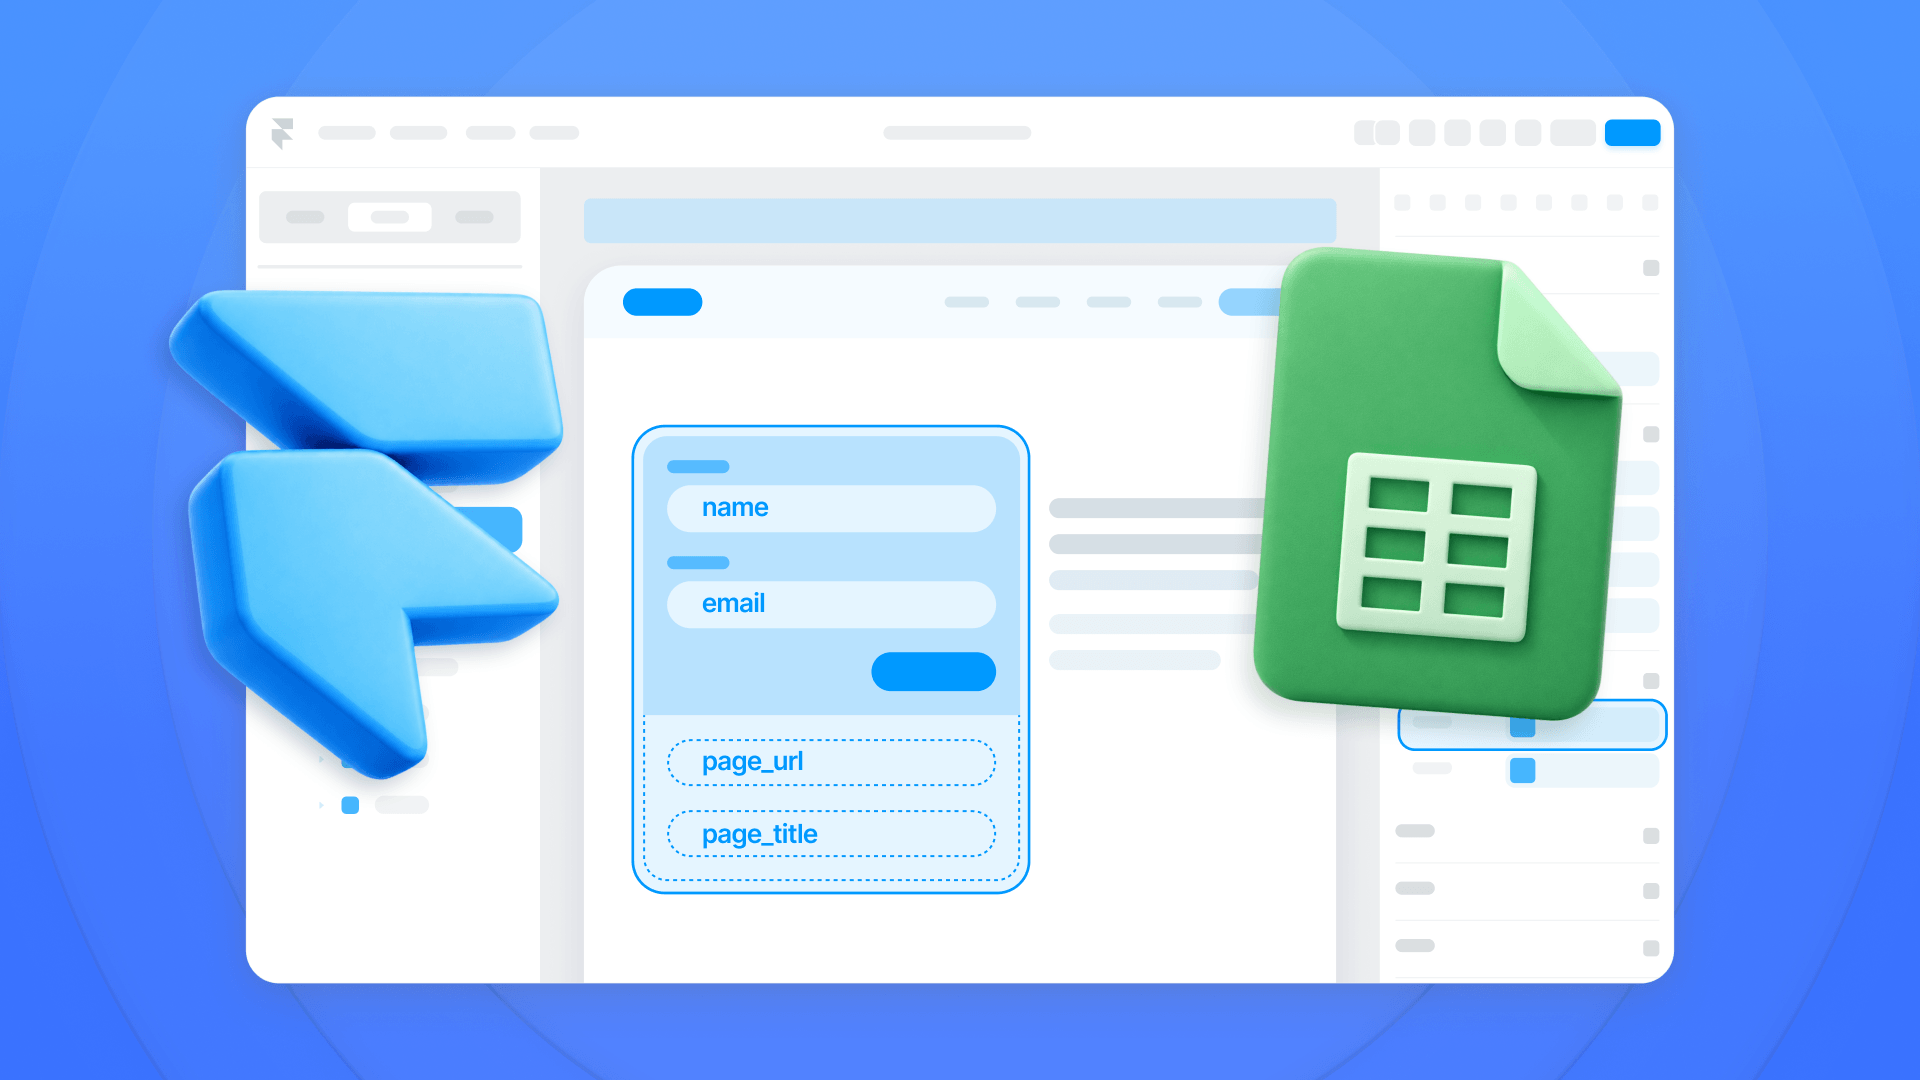
URL parameter form pre-filling allows you to automatically populate Webflow form fields with data passed through the page's URL. While Webflow doesn't offer this functionality natively, you can easily implement it by adding our pre-built script to your site - no coding knowledge required.
This step-by-step guide will show you how to implement form pre-filling, from adding the script to testing the complete setup. You'll learn how to configure form fields, structure your URLs, and verify everything works correctly. The entire process takes just a few minutes and requires only basic Webflow knowledge.
When to use form pre-filling in Webflow?
Pre-filling forms can transform your user experience and significantly impact your conversion rates. Before diving into the implementation, let's understand when and why you might want to use this functionality.
Consider these common scenarios where pre-filling forms can be valuable:
- Service selection flow
- A user browses your services page
- They click on a "Contact" button for a specific service
- The contact form automatically pre-fills with their selected service
- Result: Streamlined user experience and higher conversion potential
- Email marketing campaign
- You send a personalized email campaign
- The email contains a "Book Demo" button
- When clicked, it opens a form pre-filled with the recipient's information
- Result: Reduced friction in the demo registration process
Understanding URL parameters in Webflow
URL parameters are pieces of information that you can add to any web address to pass data to a webpage. When used with forms, they create a powerful way to dynamically pre-populate form fields based on user context or marketing campaign data.
These parameters work locally in the user's browser, meaning there are no security implications or external dependencies to worry about. This makes them a safe and reliable solution for enhancing your Webflow forms.
URL parameters to Webflow form implementation guide
The process is straightforward and requires just a few steps to set up. Let's walk through each step in detail to ensure a successful implementation.
Step 1: Add the JavaScript code
First, you'll need to add this custom code to your Webflow site:
<script>
/**
 * Webflow Form URL Parameter Pre-filler
 * Automatically fills form fields based on URL parameters
 * @author BRIX Templates
 * @version 1.0.0
 *
 * This script looks for URL parameters and fills matching form fields
 * For example: yoursite.com/[email protected] will fill
 * the input field with id="email"
 */

document.addEventListener('DOMContentLoaded', function() {
    // Print initialization message
    console.log('Webflow form URL parameter gatherer by BRIX Templates initialized');

    // Get URL parameters
    const urlParams = new URLSearchParams(window.location.search);

    // Loop through all parameters
    urlParams.forEach((value, key) => {
        // Find matching form field
        const field = document.getElementById(key);

        // If field exists, update its value
        if (field) {
            field.value = decodeURIComponent(value);

            // Debug section - can be removed if not needed
            console.log('Debug Information:');
            console.log(`- Parameter '${key}' was found`);
            console.log(`- Value '${value}' was set in input #${key}`);
        } else {
            // Debug message for missing fields - can be removed if not needed
            console.log('Debug Information:');
            console.log(`- Parameter '${key}' was found but no matching input exists`);
        }
    });
});
</script>
This JavaScript code serves as an automated form field population system that operates through URL parameter detection. When a user visits your page, the code executes immediately and performs three key functions:
- Parameter detection: The code analyzes the current URL, identifying any parameters that have been passed (everything after the "?" in your URL).
- Field mapping: It then searches your forms for input fields whose IDs match the parameter names found in the URL. This mapping system ensures that data is correctly assigned to the appropriate form fields.
- Automatic population: Finally, it transfers the parameter values into their corresponding form fields, creating a seamless pre-filling experience for your users.
All of this happens in a fraction of a second, so the user won't notice any difference from a loading perspective.
The implementation includes a built-in debugging system that provides detailed console output about parameter detection and field population. These debugging messages help verify correct functionality during setup and can be safely removed in production environments.
Step 2: Add to individual Webflow page or global project settings
Choose where you want to implement this functionality based on your needs:
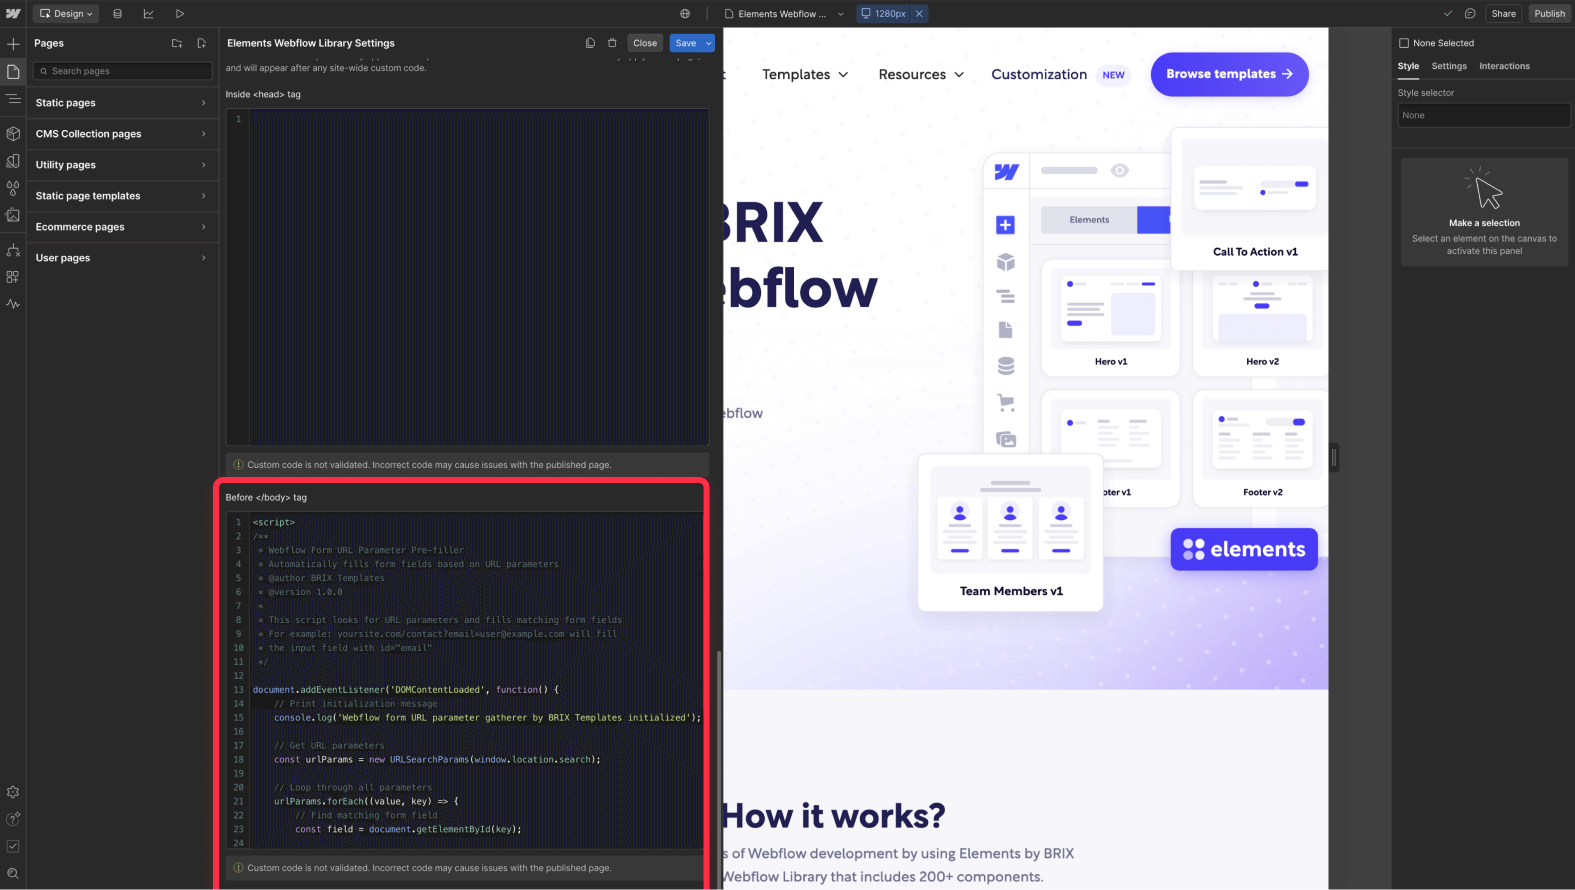
Page-specific implementation: Perfect when you only need form pre-filling on specific pages, such as your main contact form or demo request page. To implement:
- In Webflow Designer, navigate to Pages
- Select the page where you want to add the functionality
- Click the Settings icon (gear symbol) in the top right
- Scroll down to "Before </body> tag" section
- Paste the code and click Save
- Click Save
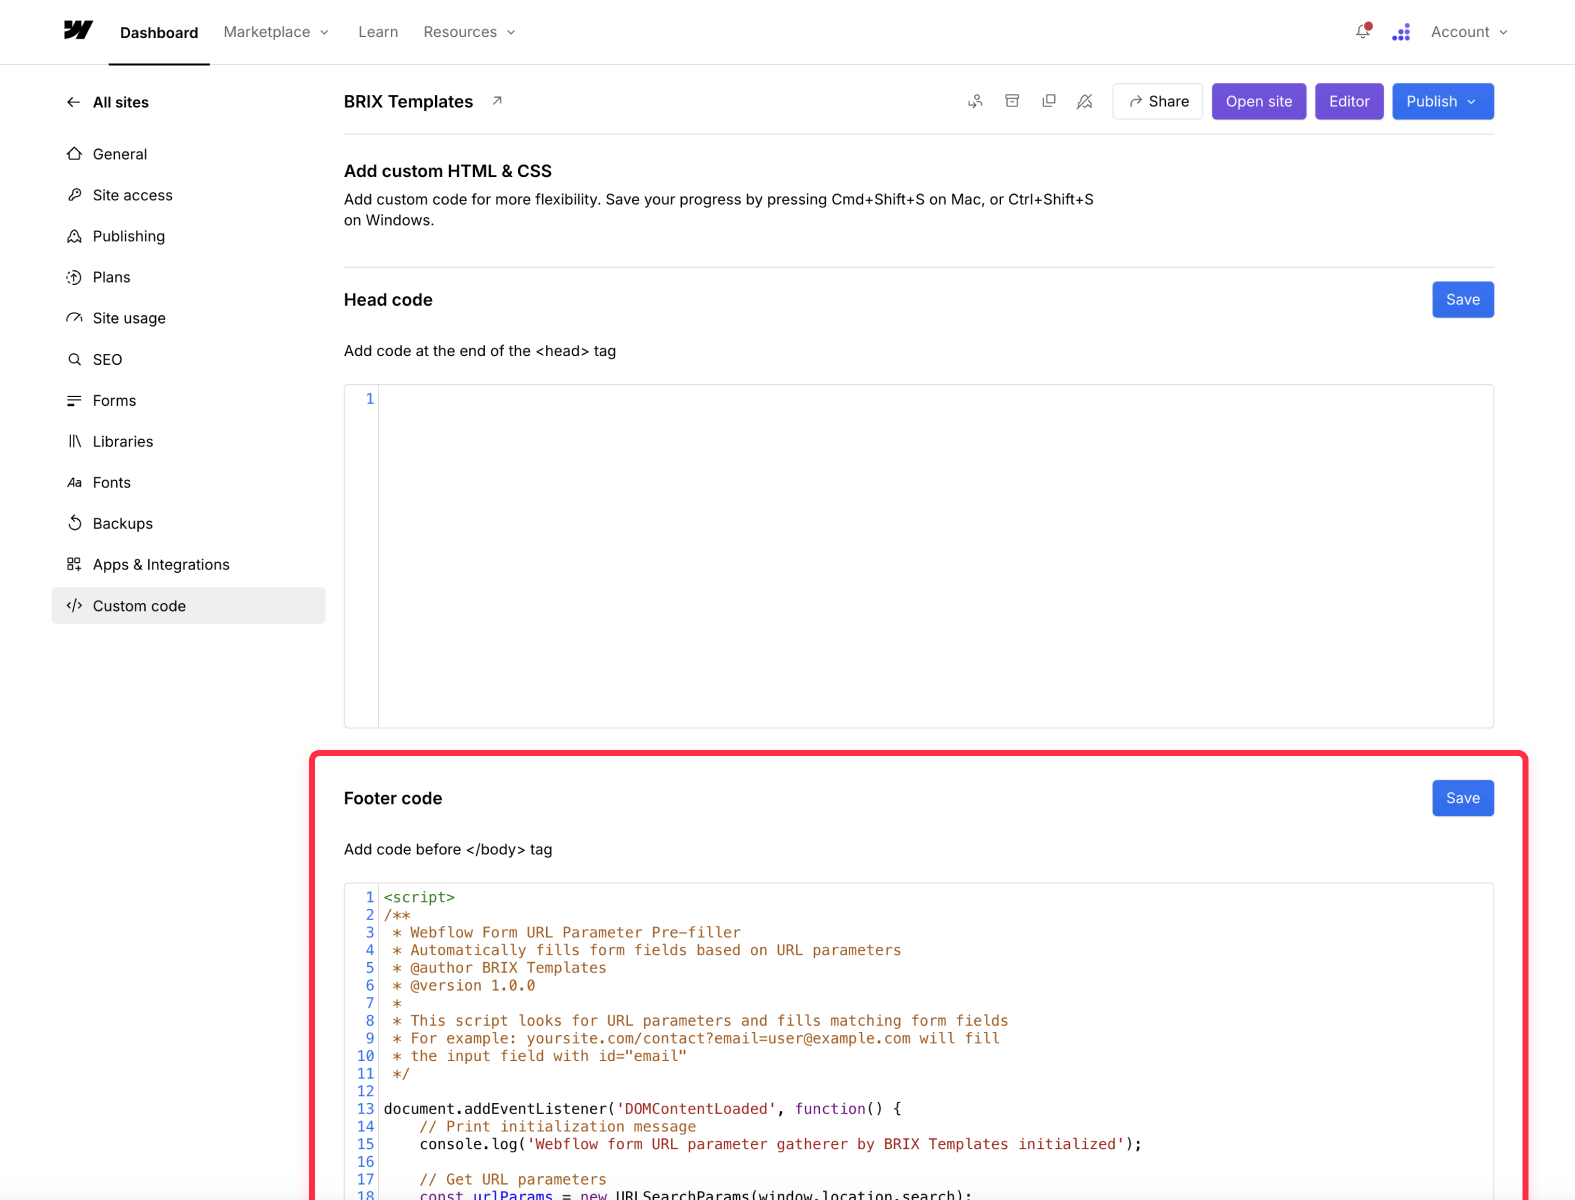
Site-wide implementation: Ideal when you have multiple forms across your website and want this functionality everywhere. Add the code in your project's custom code section. To implement:
- In Webflow Designer, open Project Settings
- Select the "Custom Code" tab
- Scroll to the "Footer Code" section
- Paste the code and click Save
- Click Save Changes
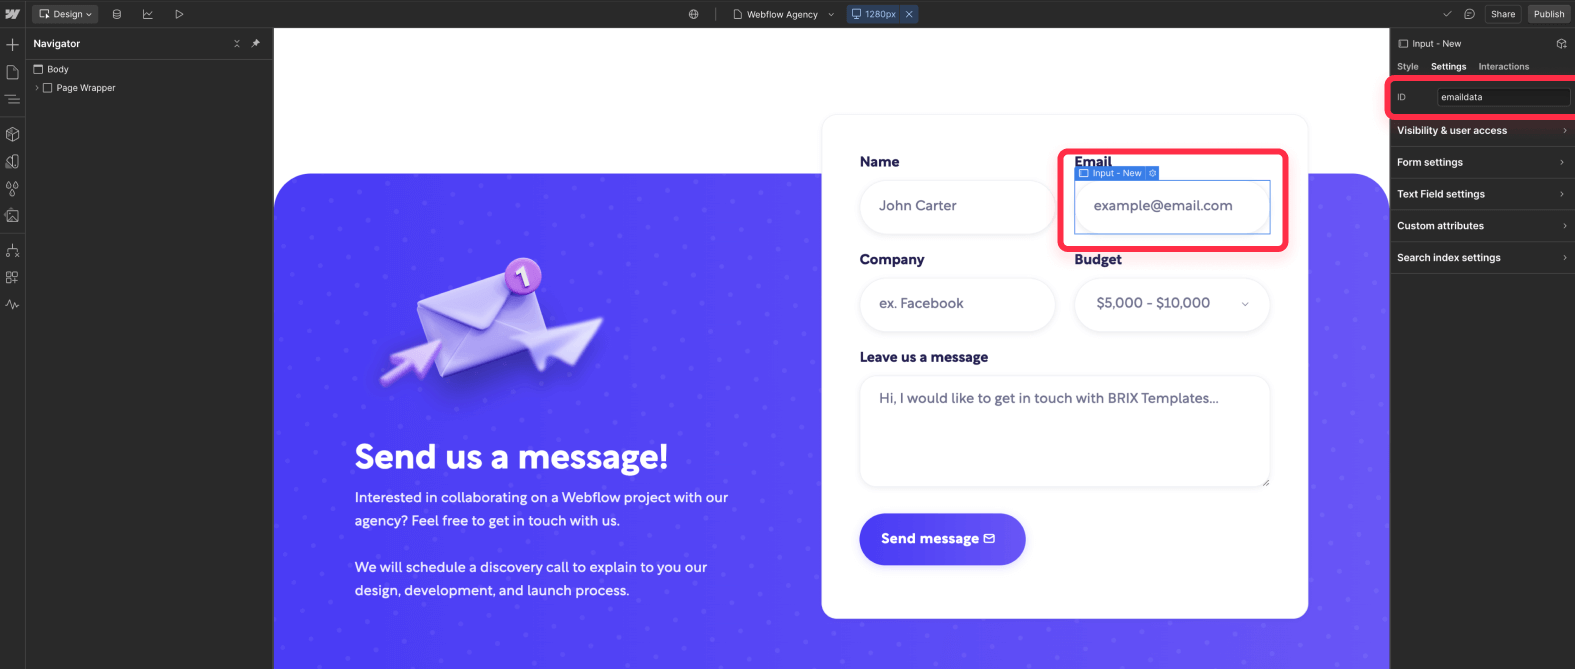
Step 3: Configure your Webflow form fields
- Select your form in the Webflow Designer
- Click on the form input you want to pre-fill
- In the Settings panel, locate the "ID" field
- Add a unique identifier (e.g., "emaildata" for an email field)
- Repeat for each field you want to pre-fill
Step 4: Structure your URLs
To pre-fill forms, add parameters to your URLs following this format:
Basic URL structure:
https://yoursite.com/[email protected]&name=JohnParameter format:
- Start with a question mark (?)
- Add parameter name (matching your input ID)
- Add equals sign (=)
- Add the value
- Separate multiple parameters with ampersand (&)
Example URLs:
Simple parameter:
https://yoursite.com/[email protected]

Multiple parameters:
https://yoursite.com/[email protected]&name=John&company=ACME
Step 5: Testing and verification
- Publish your Webflow site
- Open your browser's developer tools (F12)
- Navigate to the Console tab
- Visit your form page with test parameters
- You should see debug messages confirming:
- Plugin initialization
- Which parameters were found
- Which form fields were successfully filled
Remember to test thoroughly after implementation, ensuring all parameters work as expected across different scenarios and use cases. While the setup process is straightforward, don't hesitate to reach out if you need assistance with more complex implementations or custom solutions.
Conclusion
You now have the knowledge to implement URL parameter form pre-filling in your Webflow site. This functionality allows your forms to automatically capture data from URLs, and our pre-built script makes implementation straightforward without requiring any coding knowledge.
While this implementation works perfectly for basic pre-filling needs, there are more advanced scenarios you might encounter:
- Dynamic integration with marketing platforms
- Dynamic parameter generation based on user data
- Cross-platform tracking
- Complex form logic
For these advanced implementations or custom solutions tailored to your specific needs, feel free to reach out to our team at BRIX Templates — we can help create a solution that perfectly matches your requirements.


Join readers commenting on this post!