
Managing publish dates for blog posts and other CMS content in Webflow can be challenging - especially when you update a post only to discover all your dates have changed! This is a common frustration for Webflow users, but there's a simple native solution that gives you complete control over your content's timeline.
This guide will walk you through a step-by-step approach to properly manage and edit the dates displayed on your Webflow blog posts or any CMS items, ensuring your content maintains its proper chronological order regardless of when it was edited.
Understanding default date fields in Webflow CMS
Before implementing a solution, it's important to understand how Webflow's built-in date fields actually work. Every CMS collection in Webflow includes three system date fields:
- Created On: The date when the CMS item was first created (remains unchanged)
- Updated On: The date when the item was last modified
- Published On: Despite its name, this shows the most recent publish date, not the original
The key issue is that Published On doesn't work as most people expect. When you edit and republish a post, its Published On date updates to the current date. This means all your posts can suddenly show the same date when you make minor edits across your site.
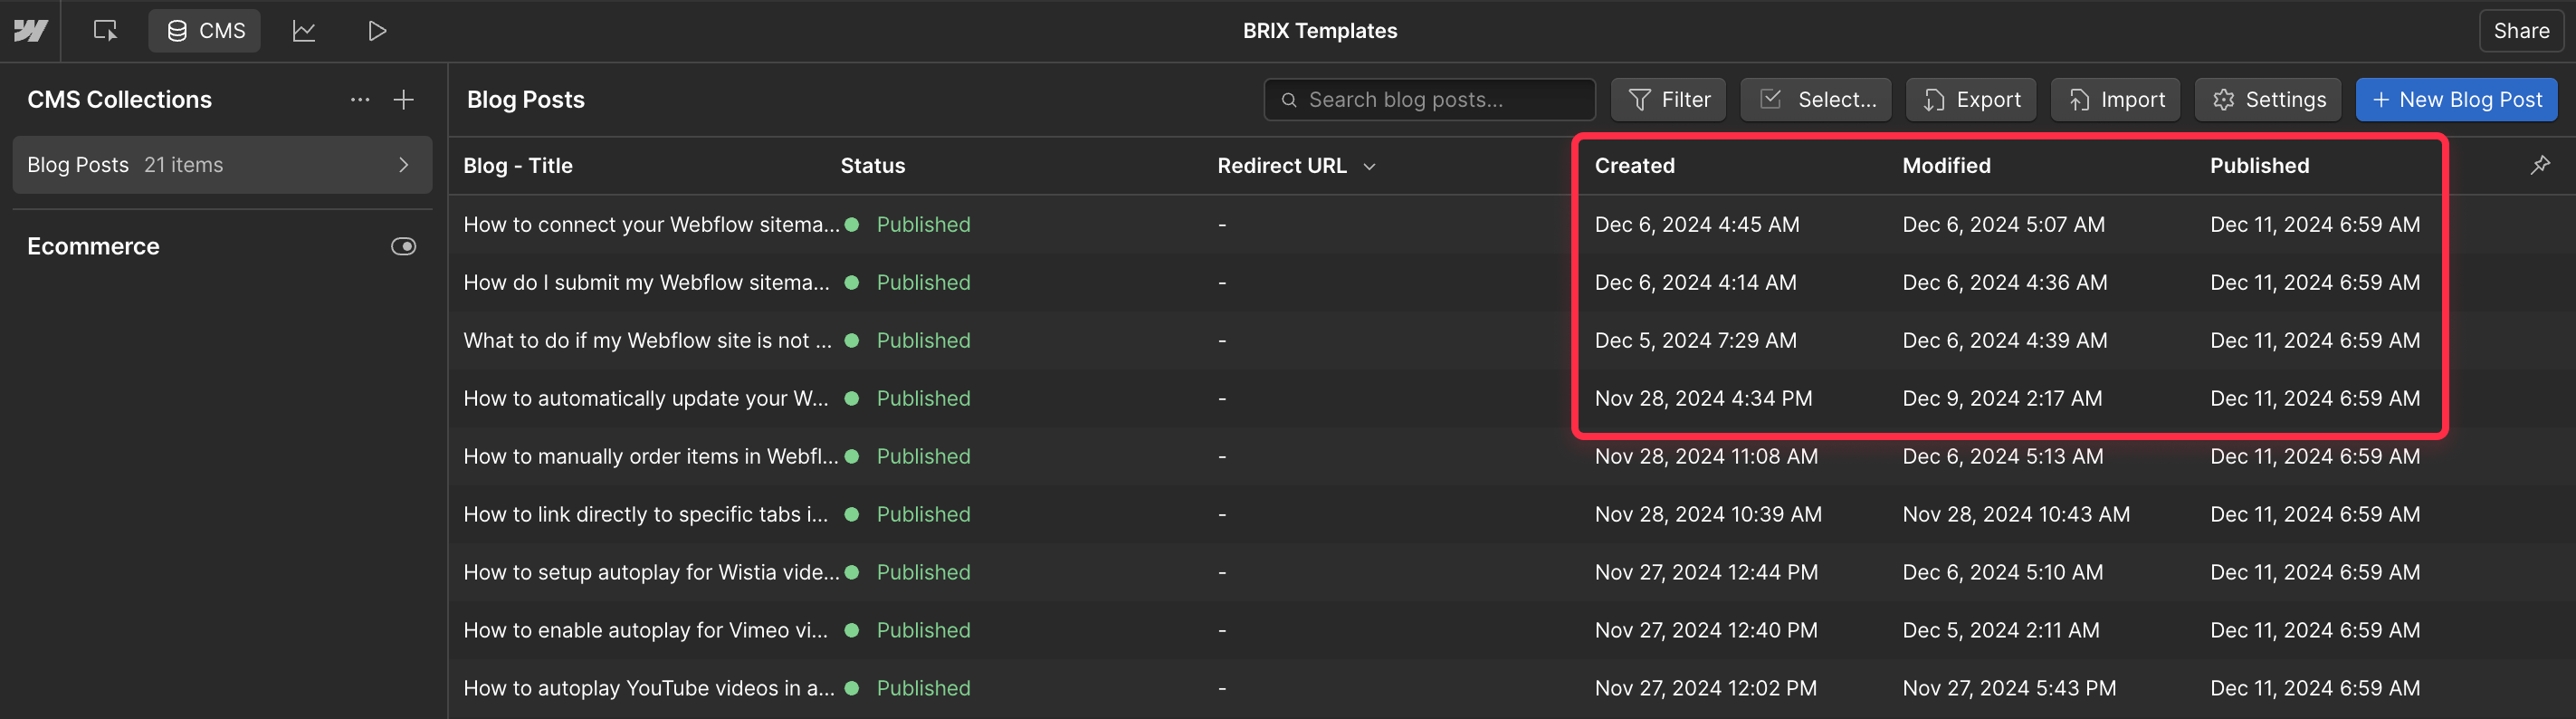
Unfortunately, these system date fields cannot be manually edited - which is why we need a custom solution.
How to create a custom date field in your Webflow CMS
Let's set up a proper, editable publish date field for your blog posts:
- Navigate to your Webflow CMS Collections panel
- Select your Blog Posts collection (or whatever collection needs date control)
- Click the Add Field button
- Choose Date/Time from the field type options
- Name this field Published Date (or similar)
- Check the Required box to ensure every post has a date
- Click Create Field to save
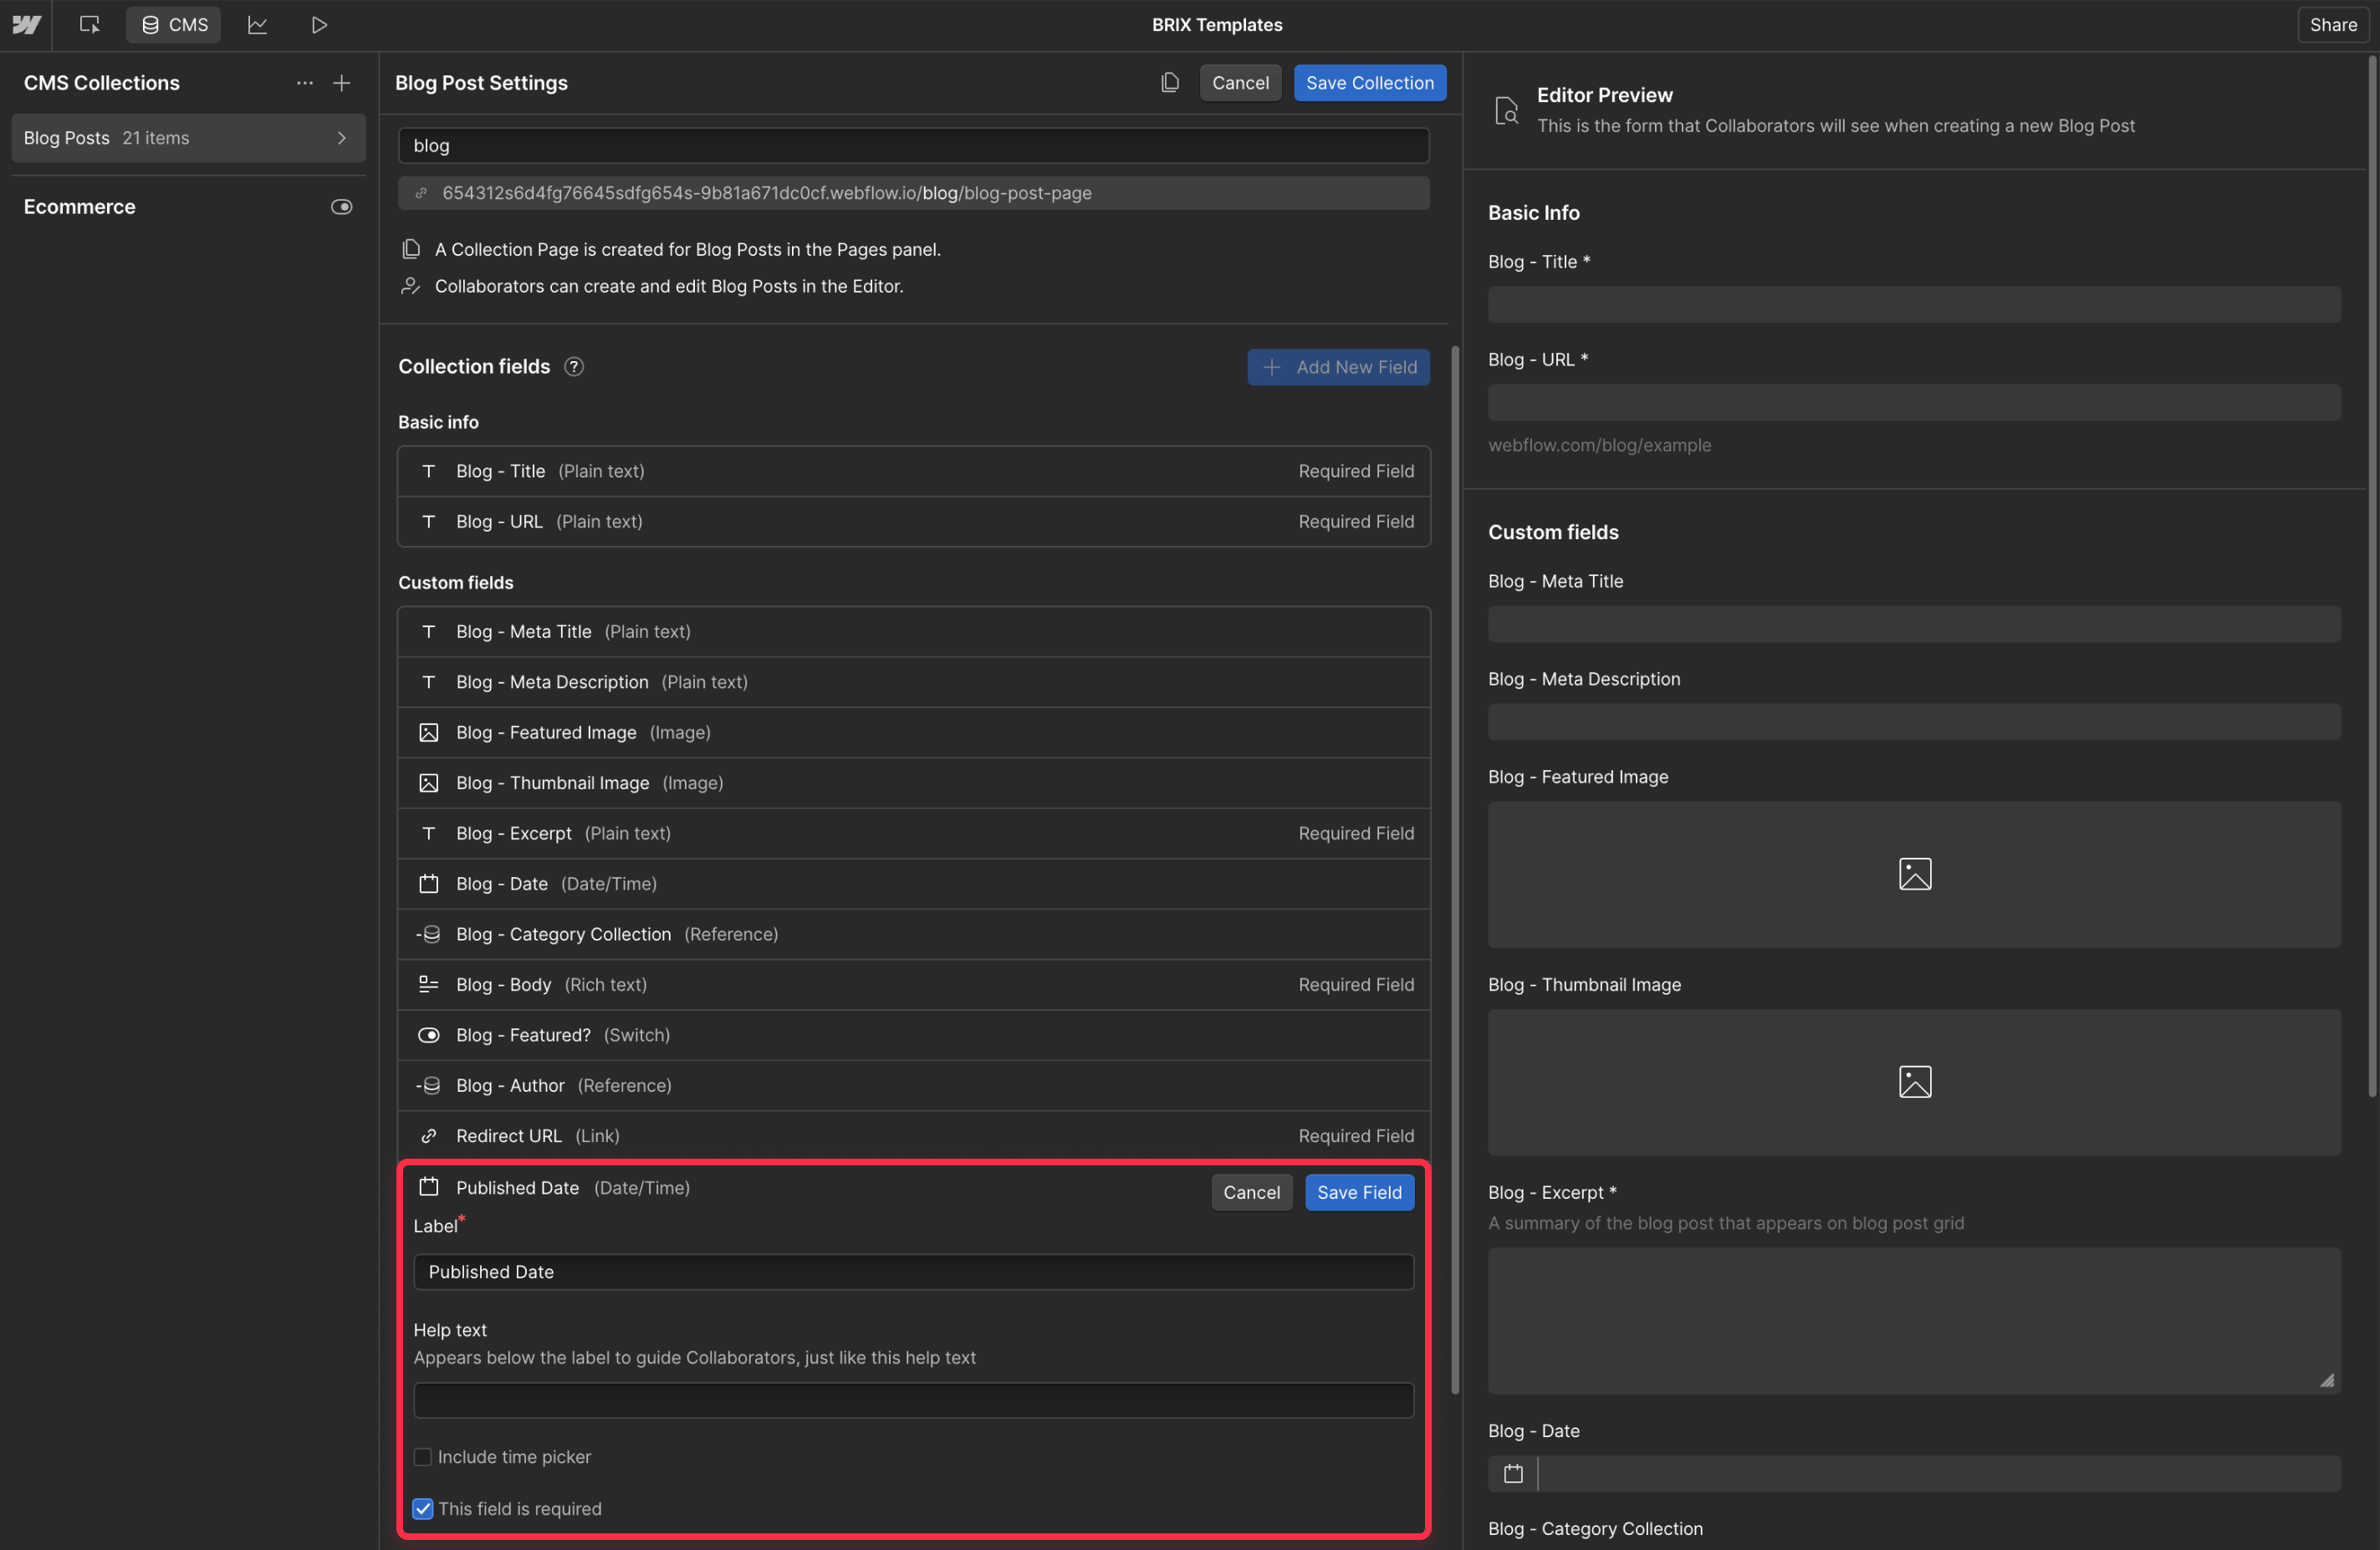
This creates a date field you can fully control - one that won't change unless you explicitly change it.
How to implement your custom date field in Webflow
Now that you've created the field, you need to use it in your design:
- Open your Blog Post template page in the Webflow Designer
- Select the text element currently displaying your post date
- Open the Element Settings panel (gear icon)
- Under CMS Field, change the binding from Published On to your new Published Date field
- Set your preferred date format using the dropdown options
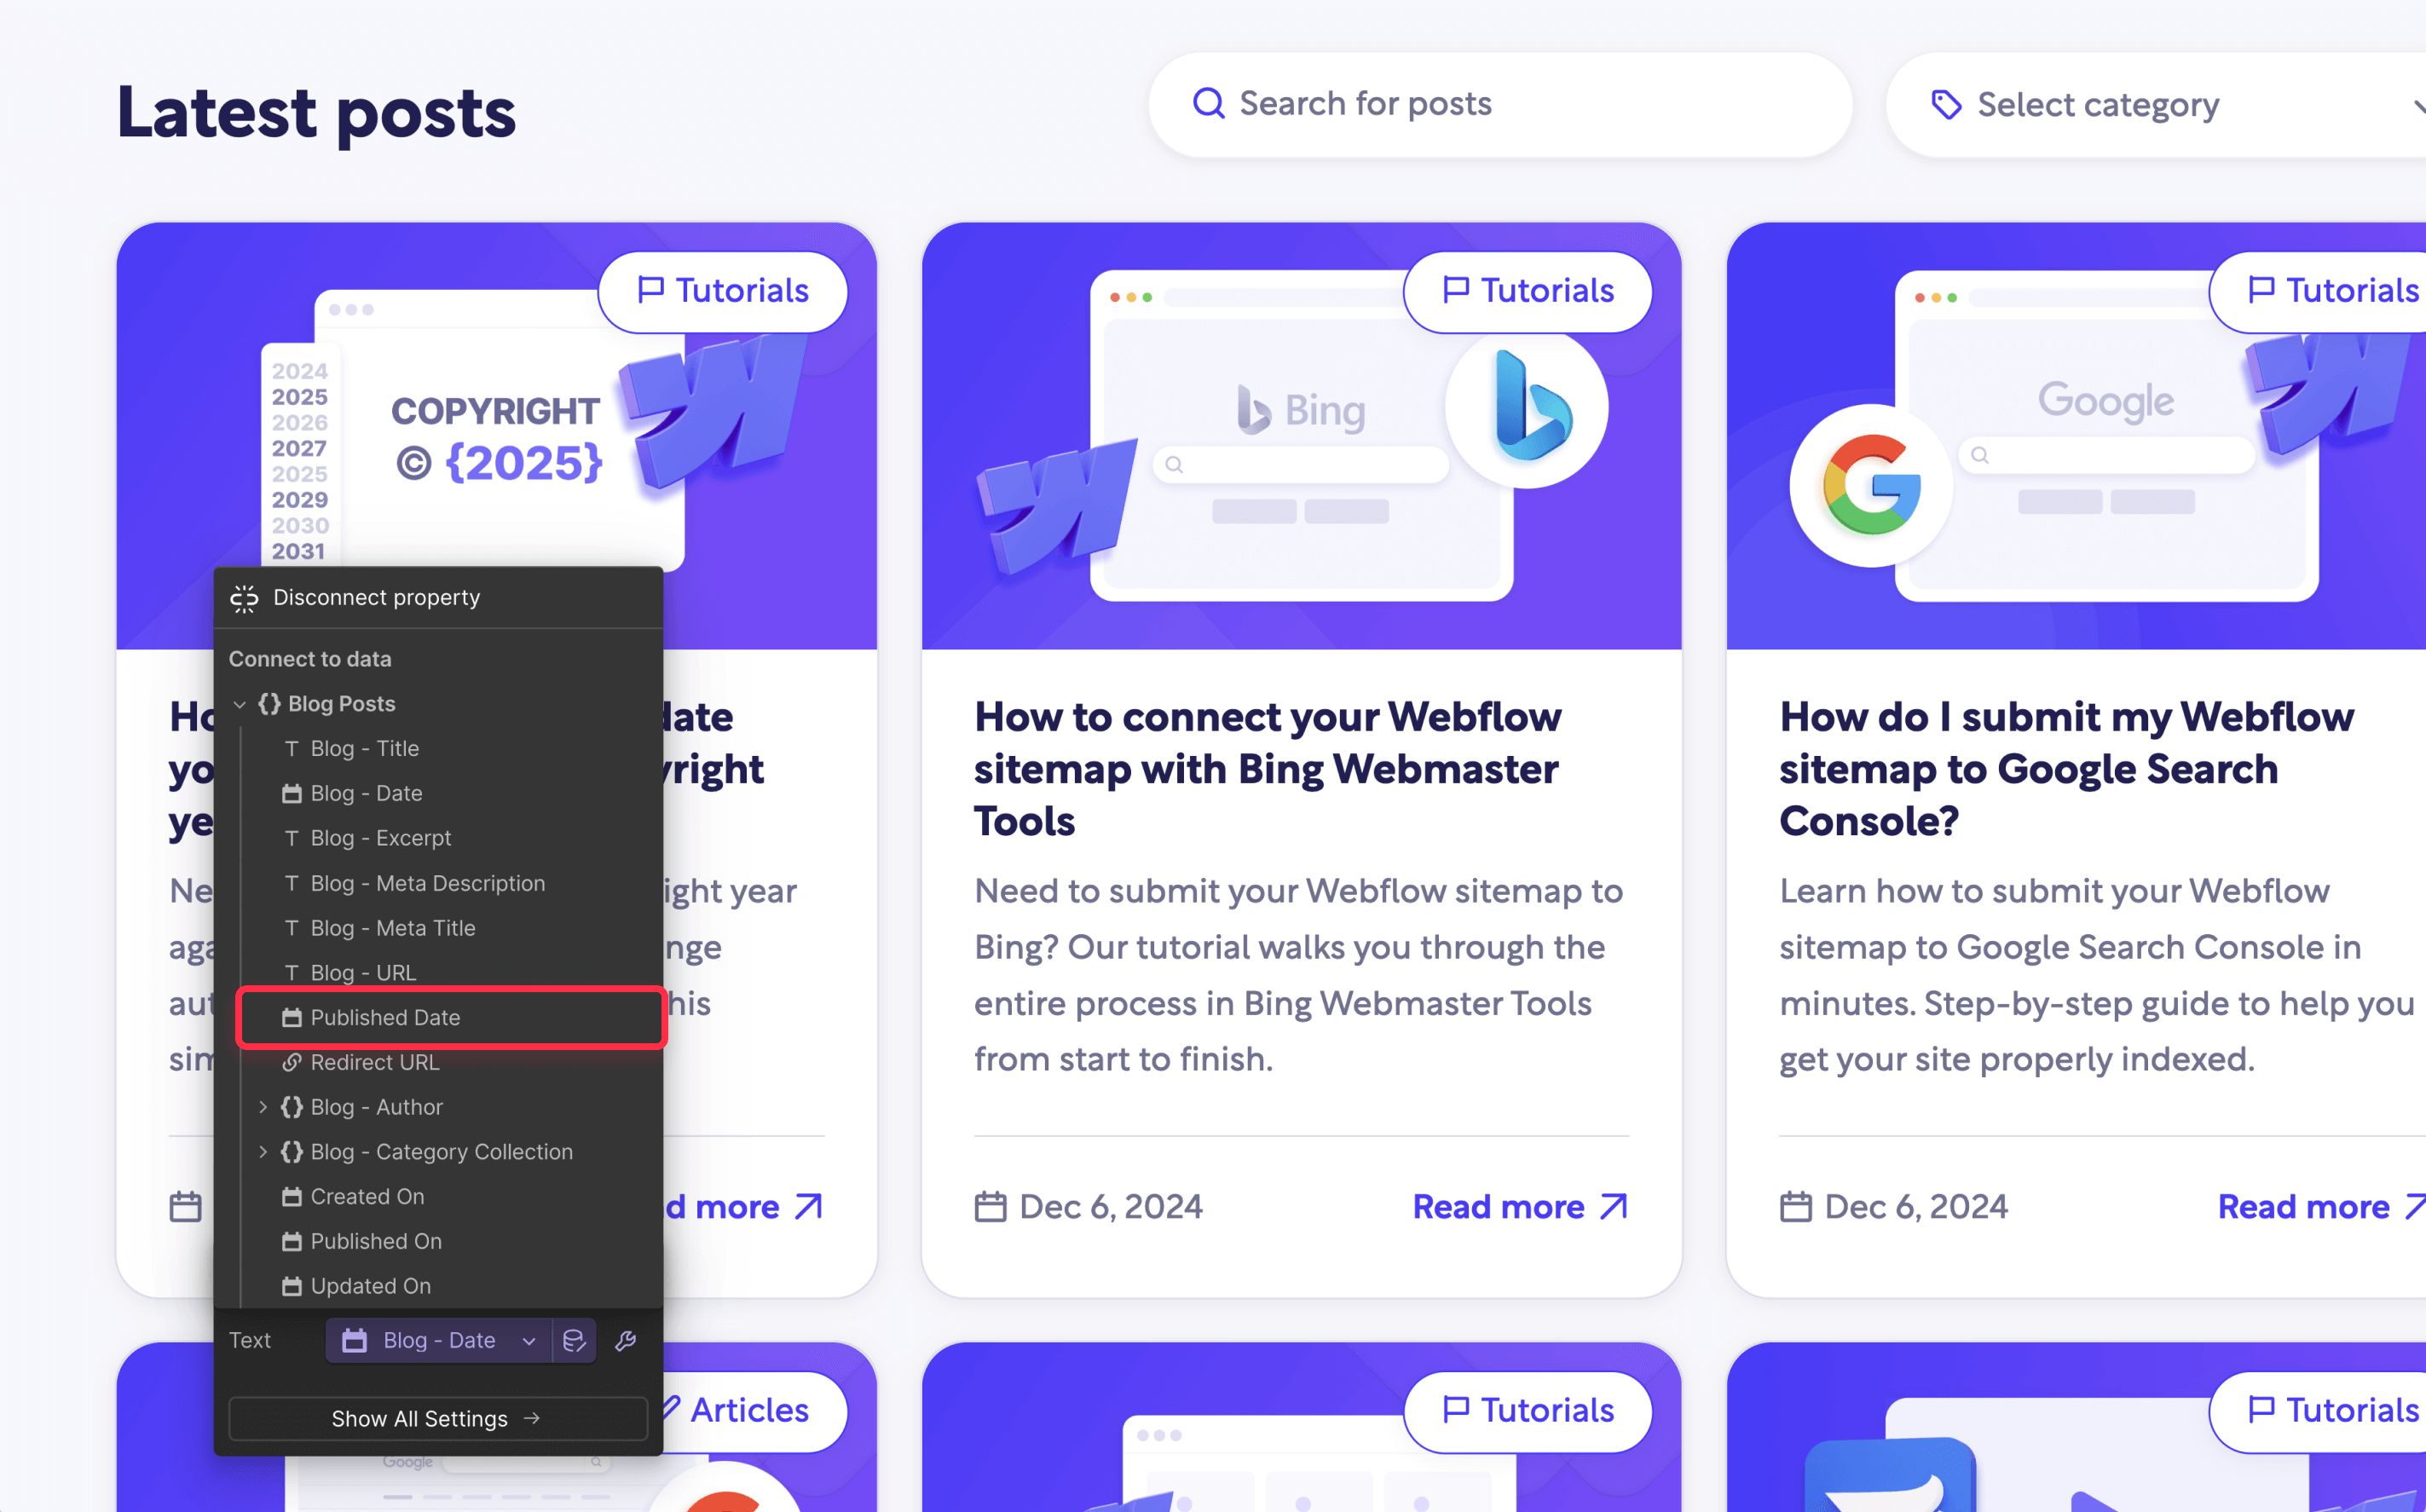
Repeat this process for any other pages where blog dates appear (collection lists, blog category pages, etc.).
Setting dates for existing and new content in Webflow
For existing content:
- Go to your Webflow CMS Collections in the Editor
- Open each blog post
- Scroll to find your Published Date field
- Click to open the date picker
- Select the appropriate date (the original publish date, or your preferred date)
- Save your changes
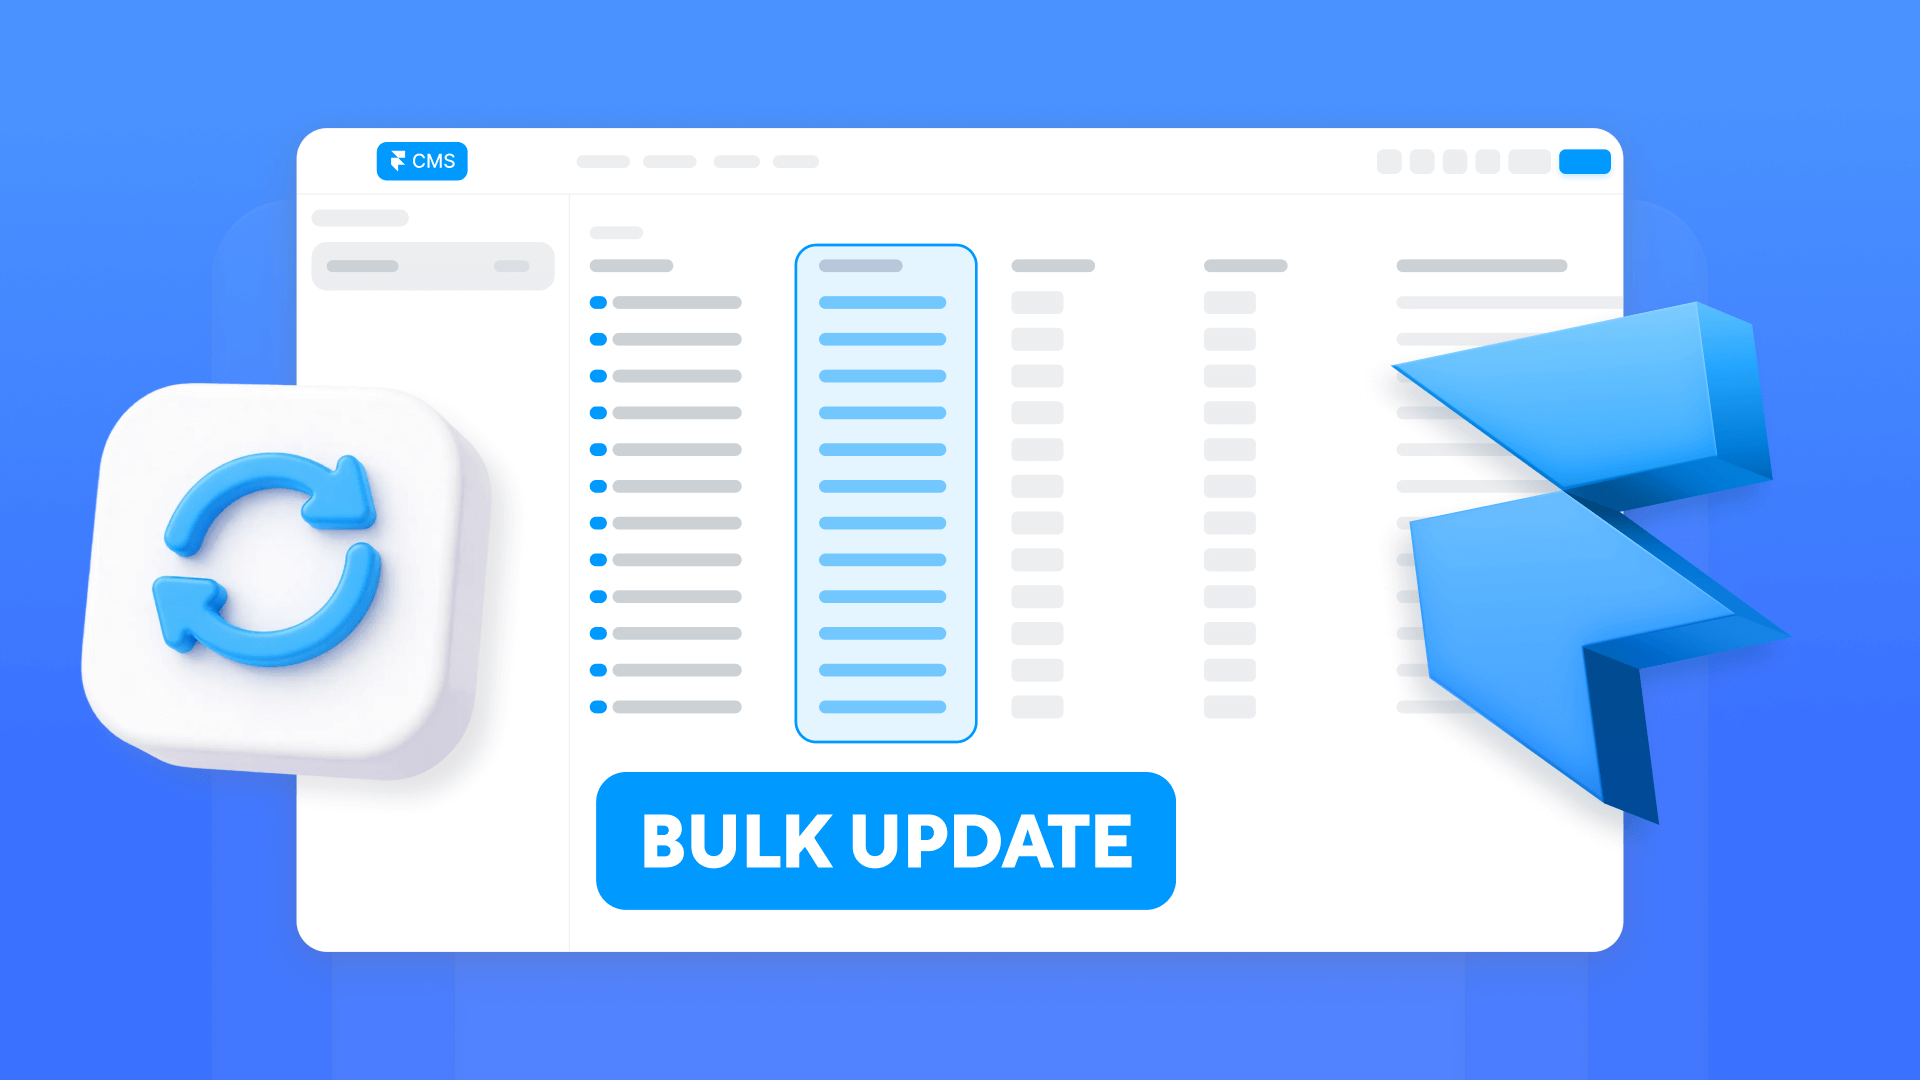
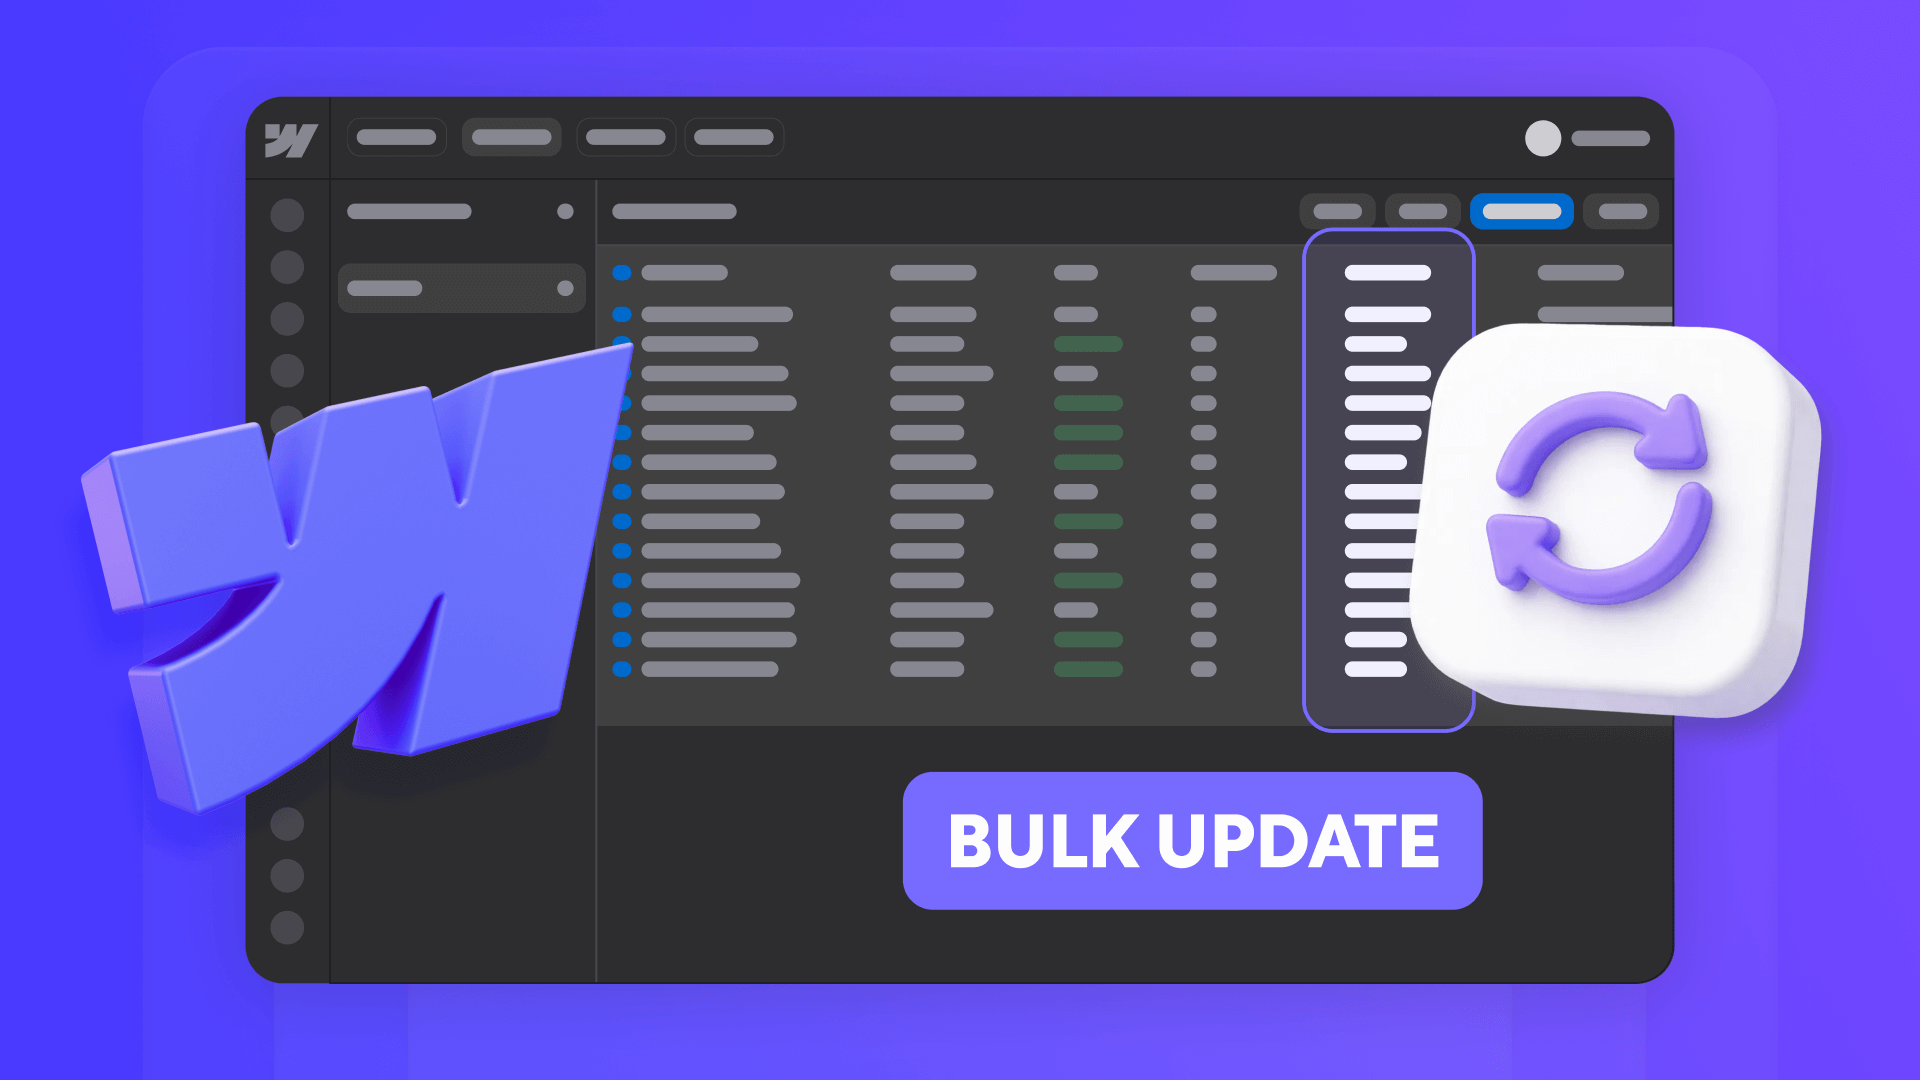
For bulk updates (like when migrating content):
- Export your collection to CSV
- Add the correct dates to your Published Date column
- Import the CSV back using the "Update" option
For new content:
When creating new posts, simply:
- Fill in your post content
- Set the Published Date field to your desired publish date
- Publish the post
The date shown will be exactly what you specified, and it won't change when you edit the post later.
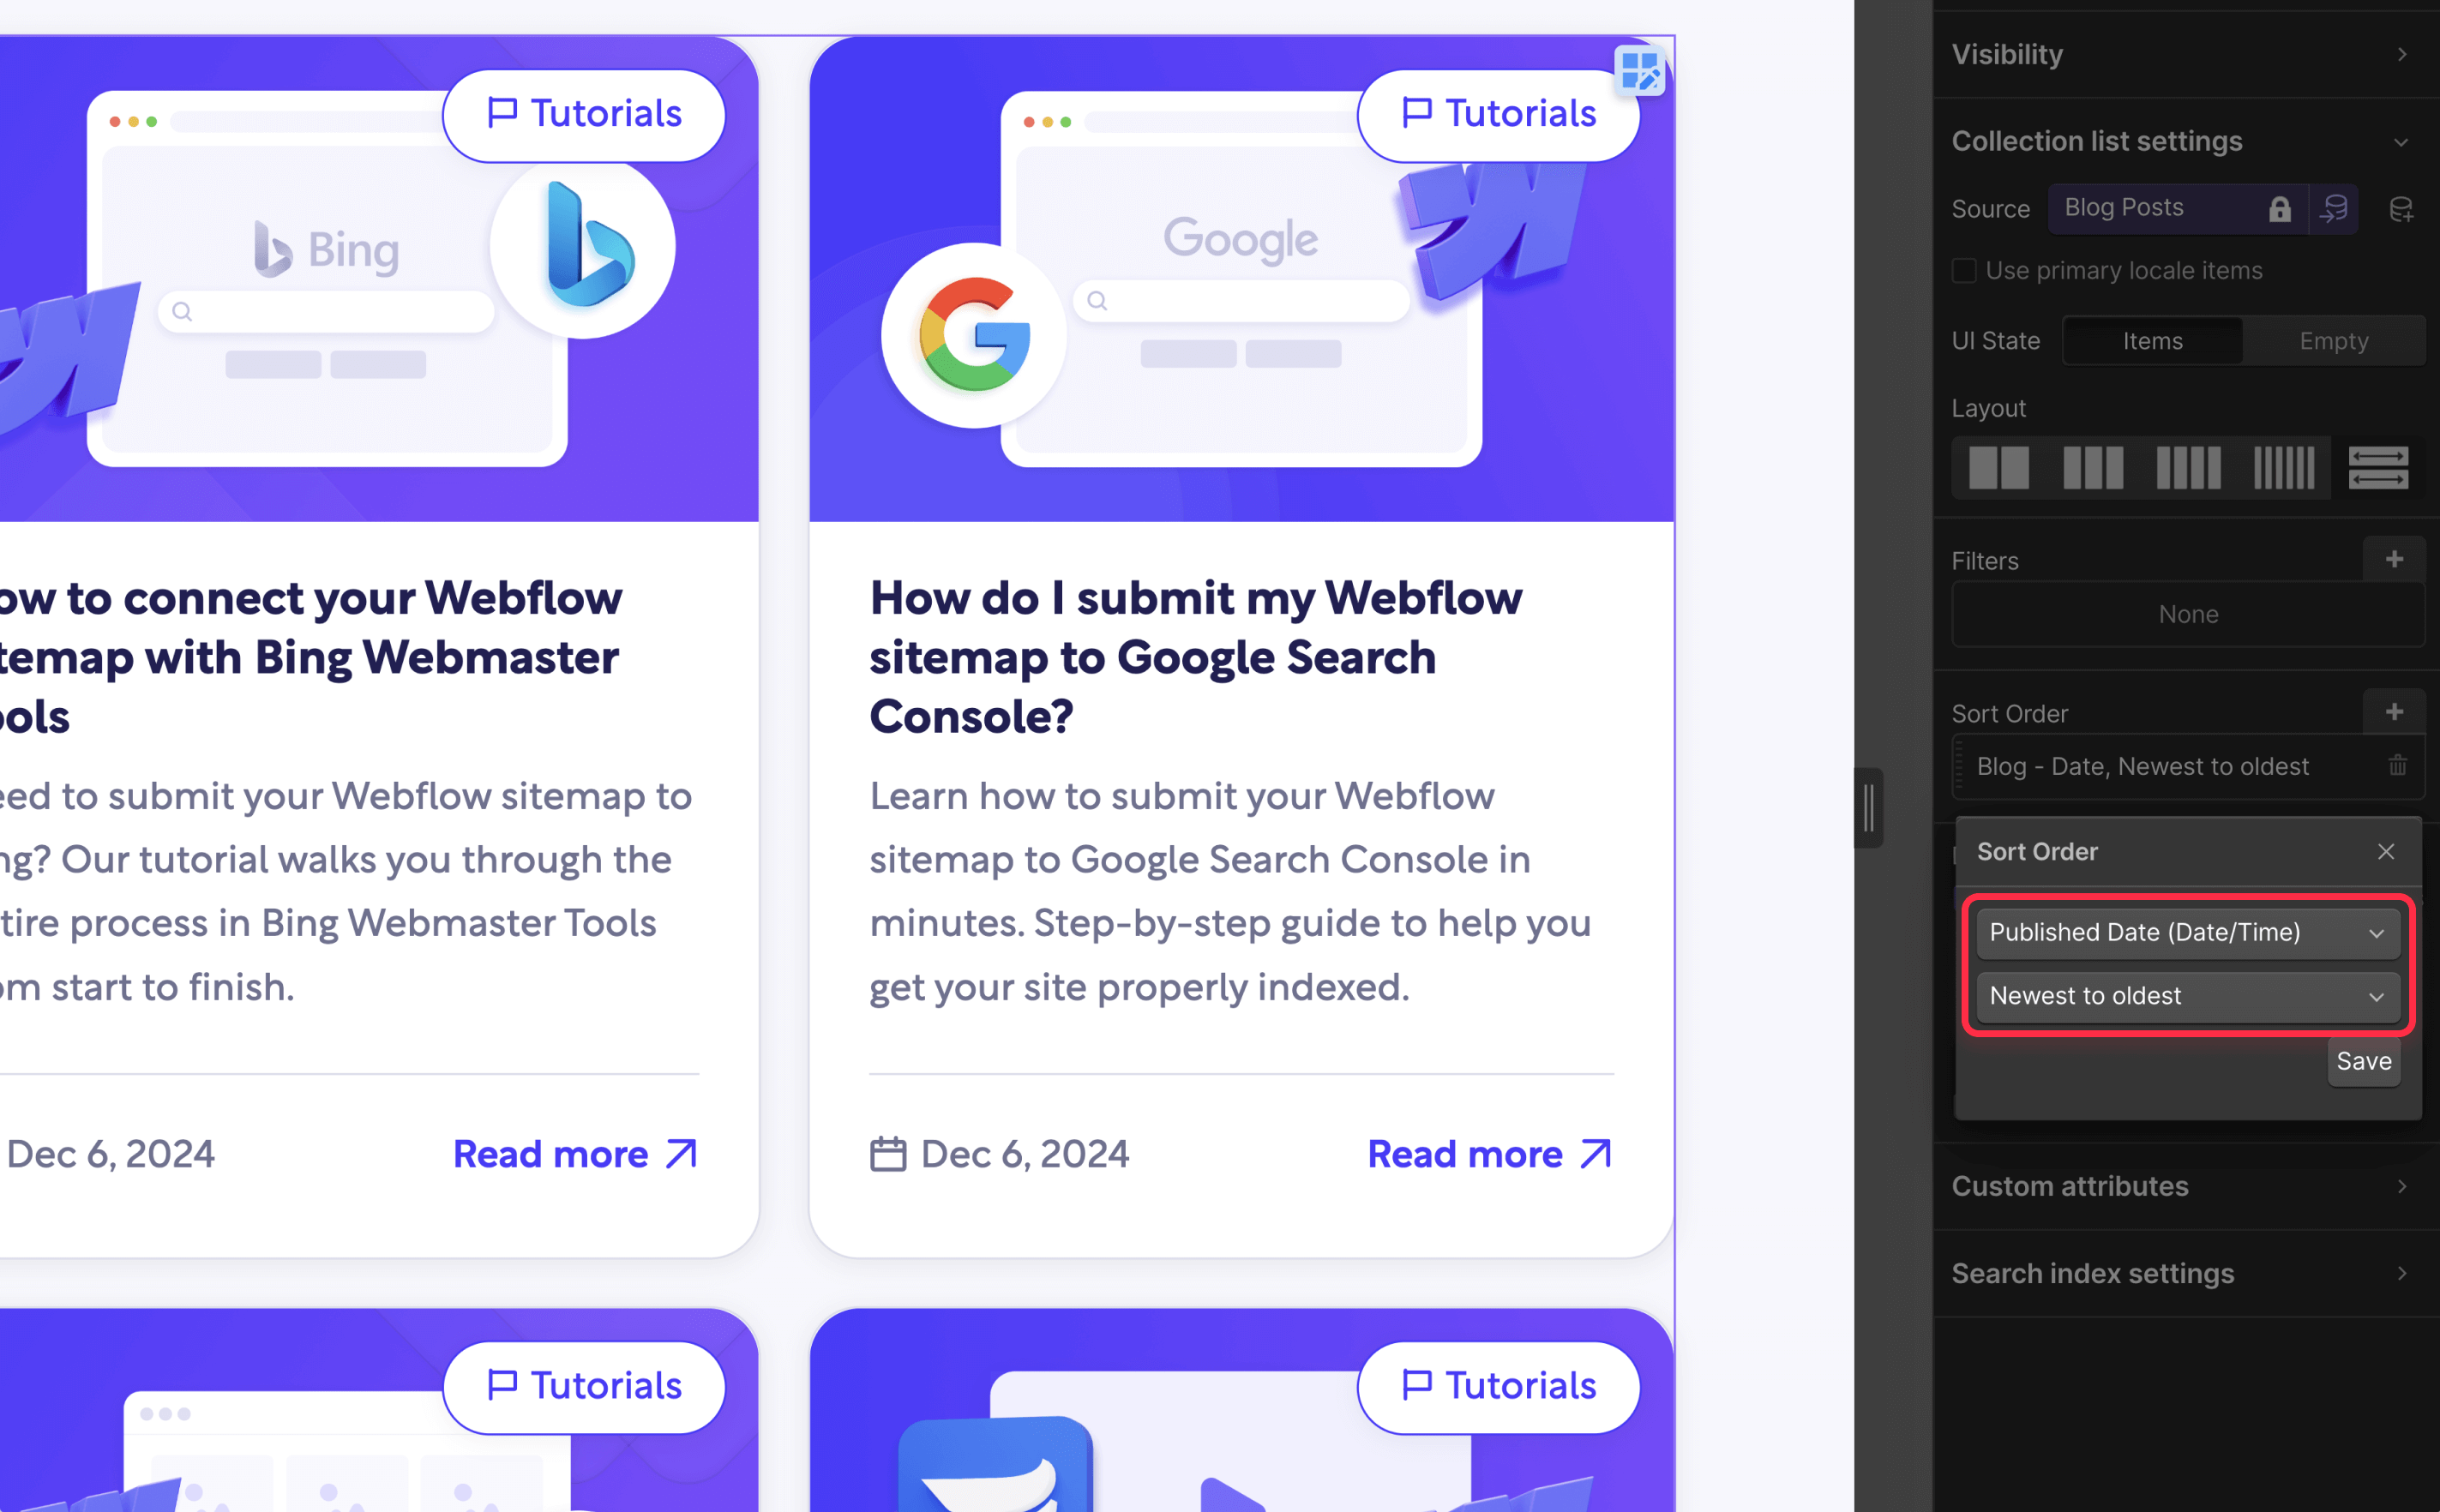
Sorting your Webflow CMS Collection Lists to use the correct date field
To ensure your blog homepage and archives display posts in the right order:
- Select any Collection List element that displays your blog posts
- Open the Collection List Settings panel
- Under Sort, select your custom Published Date field
- Choose Descending for newest-first or Ascending for oldest-first
How to show "Last Updated" information on Webflow for SEO purposes (optional)
If you want to show both original publish date and update information:
- Create a text element for your "Updated on" label
- Set its visibility to show only when needed (you can use Webflow's Updated On field for this)
- Configure it with text like "Updated on" followed by the Updated On dynamic date field
This gives readers both pieces of information: when it was published (your controlled field) and when it was updated (Webflow's automatic field).
Common troubleshooting scenarios related to Webflow CMS dates
- All posts still show the same date: Verify you've updated the binding on your template to use the new custom field, not the system Published On field.
- Posts aren't showing in the correct order: Check that your Collection Lists are sorting by your custom Published Date field, not by the system dates.
- Dates not showing in the preferred format: Revisit the binding settings and select your preferred date format from the dropdown.
- New posts show up without dates: Ensure your custom field is marked as "Required" so editors can't forget to add it.
- RSS feed shows different dates: Webflow's RSS feed uses system dates internally - for complete control, consider generating a custom RSS feed.
Conclusion
Setting up a custom date field in Webflow gives you complete control over how your content's timeline appears - an essential step for any serious blog or news site. With this approach, you maintain the integrity of your content history while still being able to make edits and updates without confusing your readers.
By implementing this solution, you've taken an important step toward creating a more professional and organized content experience on your Webflow site. If you're working with complex Webflow projects and need further customization beyond what's covered here, our top-notch Webflow agency specializes in creating elegant solutions to enhance your site's functionality.


Join readers commenting on this post!