
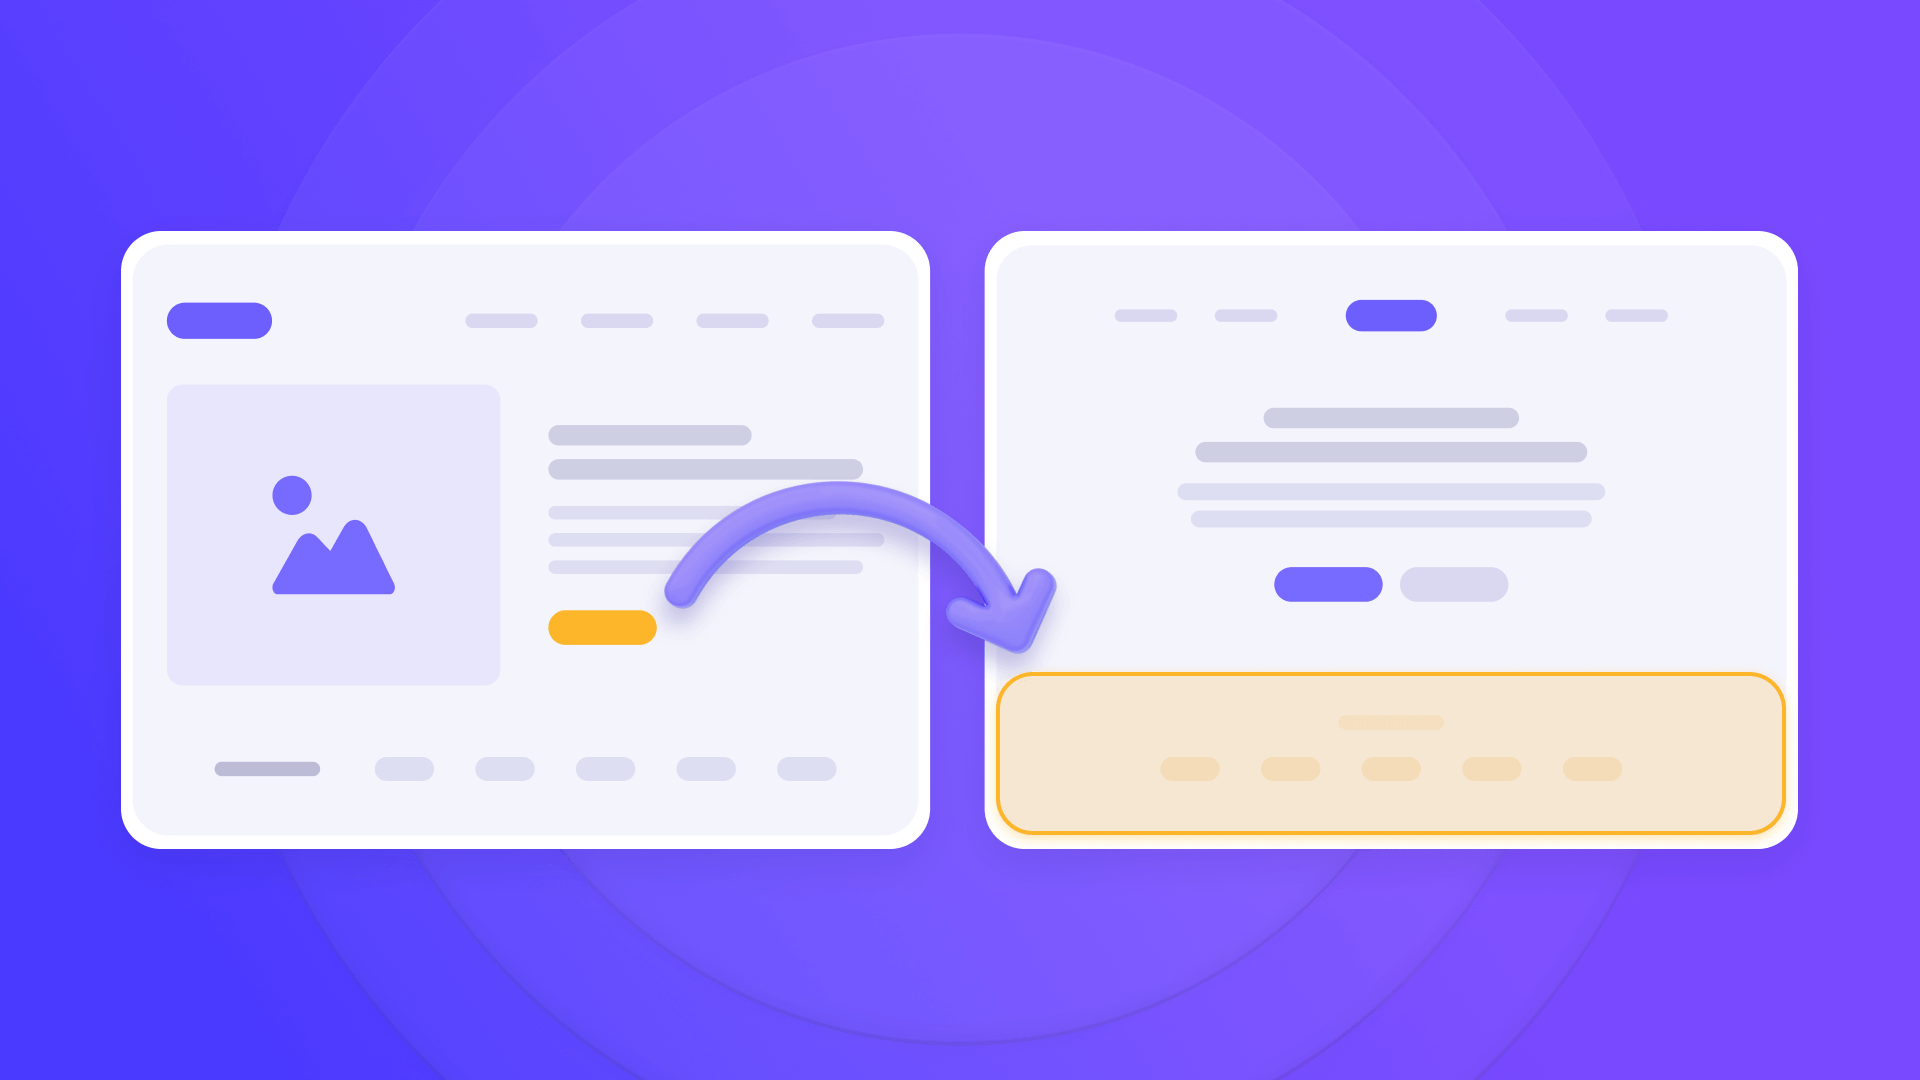
Creating seamless navigation experiences in Webflow often requires directing users to specific sections of your website. While standard anchor links work well within a single page, they fail when you need to link to sections across different pages.
This step-by-step guide explains how to implement cross-page anchor links in Webflow that work consistently across your entire website.
Why cross-page anchor links are essential for complex Webflow sites
- Improved site usability: Direct visitors precisely where they need to go without requiring them to scroll or search for content.
- Efficient navigation design: Create one navigation element that intelligently takes users to the right section, regardless of their current page.
1. How to set up section IDs for anchor targeting on Webflow
Before creating cross-page links, you need to properly identify the sections you want to target:
- Open your Webflow project and navigate to the page containing your target section.
- Select the section element you want to link to.
- Click the Settings panel (⚙️ icon) in the right sidebar.
- In the Element Settings area, locate the ID field.
- Enter a descriptive ID using lowercase letters and hyphens for spaces (e.g., pricing-plans, team-members, or contact-form).
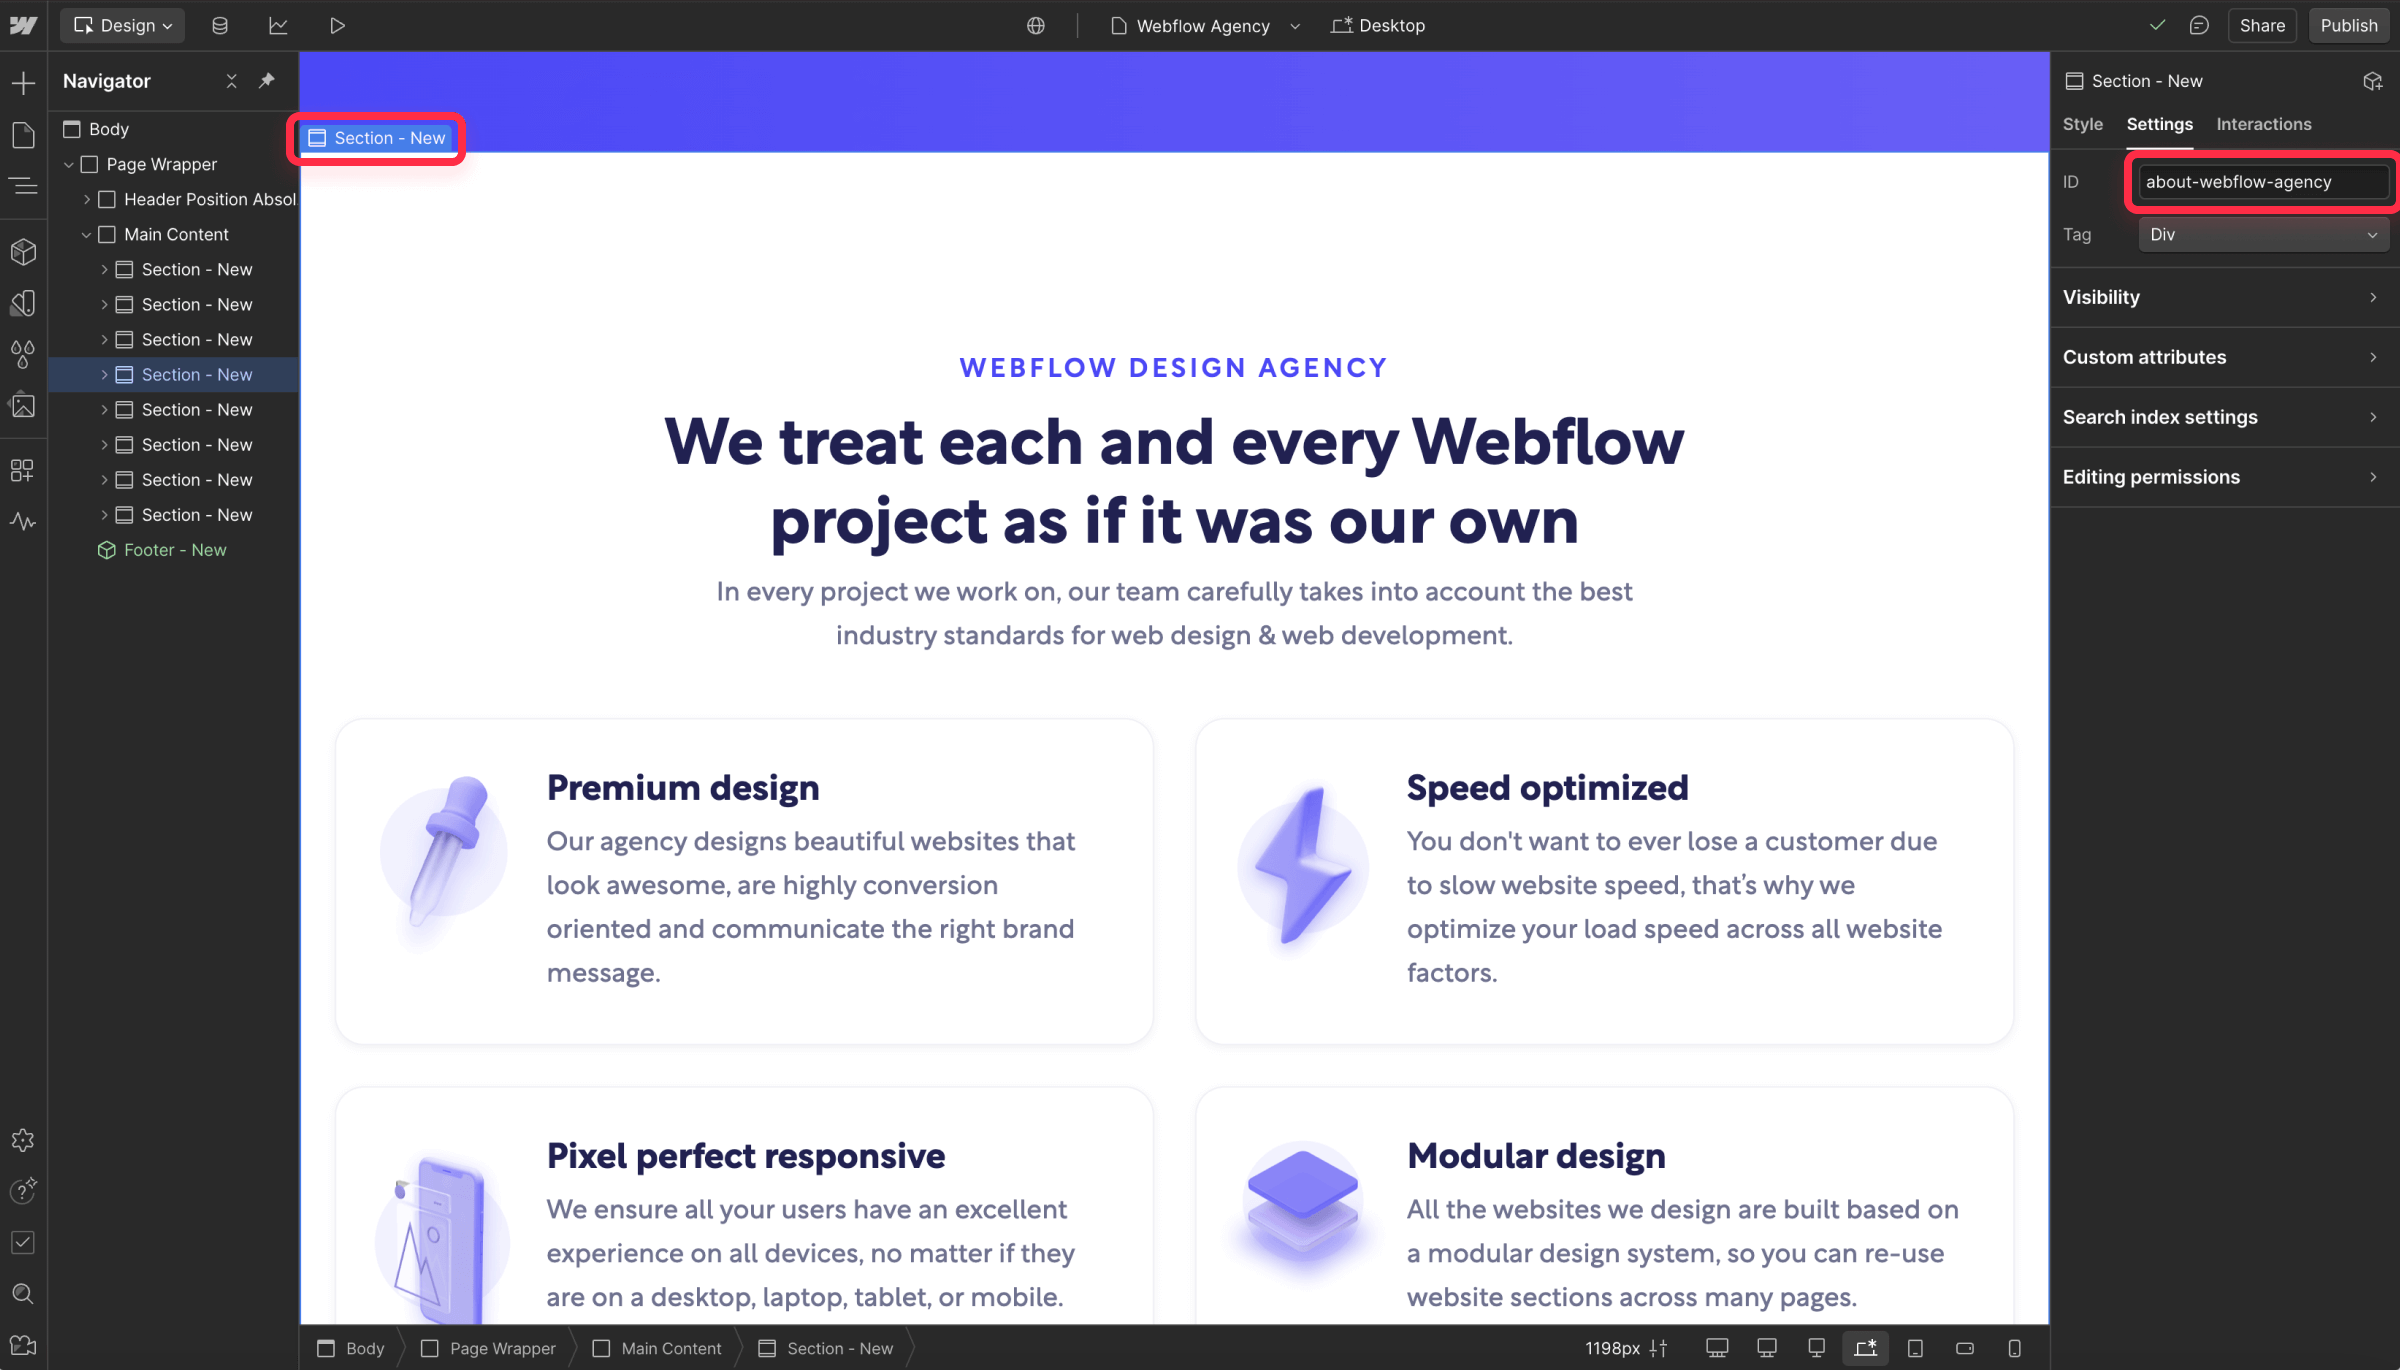
Tip: Use short, memorable IDs that clearly indicate the section's content. Avoid special characters, spaces, or uppercase letters in your IDs.
2. How to create functional cross-page anchor links on Webflow
Standard Webflow navigation only works for sections on the current page. Here's how to make links that work across different pages:
- Select the link element (button, text link, or navigation item) that should navigate to another page's section.
- In the Element Settings panel, click the link icon (🔗).
- Instead of selecting a page or section, choose External Link.
- Enter the URL using one of these formats:
- Relative path with anchor: /services#pricing-section (recommended, as it will work on webflow.io too)
- Full URL with anchor: https://yoursite.com/services#pricing-section
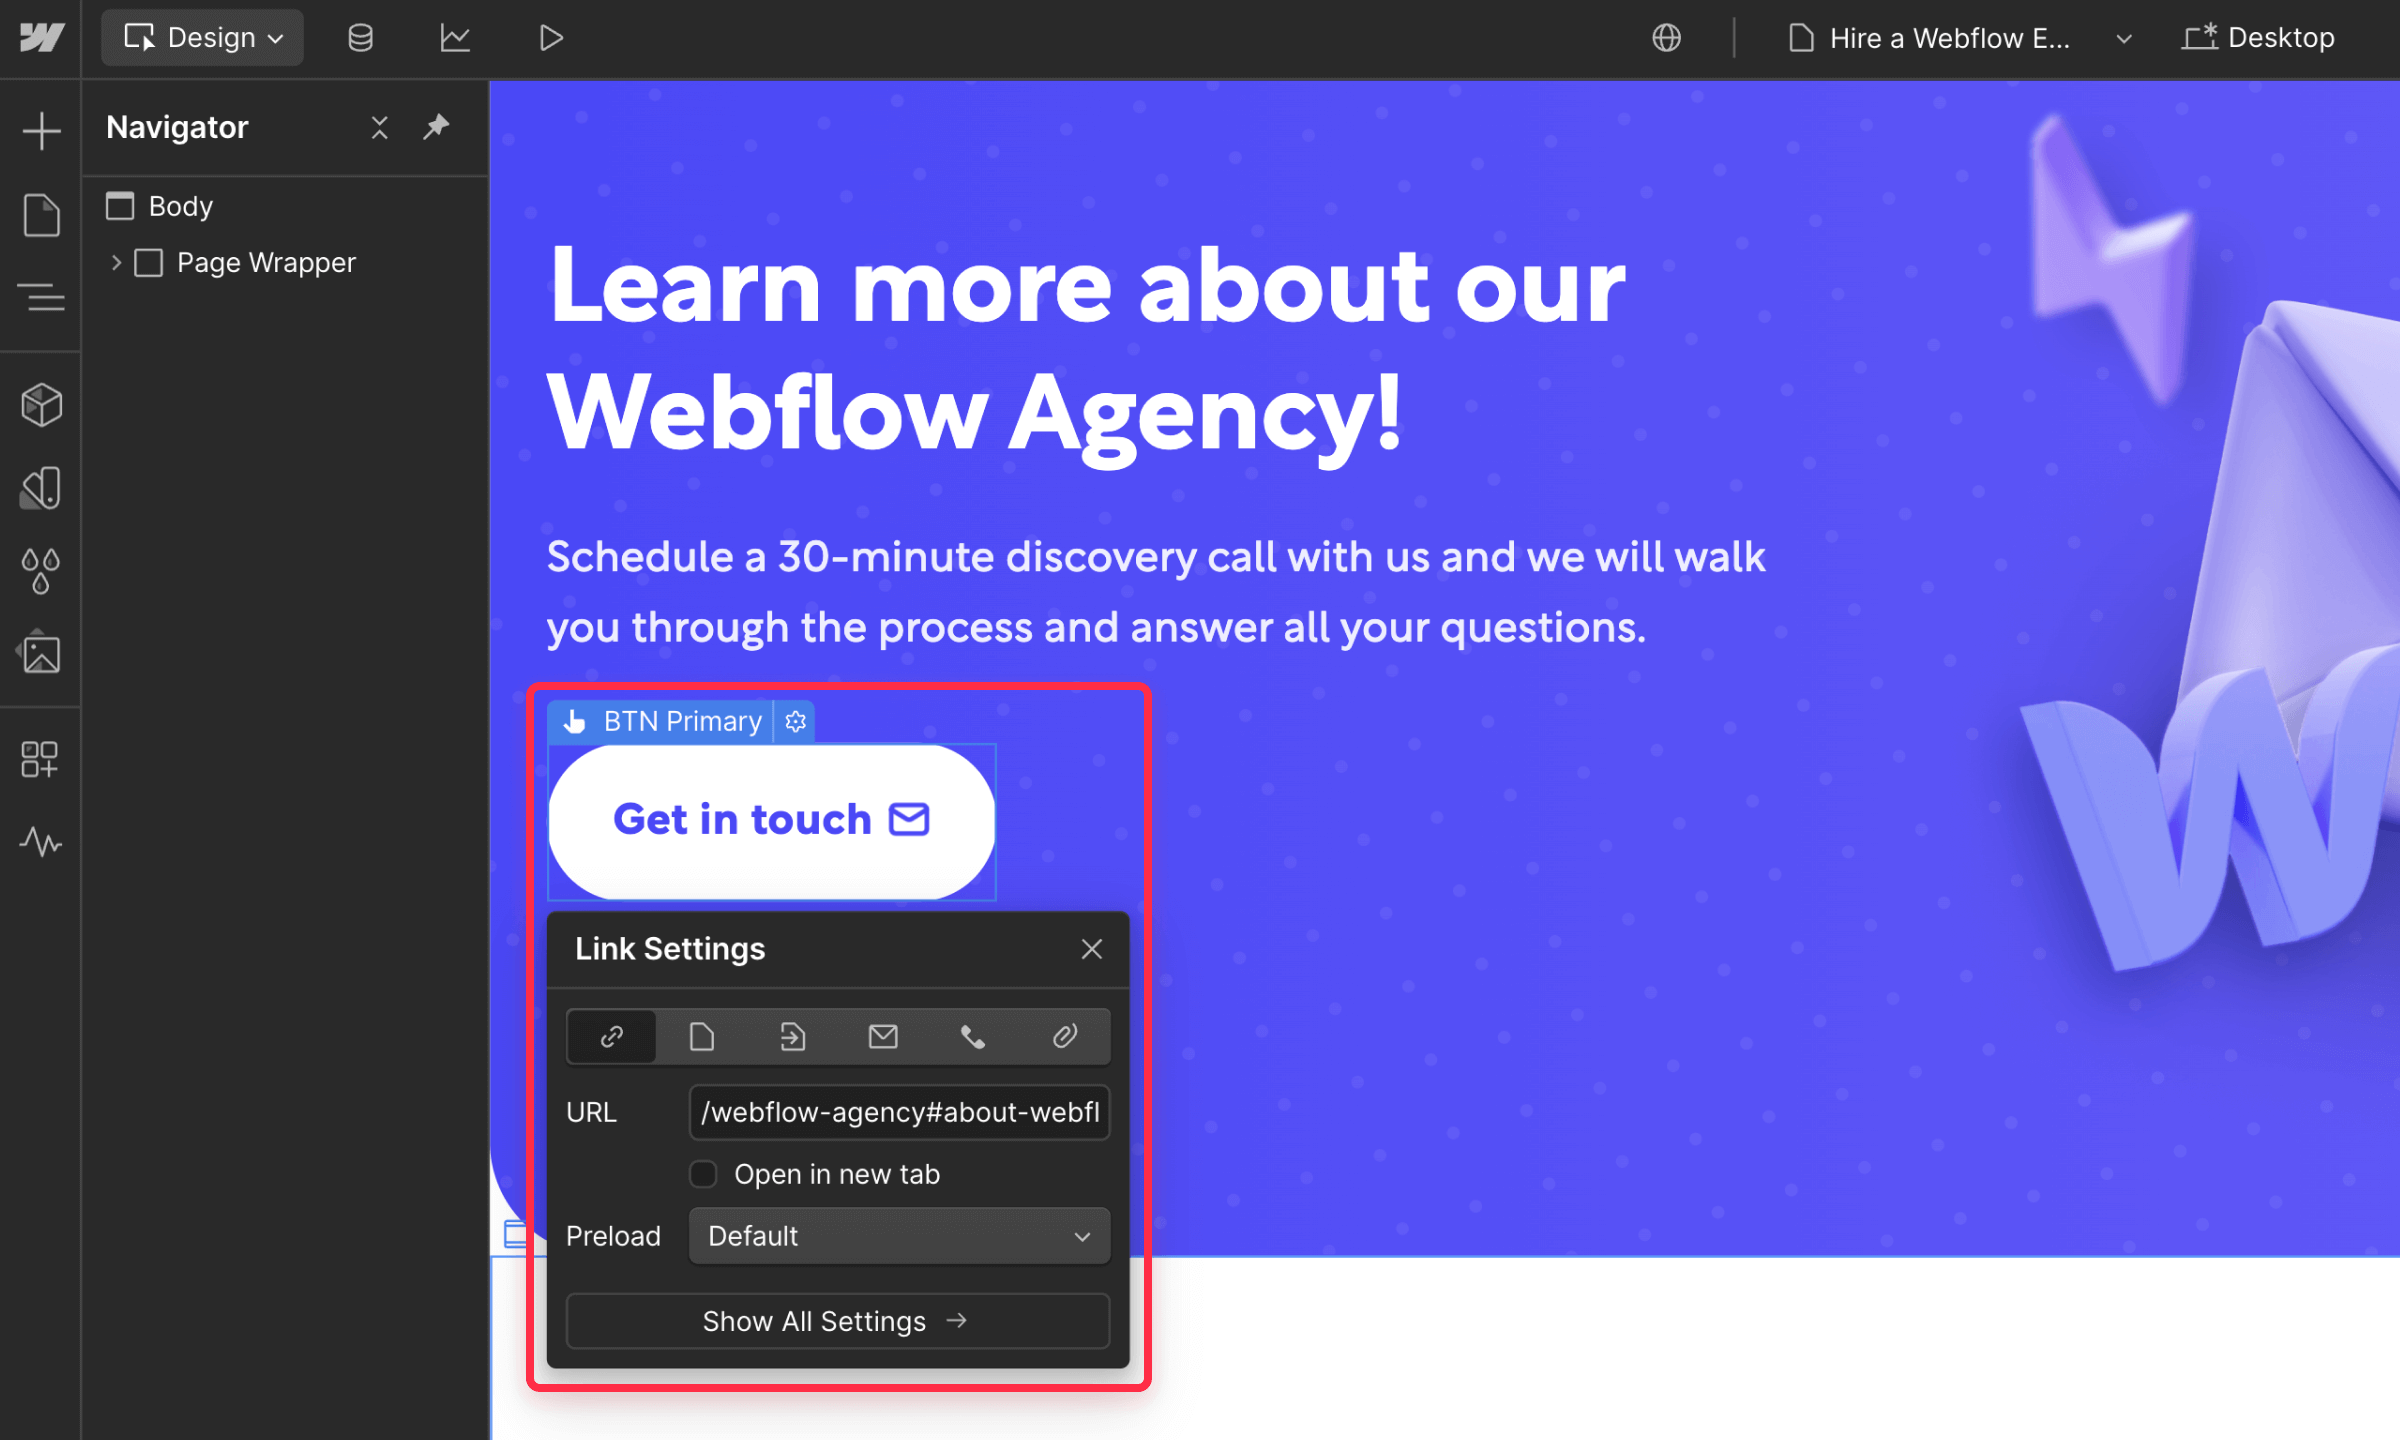
The # symbol tells the browser to look for the specified ID on the page and automatically scroll to it after loading.
2.1. How to handle same-page anchor refreshes on Webflow
Sometimes you need a link to refresh the current page before scrolling to an anchor point. This is useful when:
- Content in the target section is dynamically generated
- You need to reset interactive elements
- The page state needs to be returned to default
To force a page refresh even when linking to the current page:
- Add a forward slash before the hash symbol in your link URL.
- For example, if you're on the /services page and want to link to the #pricing section on the same page with a refresh: /services/#pricing
This subtle difference instructs the browser to reload the entire page before scrolling to the anchor point.
Troubleshoot common cross-page anchor issues on Webflow
If your cross-page anchors aren't working properly, check these common issues:
- Section ID mismatch: Verify that the ID in your link (#team-section) exactly matches the ID on your target element, including spelling and hyphens.
- Conflicting interactions: Disable any interactions that might interfere with the link's default behavior.
- Publish required: Remember that some changes may only work after publishing your site, not in preview mode.
Conclusion
Cross-page anchor links transform how visitors navigate your Webflow site, allowing for more intuitive and efficient user experiences. By implementing external URLs with proper anchor IDs, you can create seamless navigation that directs users to exactly the right content, regardless of their starting point.
Need help implementing cross-page anchors in your Webflow project? Our agency specializes in creating advanced navigation solutions that enhance user experience while maintaining Webflow's ease of management. Contact us to discover how we can optimize your site's navigation structure.







Join readers commenting on this post!