
Manually transferring leads from Webflow to Klaviyo wastes time. Automate the process with one of these two methods: use Klaviyo’s built-in forms for simplicity or connect your custom Webflow forms via Zapier. Both approaches eliminate manual work, letting you focus on crafting emails instead of managing spreadsheets.
In this guide, we’ll break down both methods with step-by-step instructions—whether you prioritize speed (embedding Klaviyo’s forms in minutes) or design control (keeping your Webflow styling intact). Let’s get started.

Method 1: Directly embedding a Klaviyo form in Webflow
This method is great if you want a quick, simple setup with no coding needed. It uses Klaviyo’s pre-built forms and gives you access to its full suite of features—like automated campaigns and audience insights—so you can focus on building relationships, not tech headaches.
Why choose direct embedding?
- Speed: Set up in minutes.
- Simplicity: Utilizes Klaviyo's ready-made designs and requires minimal technical expertise.
- Centralized management: Edit forms and track performance directly in Klaviyo.
Step 1: Create your Klaviyo form
- Log into Klaviyo and navigate to "Sign-up forms". Click "Create form".
- Name your form (like "Newsletter") and choose your target email list, select "Embed" as your form type, and click "Save and design" to proceed to the form editor.

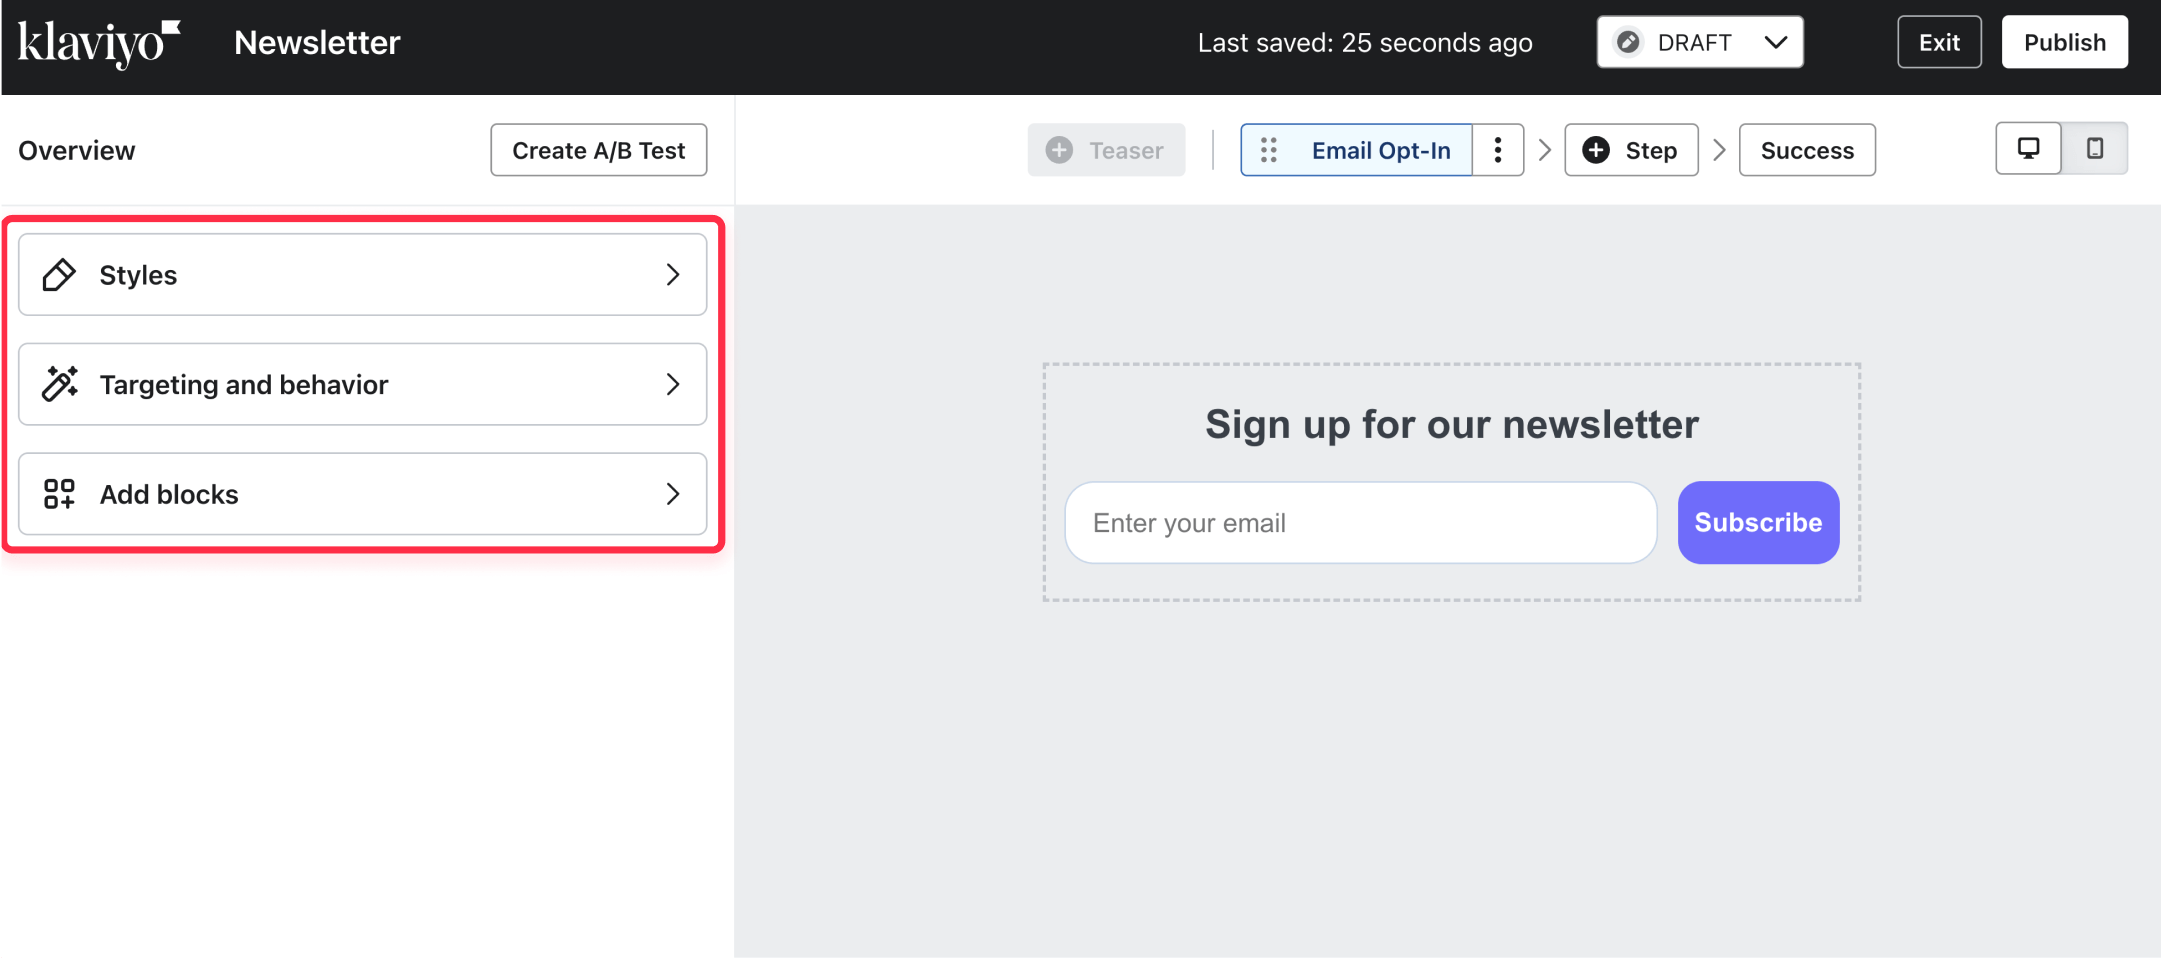
Step 2: Design and customize
- Add the necessary blocks to customize the layout, such as text, buttons, or input fields.
- Adjust the styles to match your brand, including typography, colors, and padding settings.
- Configure the behavior by defining display rules (e.g., target devices) and audience settings. Optimize for tracking with UTM parameters or custom triggers.
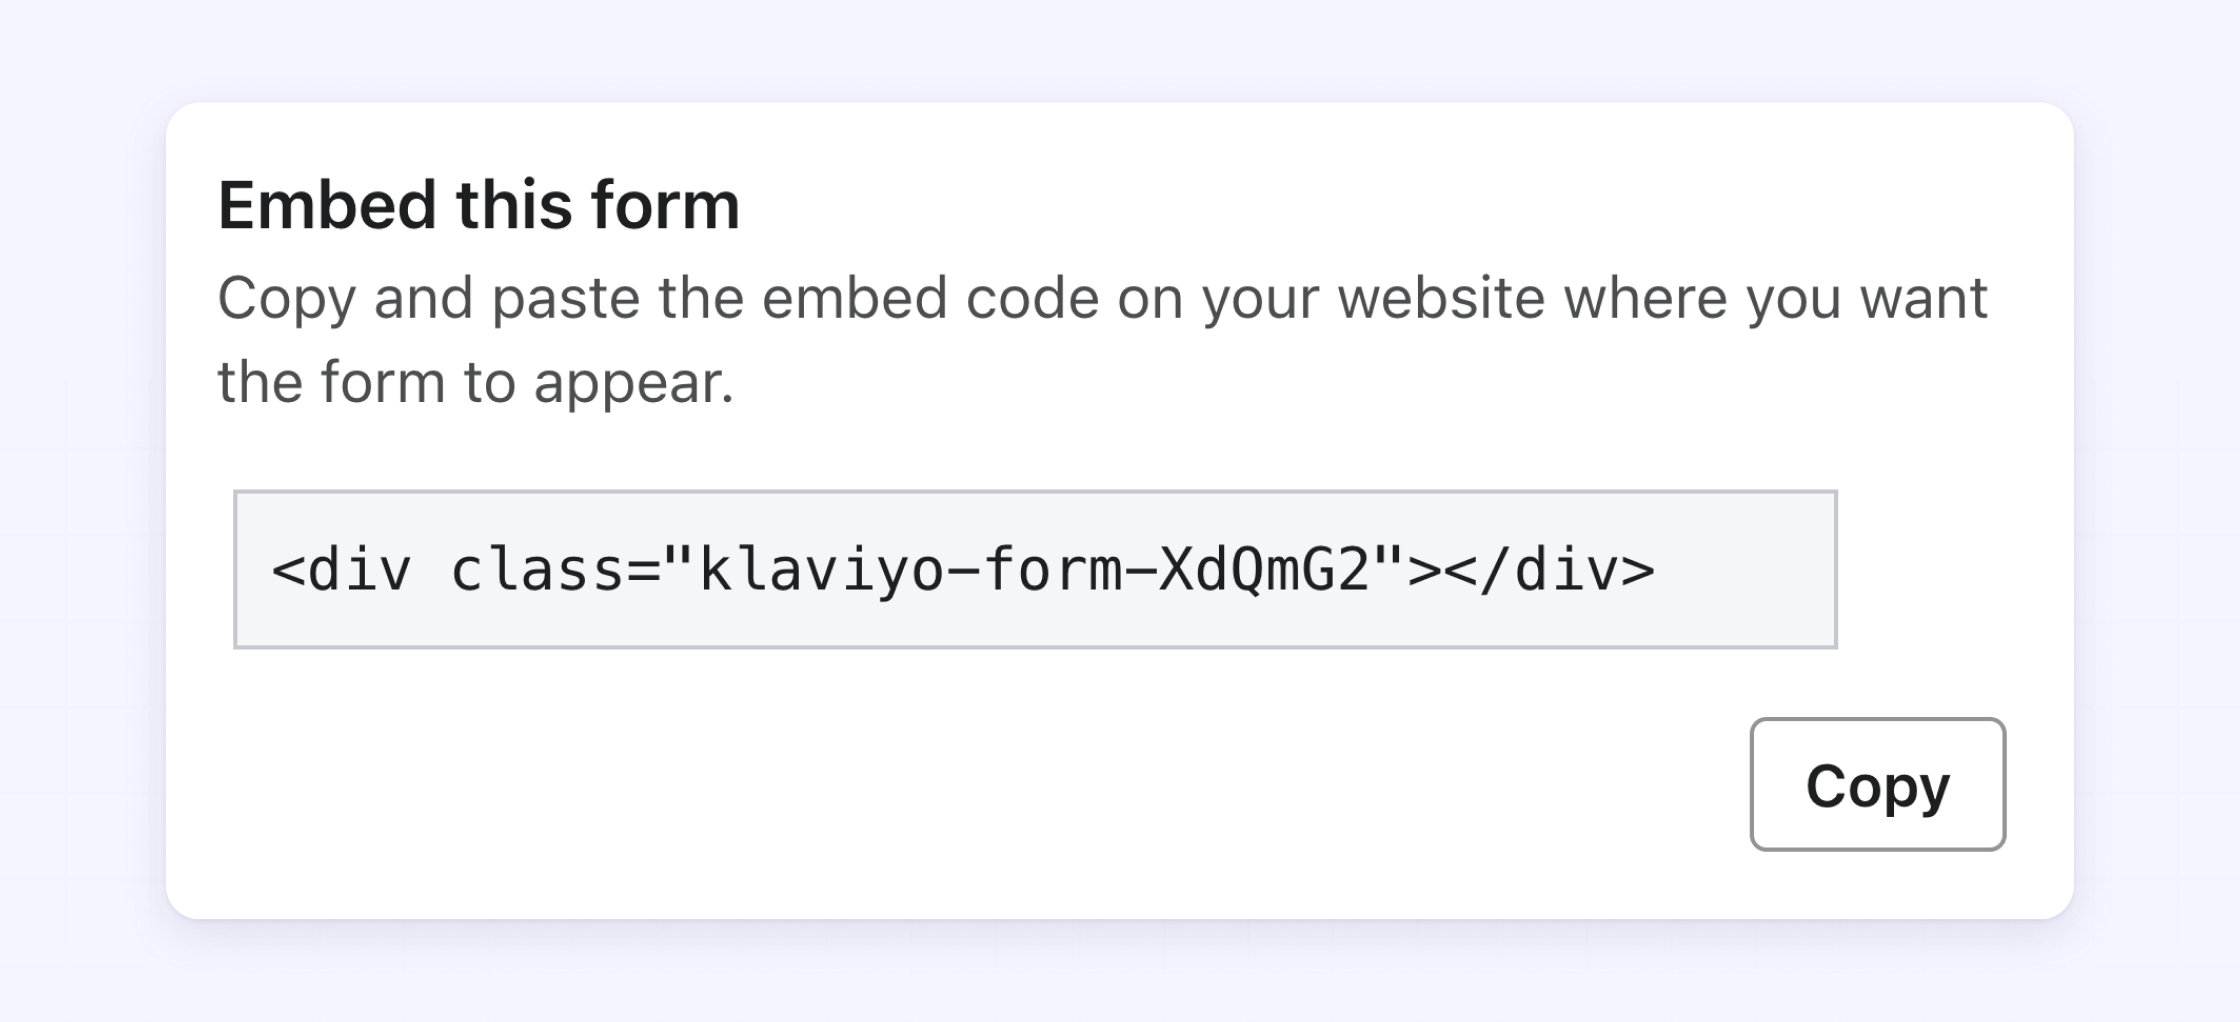
Step 3: Get your form codes
- Publish your form by clicking “Publish” in the form editor to finalize your design.
- Copy the embed code provided after publishing your form.
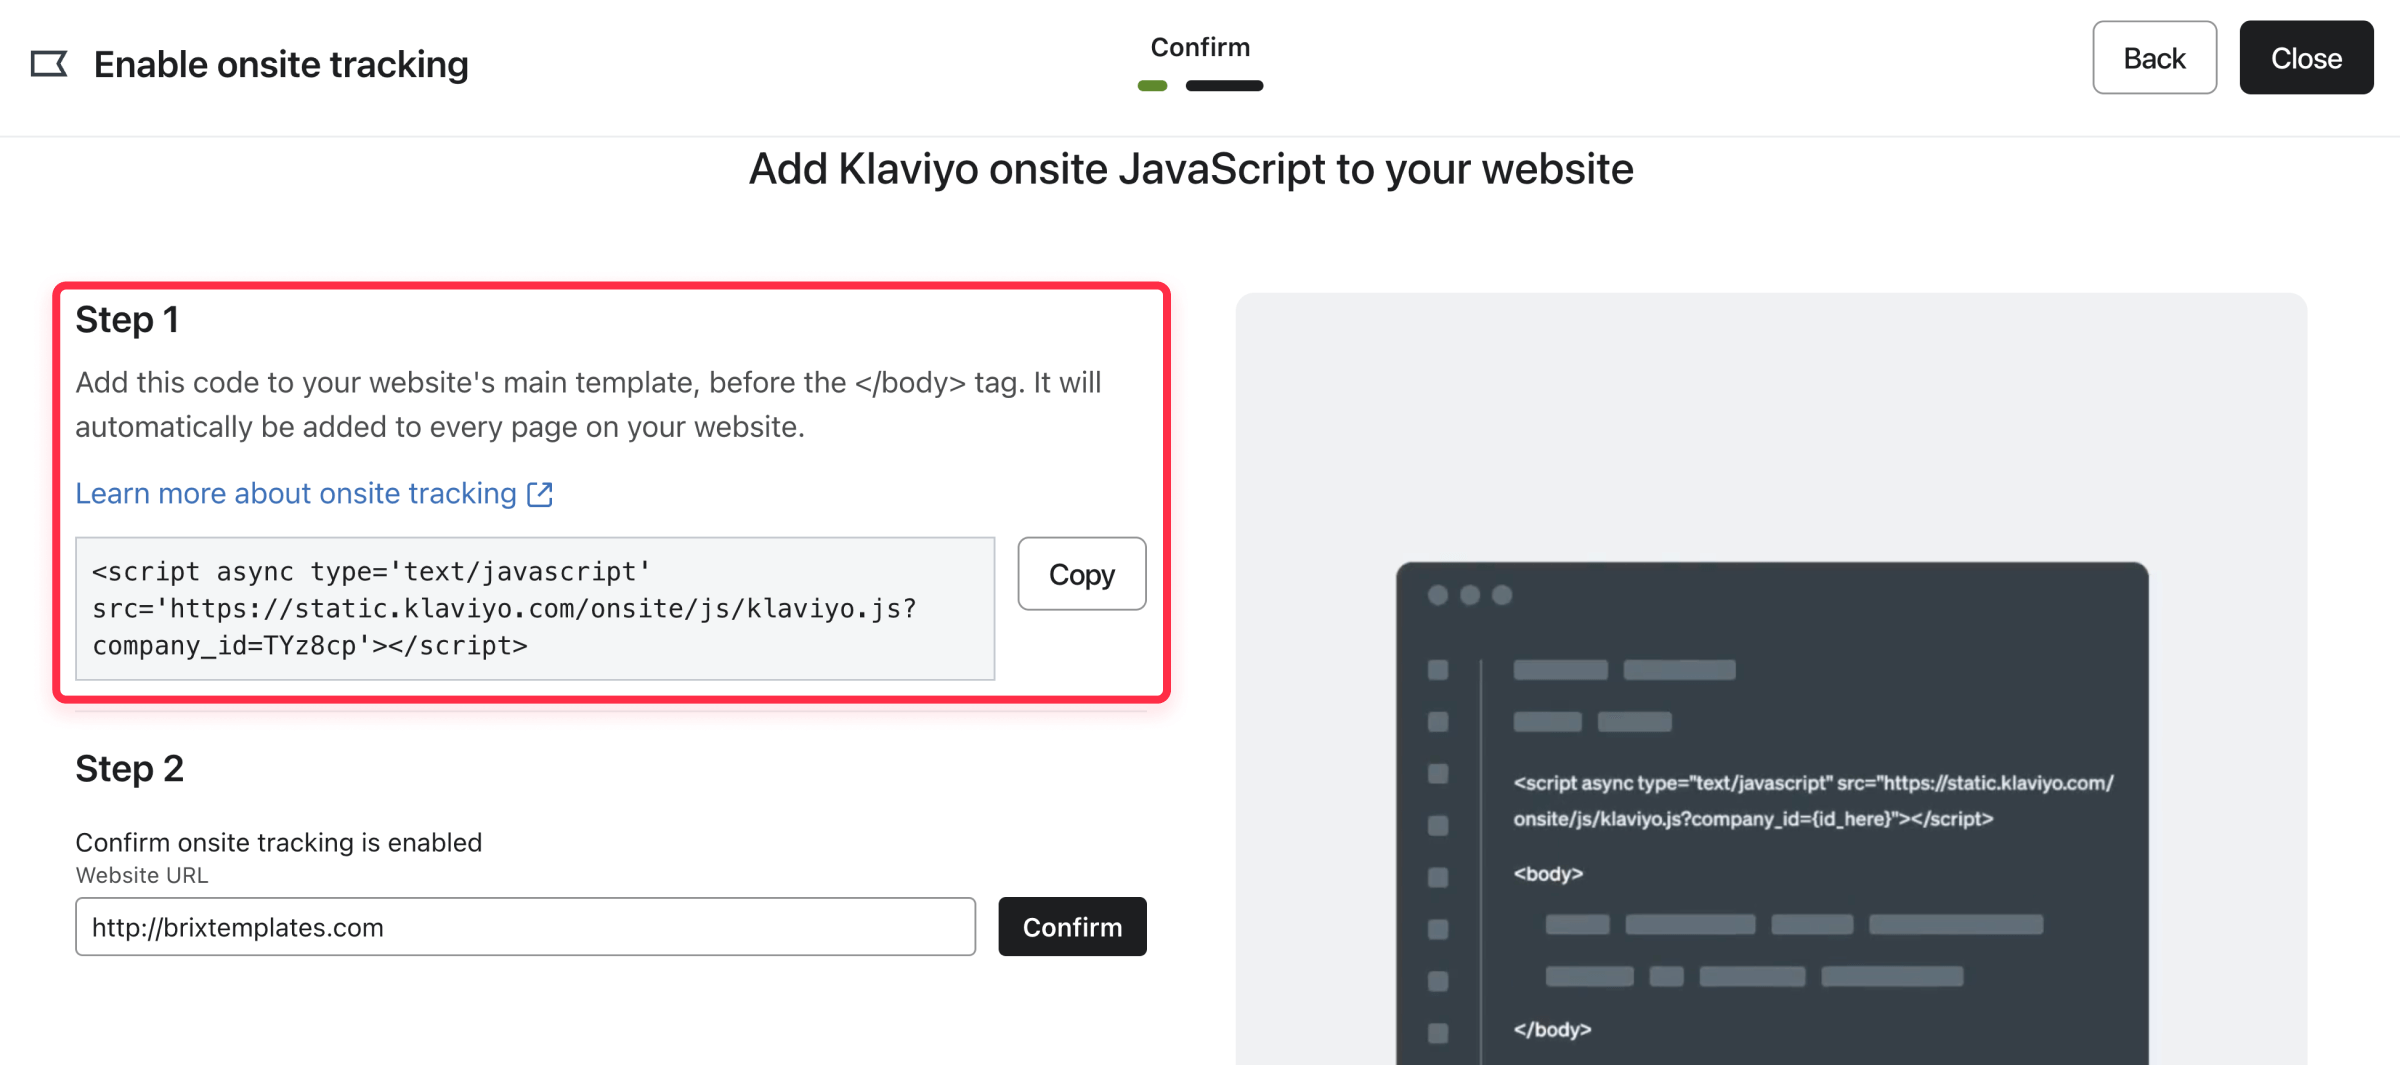
- Return to the main dashboard and go to “Add Forms to Website.” Select “Setup Manually” to retrieve the tracking code.
Step 4: Add code to Webflow
- Navigate to your Webflow project settings and locate the Custom Code section. Look for the "Before </body> tag" area and paste your tracking code here (this is the JavaScript snippet starting with <script>).
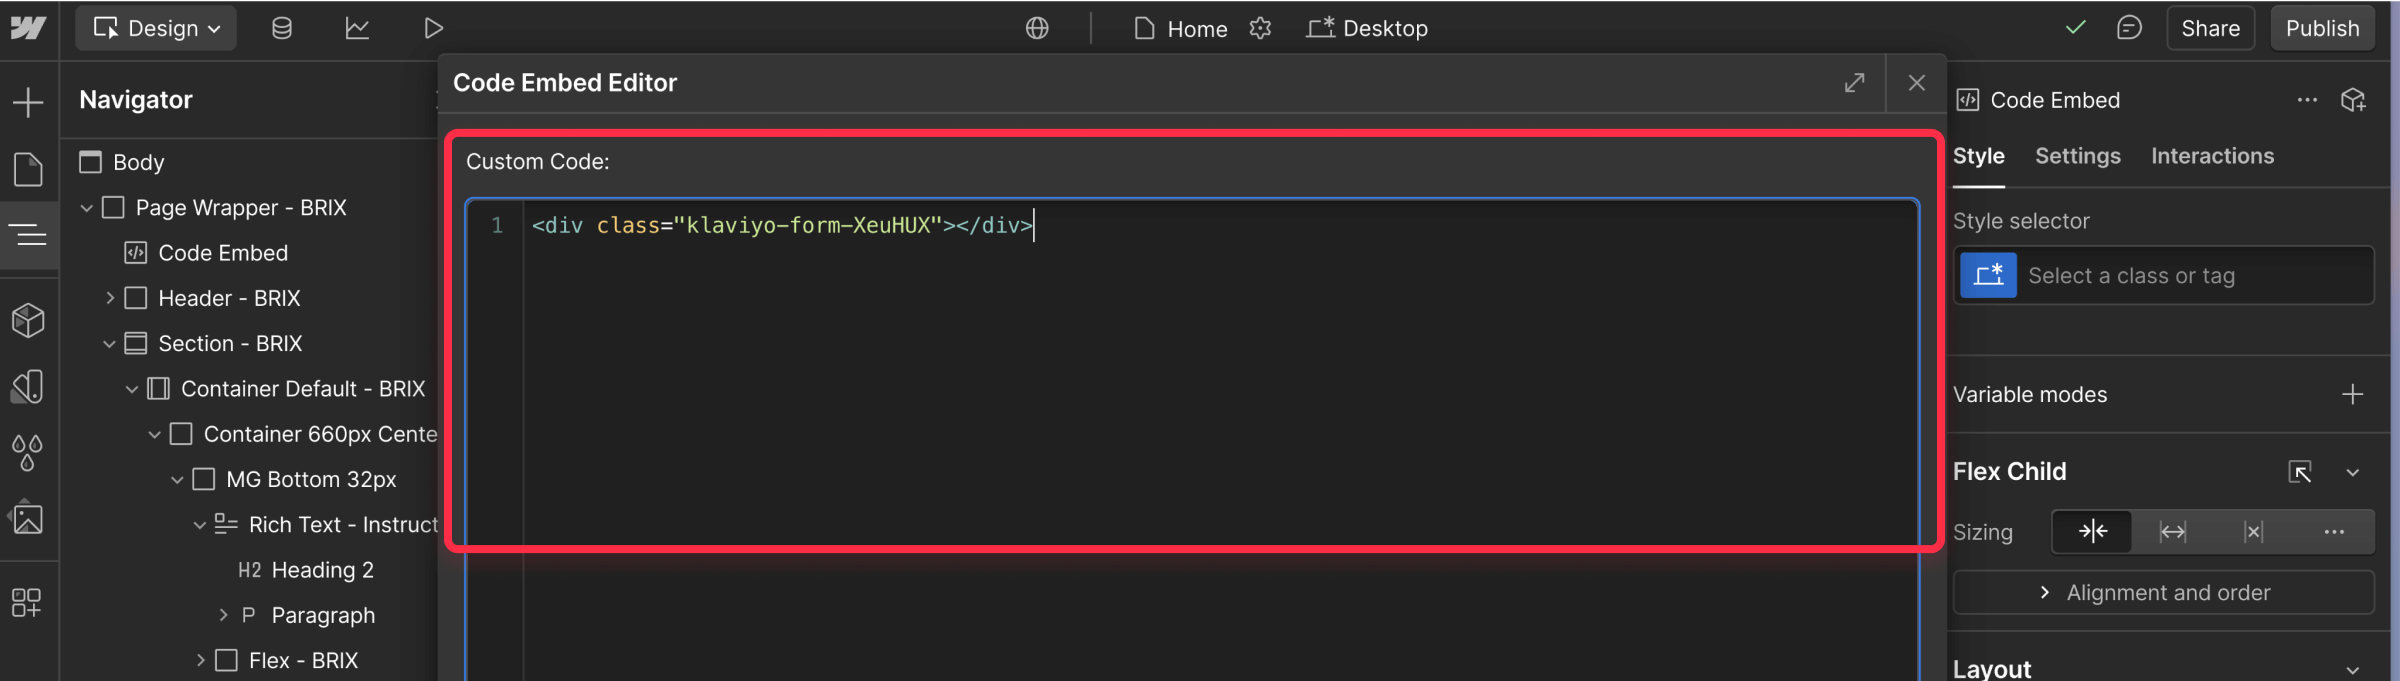
- Place "Code Embed" element on your page where you want the form to appear. Paste the form embed code into this element and save your changes (this starts with <div> and contains your form’s ID).
Step 5: Test and launch
- Verify functionality:
- Preview your page and submit a test entry
- Check your Klaviyo dashboard for the submission
- Verify that success messages display correctly
- Before publishing, test your form on both desktop and mobile devices. Make sure all fields work as expected and that your tracking is properly set up.
Method 2: Integrating Webflow forms with Klaviyo using Zapier
This method is ideal for marketers who want to retain full control over their Webflow form design while leveraging Zapier’s automation capabilities.
Why choose Zapier integration?
- Design flexibility: Maintain complete control over your Webflow form’s appearance.
- Automation: Seamlessly add contacts to Klaviyo lists and integrate with other marketing tools.
- Workflow expansion: Ideal for complex multi-step workflows.
Step 1: Create your Zapier automation
- Log into your Zapier account
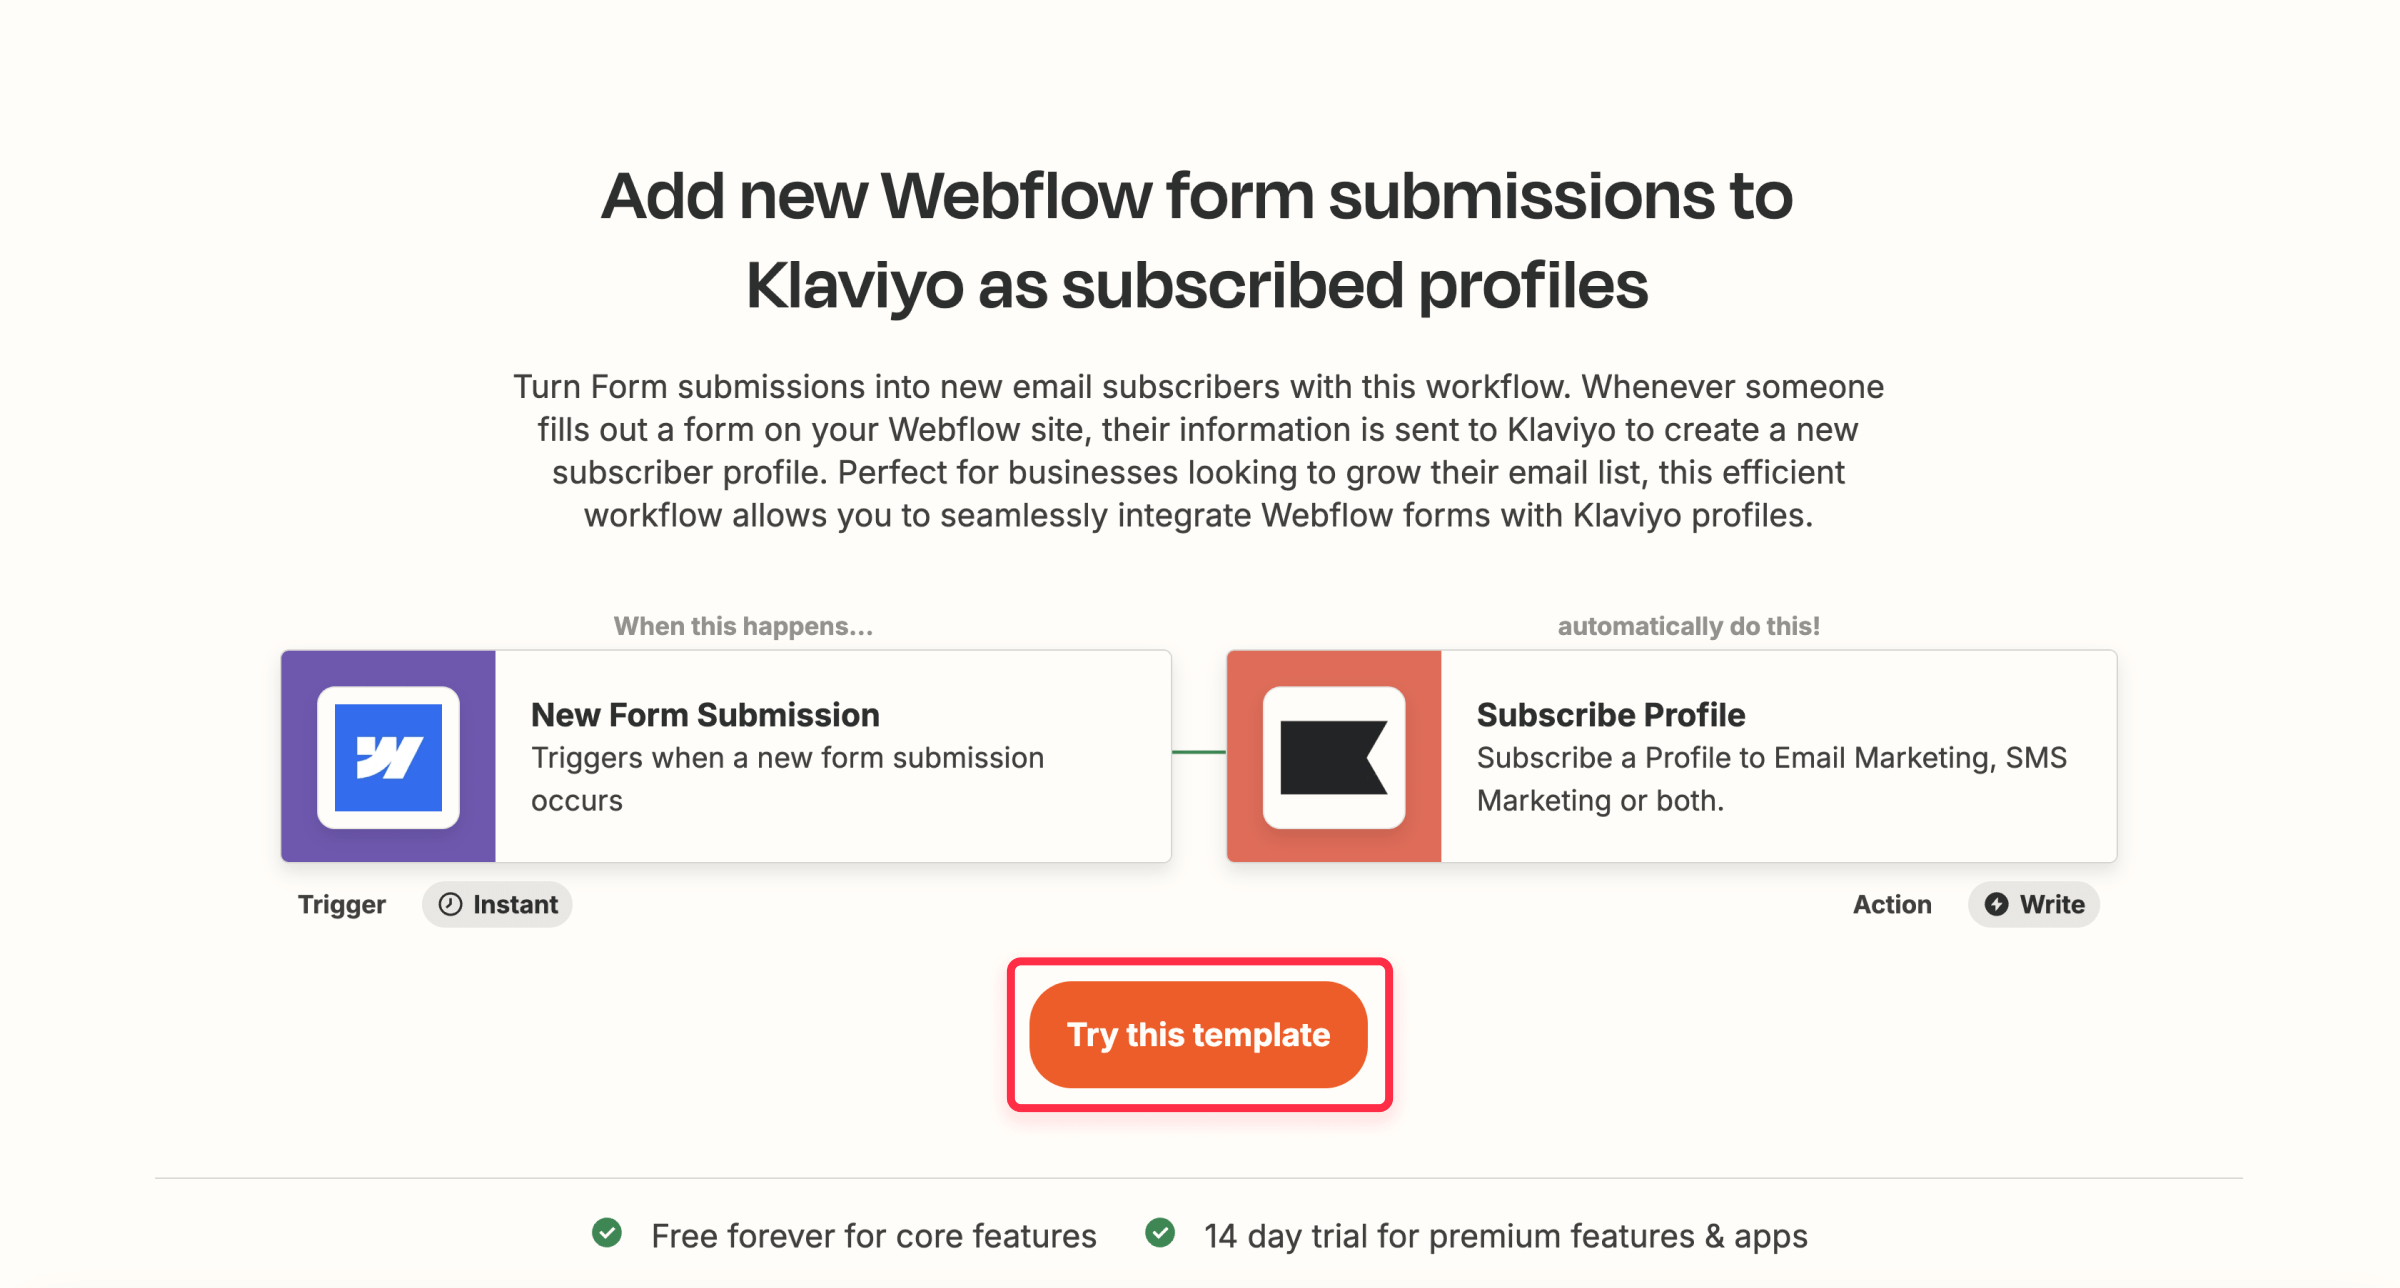
- Search for the template "Add new Webflow form submissions to Klaviyo as subscribed profiles"
- Select "Try it" to begin setup
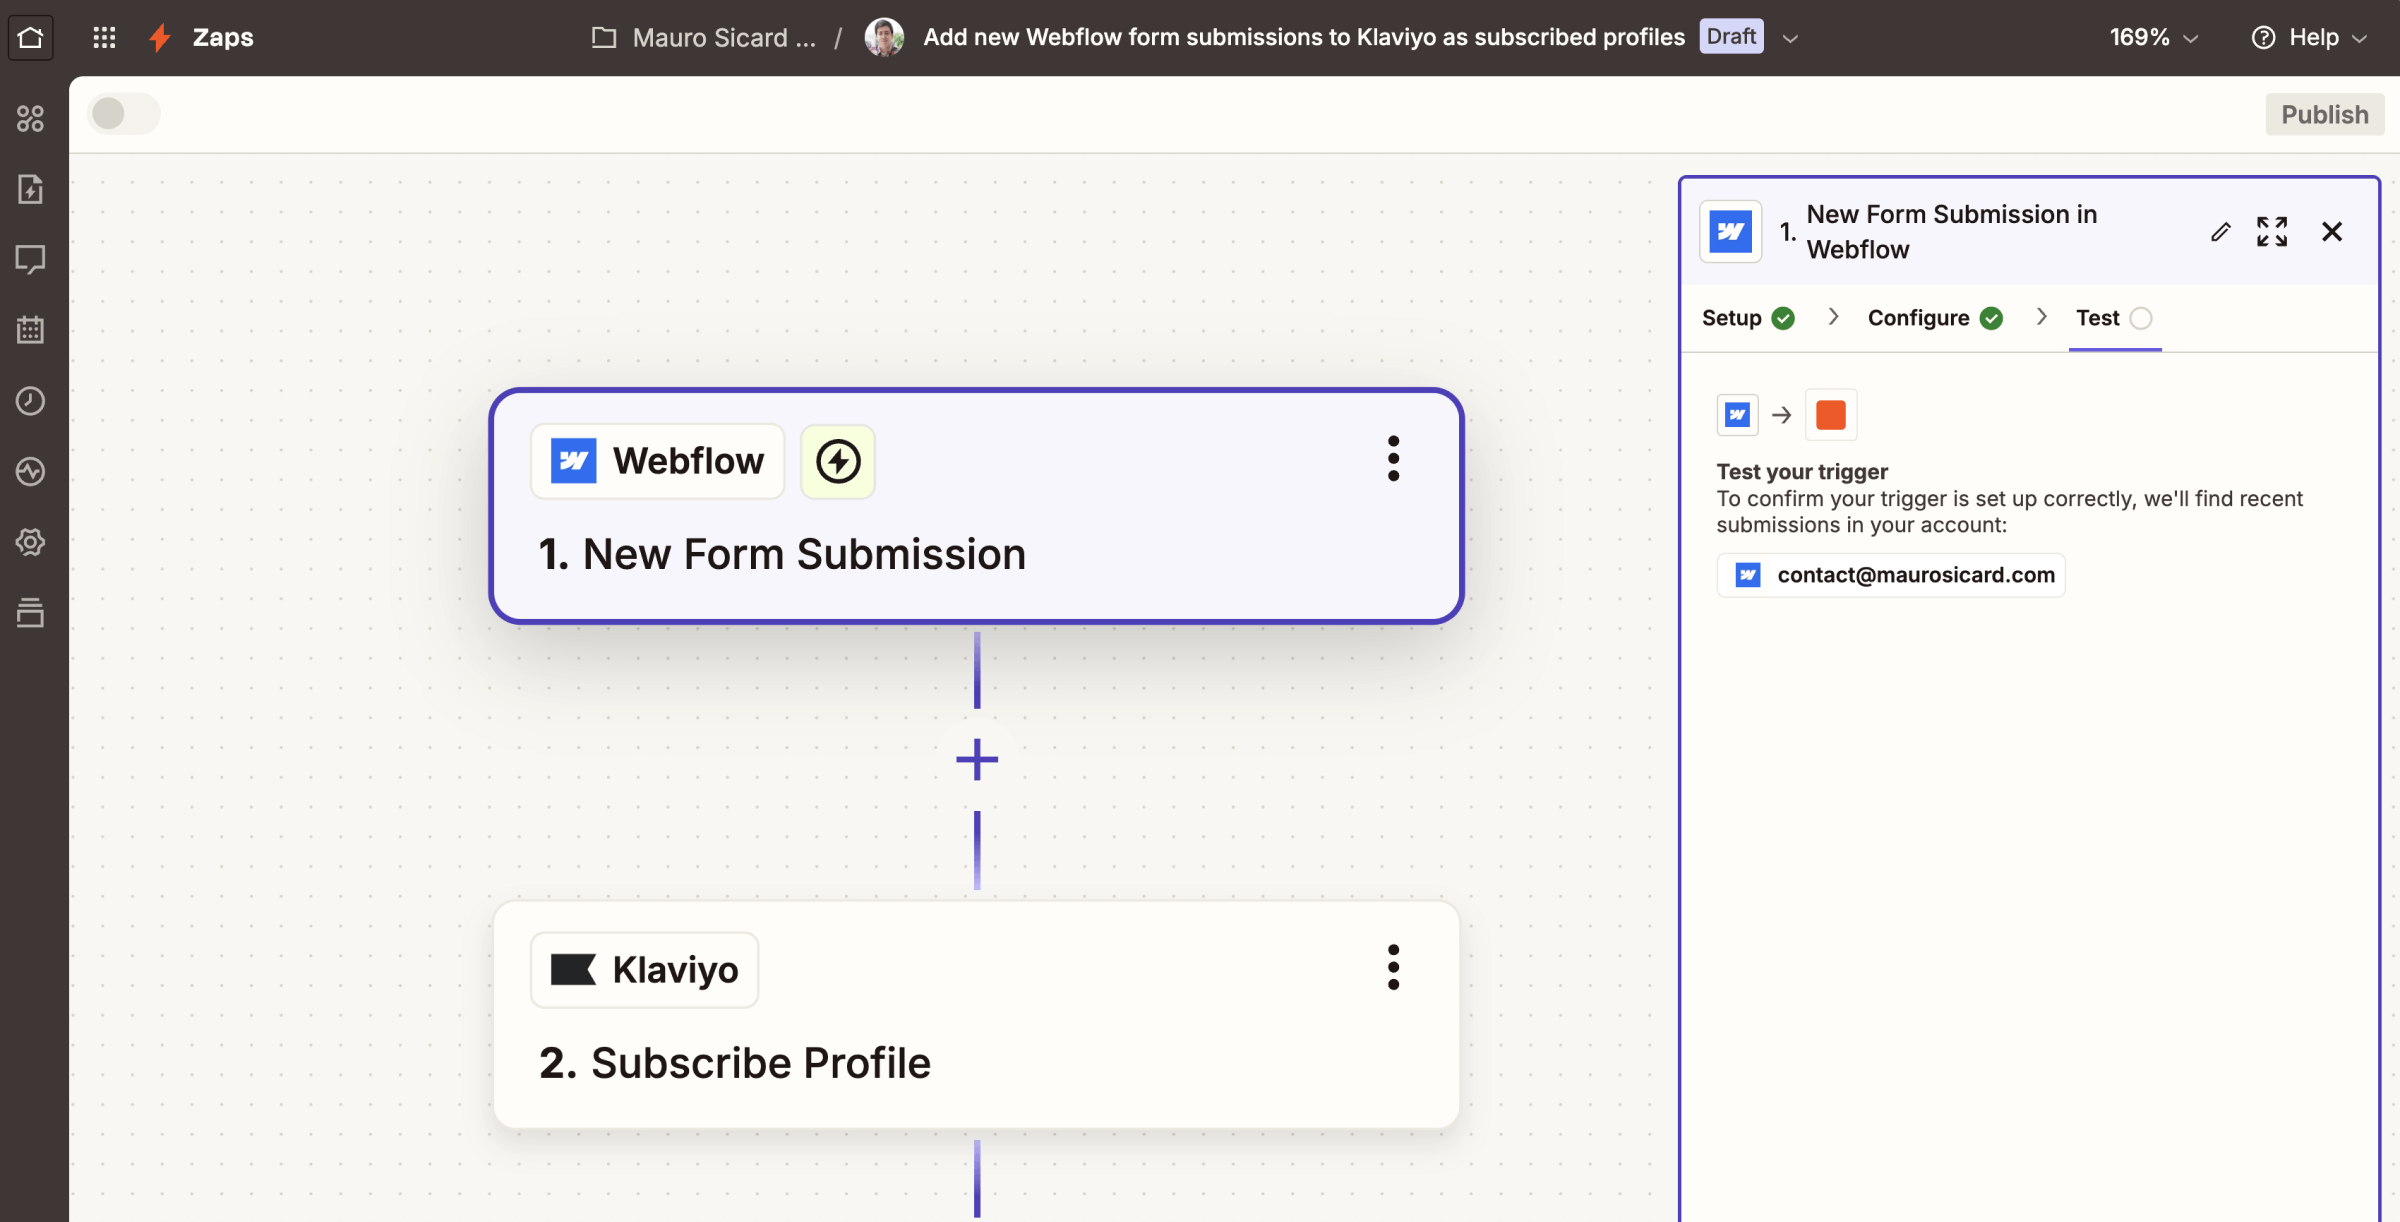
Step 2: Configure your Webflow connection
- Connect your Webflow account
- Select your specific site
- Choose the form you want to connect
- Submit a test entry to verify the connection
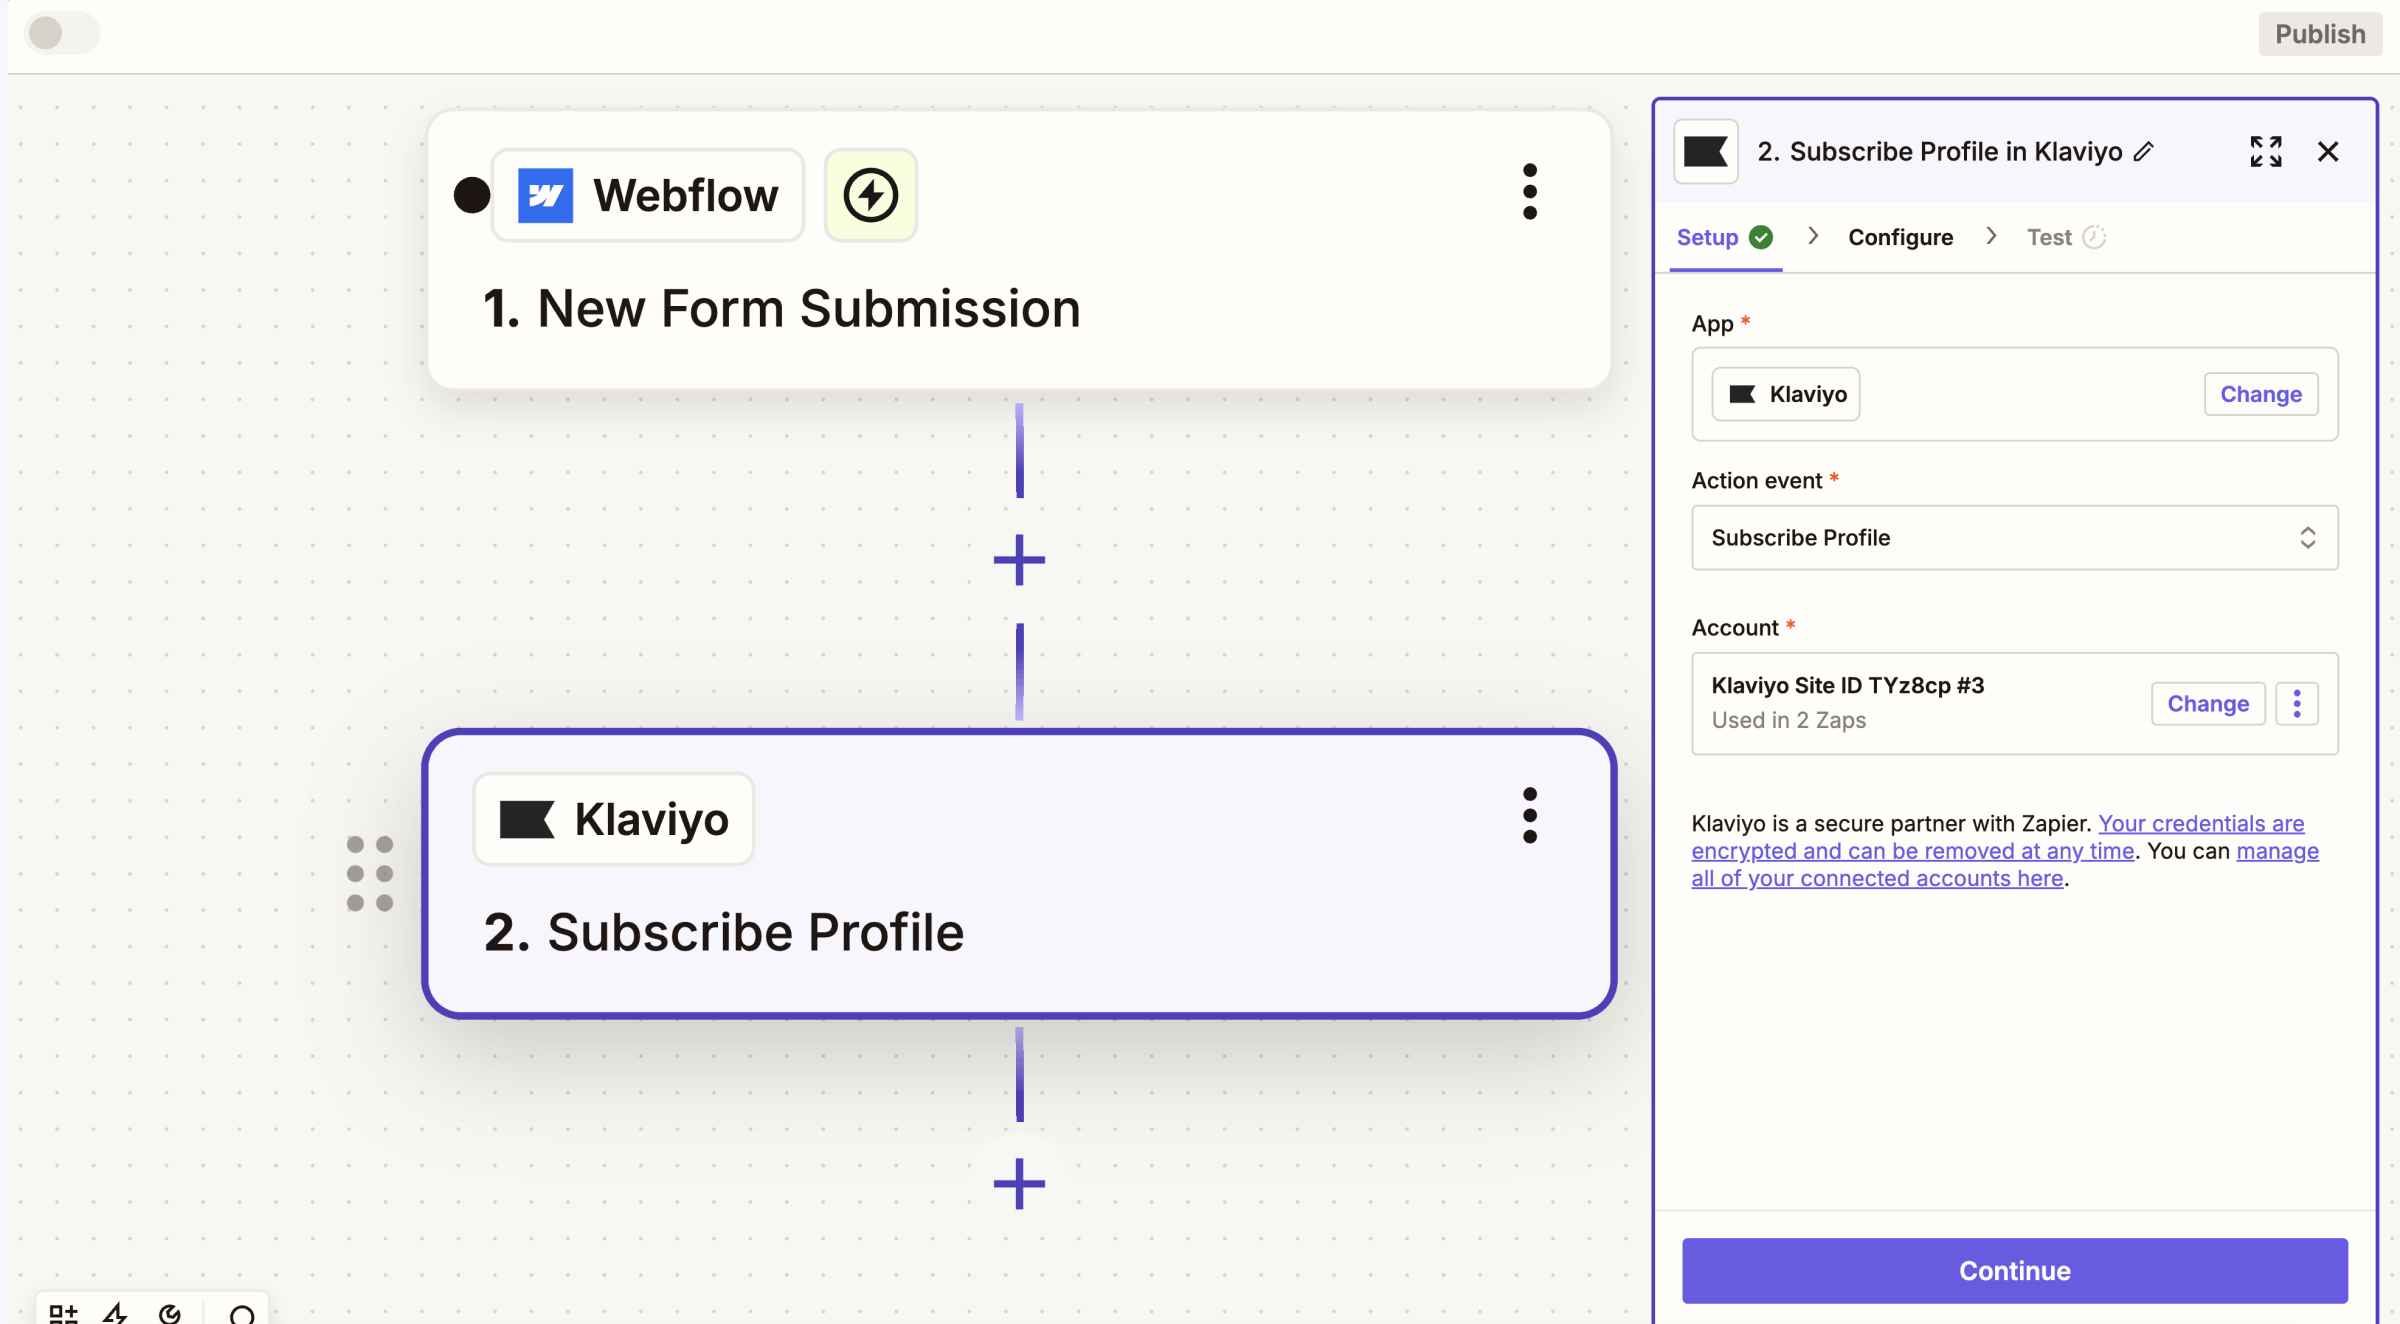
Step 3: Set up Klaviyo integration
- Connect your Klaviyo account
- Choose "Subscribe to List" or "Create/Update Profile"
- Select your target list
- Map your form fields to Klaviyo fields
- Run a test to verify data flow
Step 4: Activate and verify
- Review all field mappings
- Submit a test through your live form
- Verify the subscriber appears in Klaviyo
- Turn the Zap "On"
Step 5: Test and launch
- Test submissions: Submit multiple test entries through your Webflow form and ensure they are correctly captured in Klaviyo.
- Verify data mapping: Double-check that all form fields are mapped accurately between Webflow and Klaviyo.
- Confirm error handling: Introduce invalid data into the form to test how errors are displayed and handled.
Conclusion
By connecting Webflow and Klaviyo, you turn form submissions into actionable insights—automatically adding leads to email campaigns, segmenting audiences based on their interests, or triggering a welcome series the moment someone signs up. Whether you chose direct embedding for simplicity or Zapier for custom workflows, you’re now equipped to turn passive leads into engaged subscribers.
To ensure your integration runs smoothly, test your forms regularly and check Klaviyo’s analytics to refine your campaigns. If you ever need help with advanced automations, security, or custom design tweaks, the team at BRIX Templates is here to help.


Join readers commenting on this post!