
Webflow only allows one favicon per project, which can be frustrating when you're managing multiple brands or campaigns on the same site. The good news? There's a simple workaround that lets you set custom favicons for individual pages without creating separate projects.
This guide will show you how to implement a custom favicon Webflow attribute that works on both static pages and CMS collections, giving you complete control over your page branding.
Why implement custom favicons for specific pages in Webflow
Standard site-wide favicons in Webflow can sometimes feel restrictive, especially when working with multi-brand content or campaign-specific pages. Here's why a page-specific approach to favicon management makes sense for different scenarios:
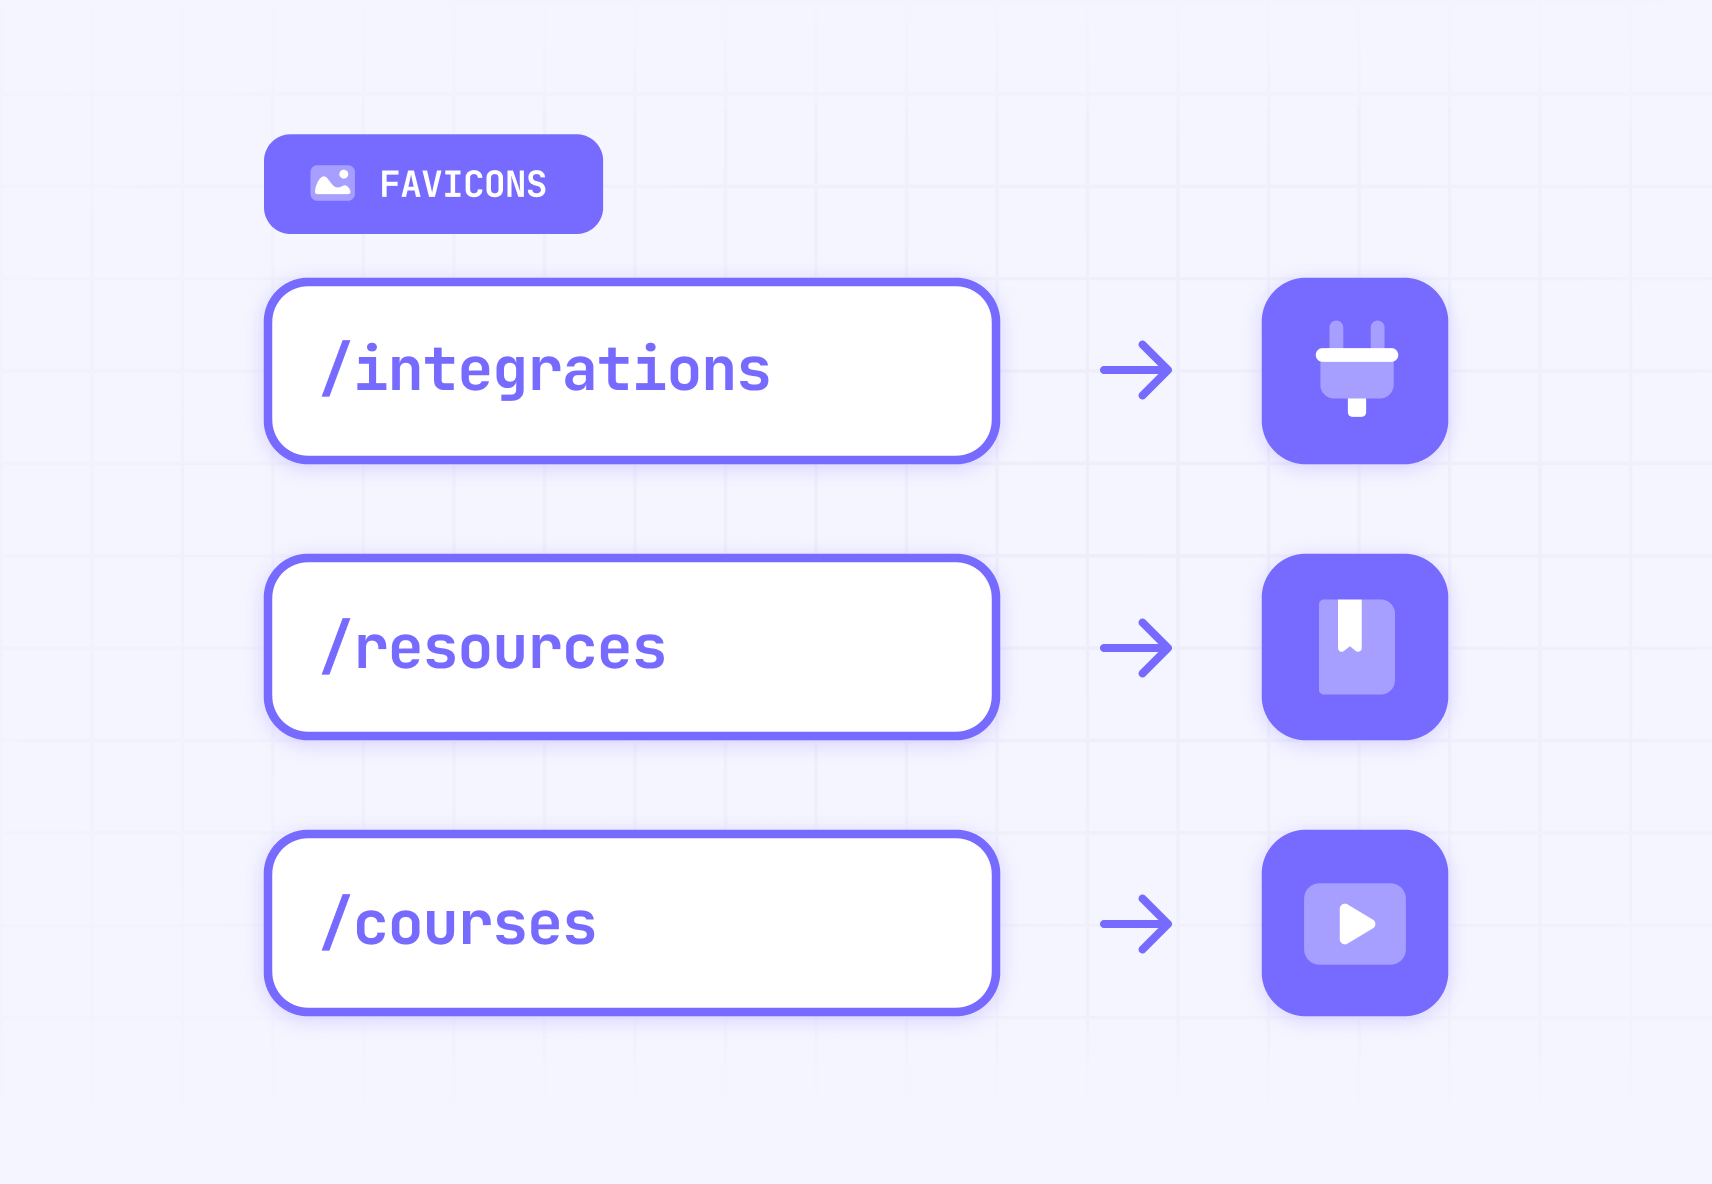
- Multi-brand websites: When managing multiple brands or product lines under one Webflow project, each section needs its own visual identity in browser tabs.
- Campaign-specific pages: Landing pages for different campaigns or promotions benefit from unique favicons that reinforce the specific campaign branding.
- CMS-driven branding: Blog posts, portfolio items, or product pages can display custom favicons that match their individual content or category.
Understanding how our custom favicon Webflow attribute works
The brix-custom-favicon attribute we'll implement offers a simple, reliable favicon management system:
- Automatic detection: Finds images marked with the special attribute and uses them as page favicons, completely replacing any existing favicon.
- CMS compatibility: Works seamlessly with Webflow CMS, allowing different collection items to display unique favicons based on their content.
How to add the custom favicon script to your Webflow site
Let's break down the implementation process into clear, manageable steps.
How to add the favicon script to your Webflow project
First, we need to add the script that powers the custom favicon functionality:
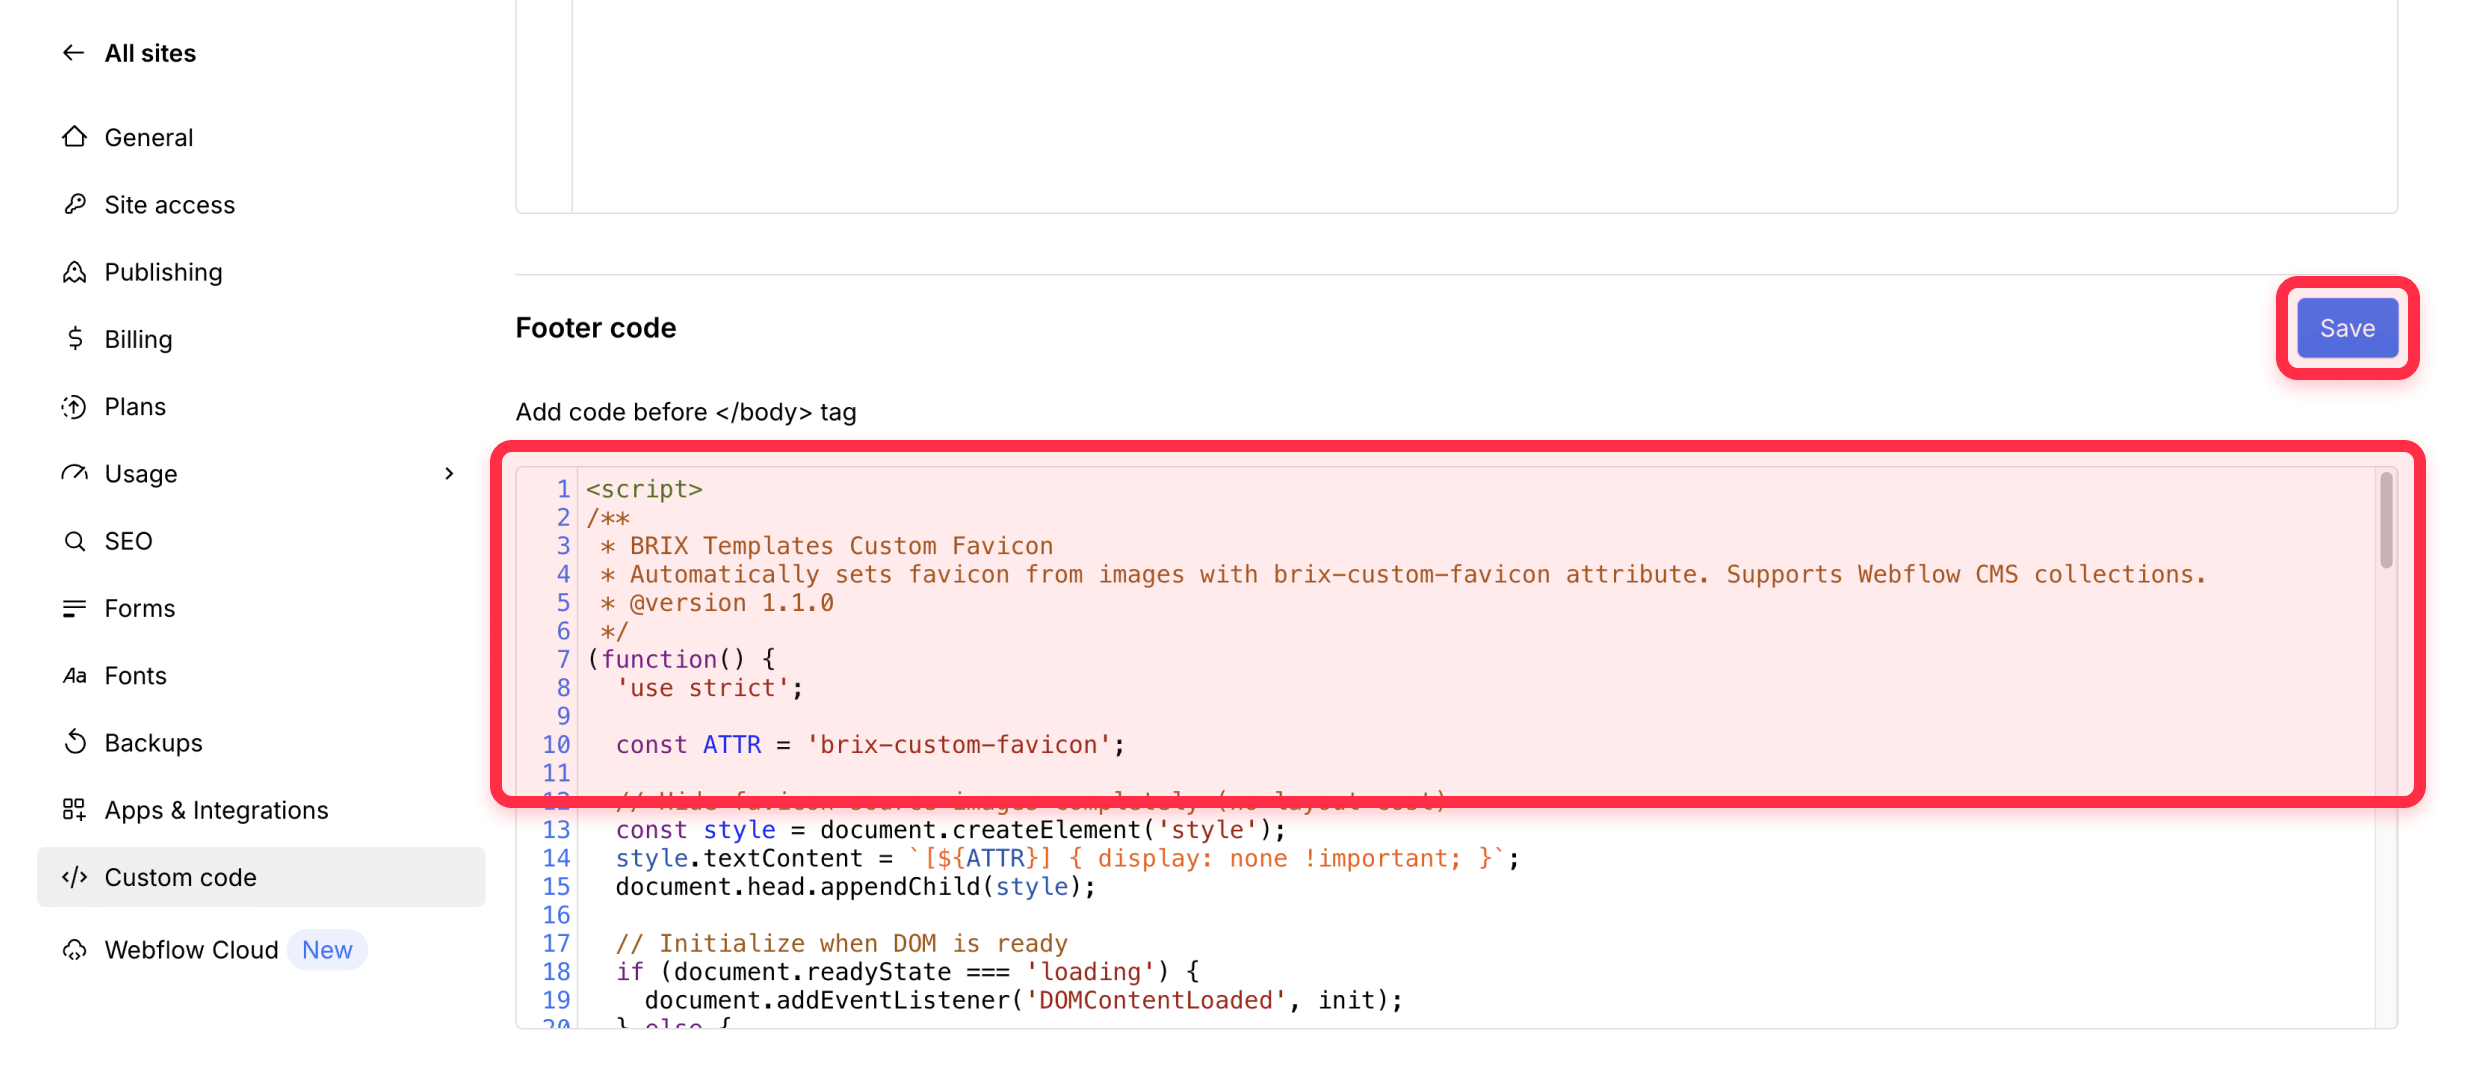
- Access your Webflow project settings
- Navigate to the Custom Code section
- Locate the "Before </body> tag" field
Inside that code box, please insert the following code.
<script>
/**
 * BRIX Templates Custom Favicon
 * Automatically sets favicon from images with brix-custom-favicon attribute. Supports Webflow CMS collections.
 * @version 1.1.0
 */
(function() {
  'use strict';

  const ATTR = 'brix-custom-favicon';

  // Hide favicon source images completely (no layout cost)
  const style = document.createElement('style');
  style.textContent = `[${ATTR}] { display: none !important; }`;
  document.head.appendChild(style);

  // Initialize when DOM is ready
  if (document.readyState === 'loading') {
    document.addEventListener('DOMContentLoaded', init);
  } else {
    init();
  }

  function init() {
    console.log('🎨 BRIX Custom Favicon - Initializing');
    updateFavicon();
  }

  function updateFavicon() {
    const img = document.querySelector(`img[${ATTR}]`);

    // If no image found, exit
    if (!img) {
      console.log('🎨 BRIX Custom Favicon - No favicon image found on this page');
      return;
    }

    const newSrc = img.src || img.getAttribute('src');

    // If no valid src, exit
    if (!newSrc) {
      console.warn('🎨 BRIX Custom Favicon - Image found but no valid src attribute');
      return;
    }

    console.log('🎨 BRIX Custom Favicon - Found favicon image:', newSrc);

    // Validate and set favicon
    validateAndSetFavicon(newSrc);
  }

  function validateAndSetFavicon(url) {
    console.log('🎨 BRIX Custom Favicon - Validating image:', url);

    const testImg = new Image();

    // Add timeout to prevent hanging
    const timeout = setTimeout(() => {
      console.warn('🎨 BRIX Custom Favicon - Load timeout for:', url);
    }, 3000);

    testImg.onload = () => {
      clearTimeout(timeout);
      console.log('✅ BRIX Custom Favicon - Image validated successfully');
      setFavicon(url);
    };

    testImg.onerror = () => {
      clearTimeout(timeout);
      console.warn('❌ BRIX Custom Favicon - Failed to load image:', url);
    };

    testImg.src = url;
  }

  function setFavicon(url) {
    try {
      // Remove all existing favicon links
      const existingLinks = document.querySelectorAll('link[rel*="icon"]');
      console.log('🎨 BRIX Custom Favicon - Removing', existingLinks.length, 'existing favicon links');

      existingLinks.forEach(el => el.remove());

      // Add new favicon (both modern and legacy for compatibility)
      const modernLink = document.createElement('link');
      modernLink.rel = 'icon';
      modernLink.href = url;
      document.head.appendChild(modernLink);

      const legacyLink = document.createElement('link');
      legacyLink.rel = 'shortcut icon';
      legacyLink.href = url;
      document.head.appendChild(legacyLink);

      console.log('🎨 BRIX Custom Favicon - Successfully updated favicon to:', url);

    } catch (error) {
      console.error('🎨 BRIX Custom Favicon - Error setting favicon:', error);
    }
  }

})();
</script>
Alternatively, if you only need custom favicons on specific pages, you can add this to Page Settings > Custom Code > Before </body> tag instead.
You can also add this script to CMS Collection page settings, which will apply the custom favicon functionality to all individual CMS pages within that collection.
If you proceed with the page-specific implementation, it will work exactly the same, but only on those specific pages.
Setting up custom favicons for Webflow static pages
For static pages in Webflow, implementing custom favicons requires just a few simple steps:
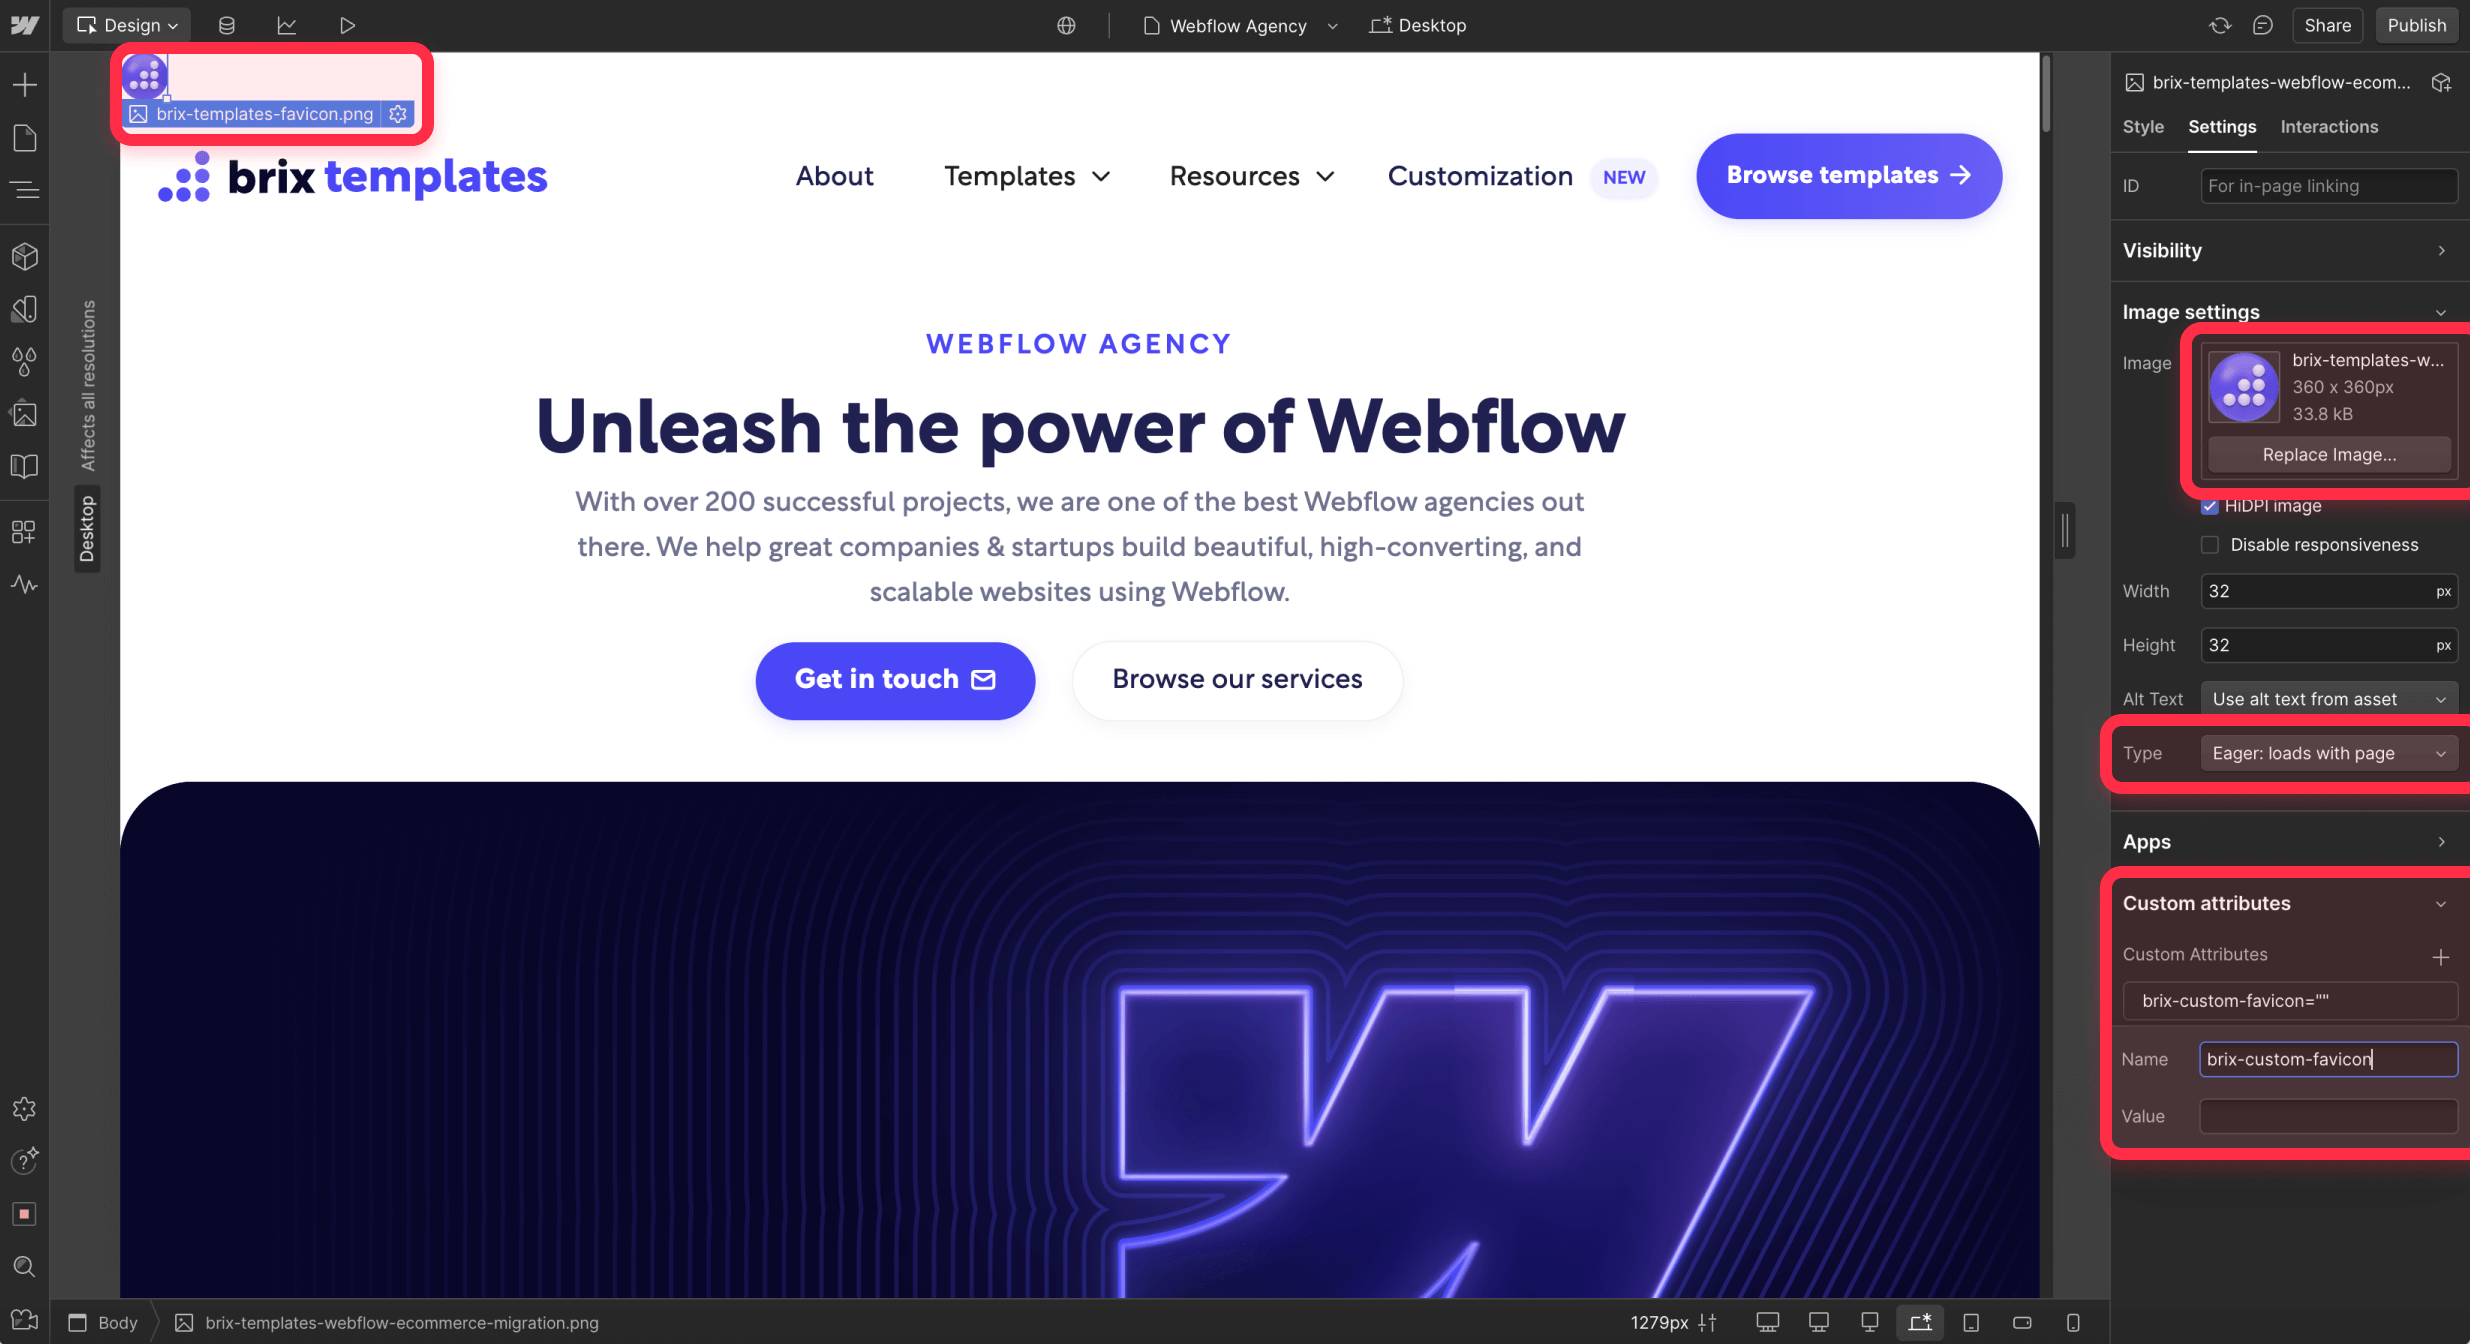
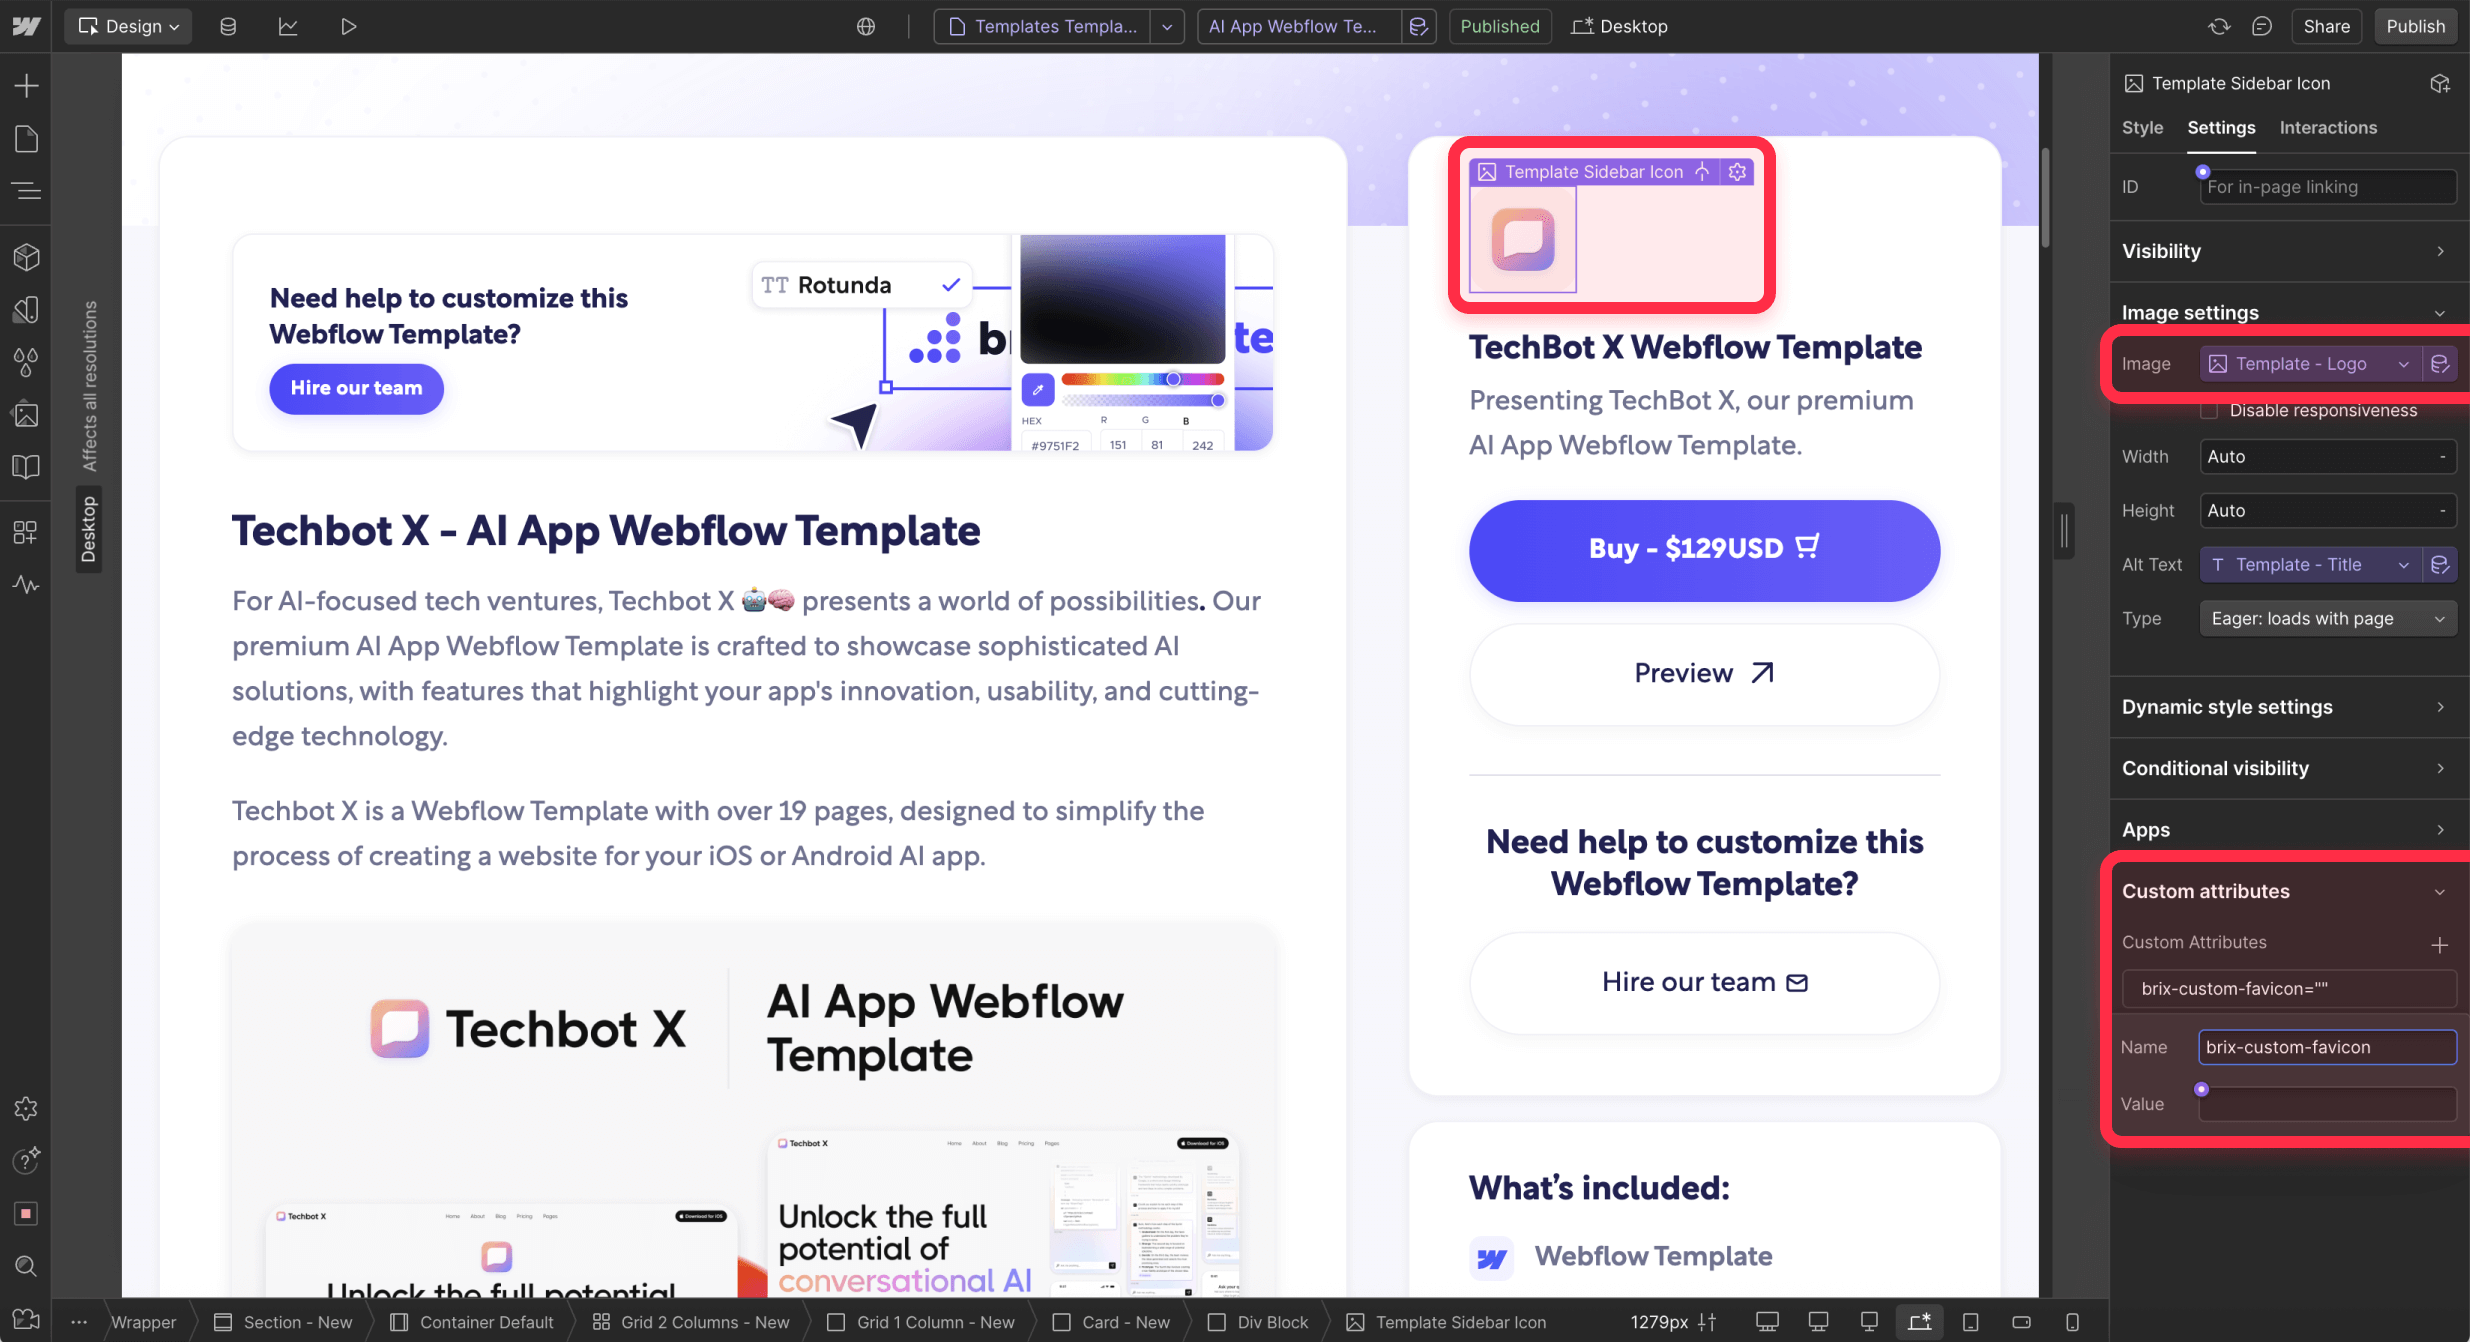
1 - Add an Image element to your page (placement doesn't matter as it will be hidden automatically, but we recommend placing it at the top of your page so you can easily find and edit it later if needed)
2 - Upload your favicon image using Webflow's Asset Manager - design a square image (recommended size of 64x64 pixels) in PNG, ICO, or SVG format
3 - Add the custom attribute: In the Image element's settings panel, add the brix-custom-favicon attribute with no value
4 - Set display to none: In the Image element's style settings, set display to none for immediate hiding
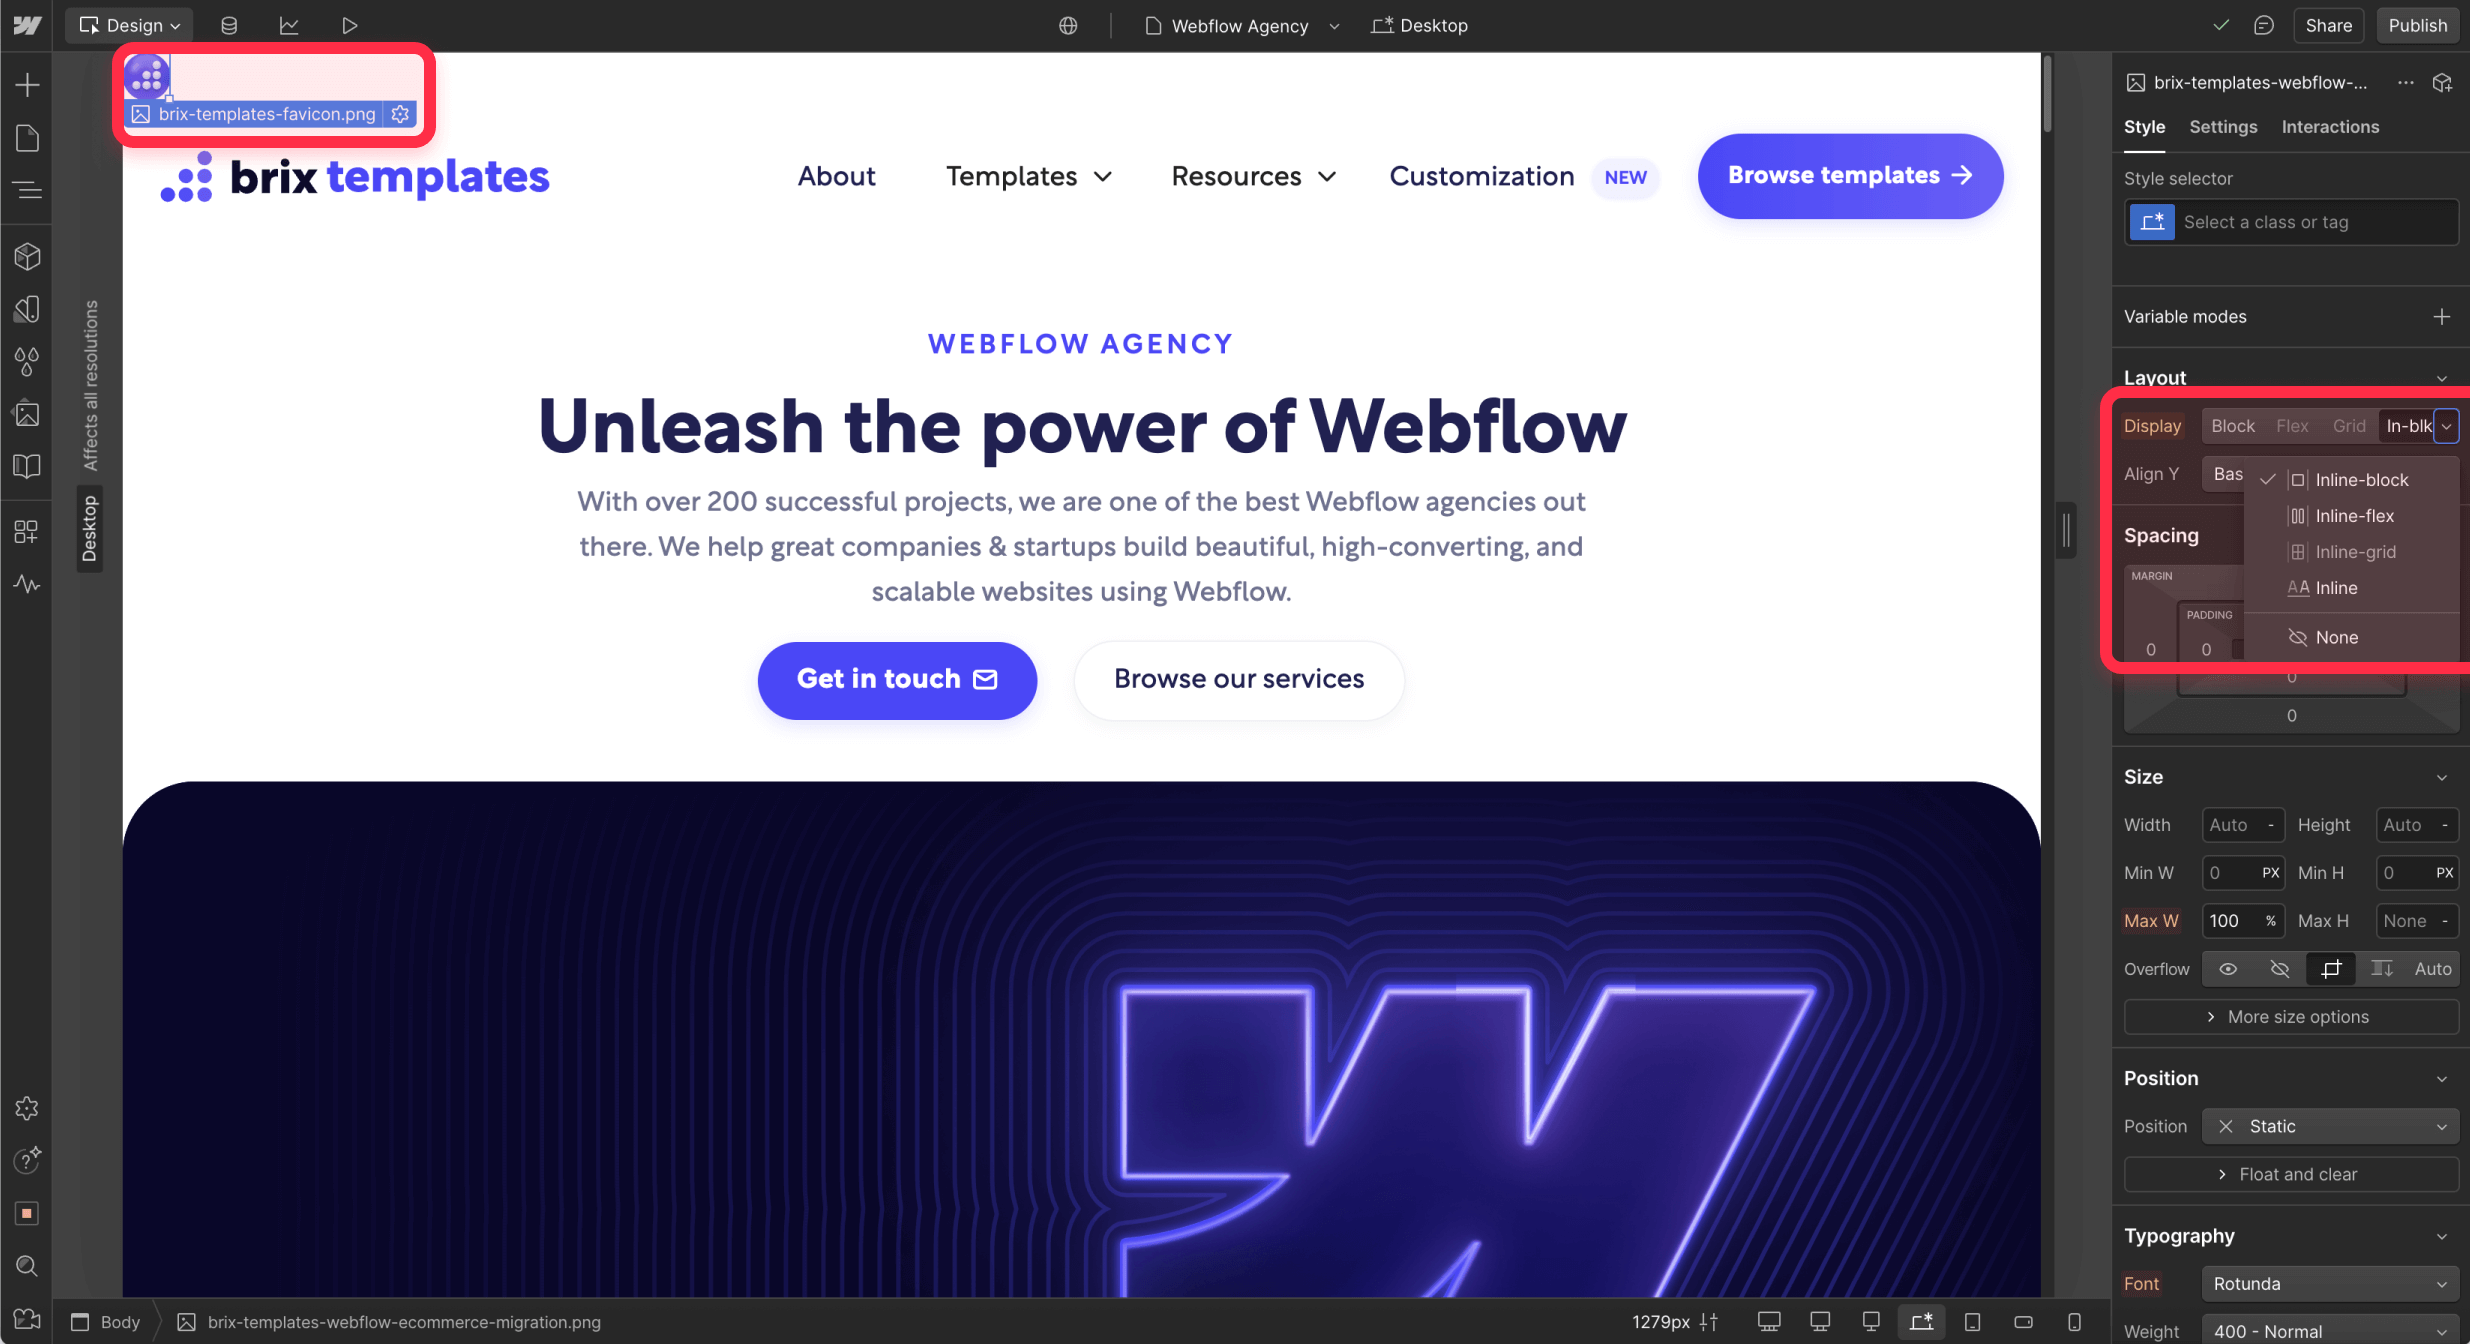
5 - Disable lazy loading: Ensure the image is not set to lazy loading in the Image element settings
The image will be automatically detected and used as the page's favicon while remaining completely invisible to visitors.
Setting up custom favicons for Webflow CMS collection pages
CMS implementation allows each collection item to have its own unique favicon, perfect for blogs, portfolios, or product catalogs:
1 - Add an Image field to your CMS Collection (e.g., "Page Favicon" or "Brand Icon")
2 - Navigate to your Collection template page in the Designer
3 - Add an Image element to your template
4 - Connect the image to your CMS field using the dynamic content panel
5 - Add the custom attribute: In the Image element's settings, add the brix-custom-favicon attribute with no value
6 - Set display to none: In the Image element's style settings, set display to none for immediate hiding
7 - Disable lazy loading: Ensure the image is set to not lazy load for immediate favicon detection
Now, each time you create or edit a collection item, you can upload a custom favicon image that will automatically display when visitors view that specific page.
Webflow CMS collection management workflow for custom favicons
When working with CMS-driven favicons:
- For new items: Upload the appropriate favicon image when creating collection items
- For existing items: Edit collection items to add favicon images as needed
- For items without favicons: Pages will continue using your site's default favicon if no custom favicon image is provided
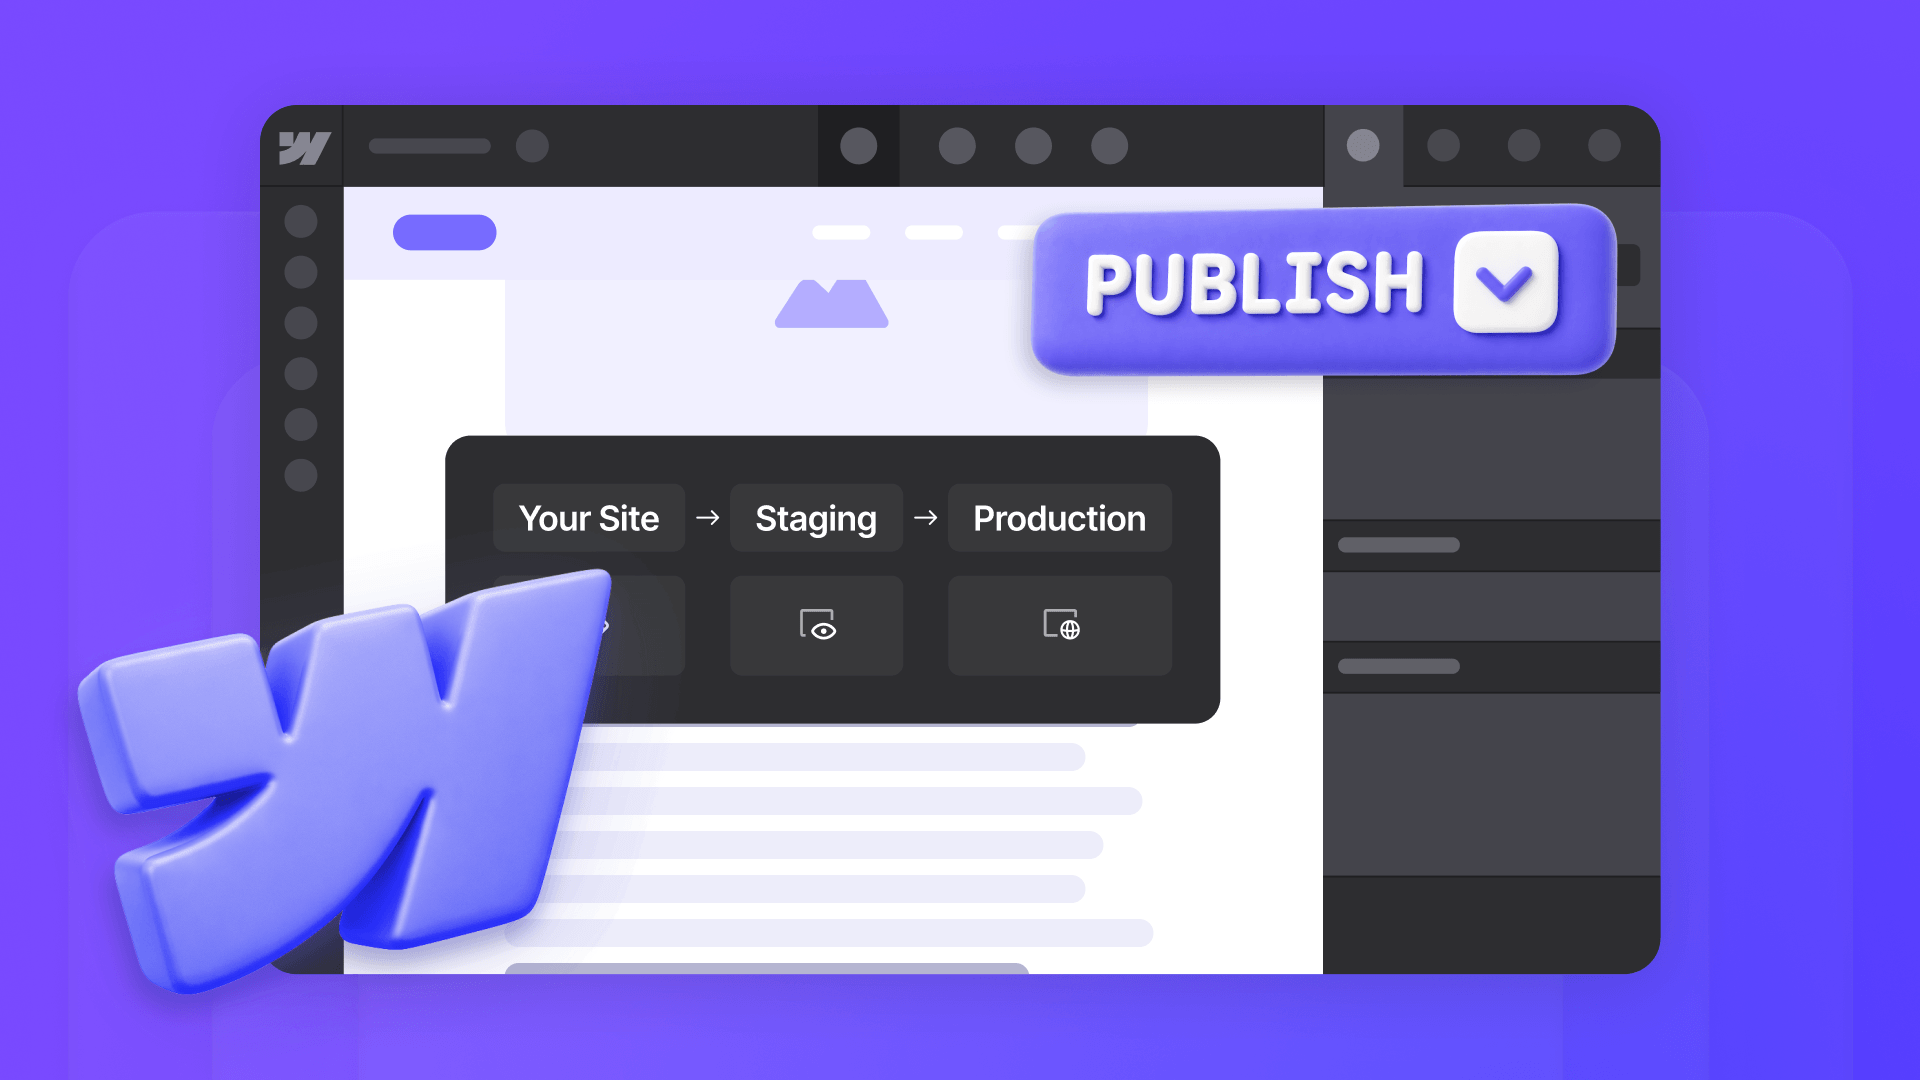
Steps before publishing your Webflow site
- Test image formats: Ensure your favicon images are in web-compatible formats (PNG, ICO, or SVG) and are reasonably sized
- Publish to staging: Push your changes to the webflow.io staging environment first to ensure everything works as expected
- Test the implementation: Check your custom favicons by opening pages in new browser tabs and verifying the correct icons appear
- Publish to production: After confirming everything works correctly on staging, publish your changes to your live Webflow site
Common troubleshooting scenarios
If your custom favicons aren't appearing properly, check these common issues:
- Verify that your brix-custom-favicon attribute is spelled exactly as shown above and has no value
- Ensure the script is properly placed in your project's custom code section, under the Footer/Before </body> tag
- Confirm that the Image element is not set to lazy loading, as this can prevent immediate favicon detection
- Verify that you've published your site after making these changes, as the script only works on the live published site
- Check the browser console (F12 → Console) for detailed logs about the script's activity and any error messages
Frequently Asked Questions
Can I add a custom favicon on every page in Webflow?
Yes, you can add custom favicons to any page in Webflow using our BRIX Templates Custom Favicon script. Simply add an image with the brix-custom-favicon attribute to any static page or CMS collection template, and each page will display its own unique favicon in browser tabs.
How do I change the favicon on individual Webflow pages?
To change the favicon on specific Webflow pages, add our custom script to your project, then place an image element with the brix-custom-favicon attribute on any page where you want a unique favicon. The script automatically detects and applies the custom favicon.
Can I set different favicons for each Webflow CMS item?
Yes, you can set unique favicons for each Webflow CMS blog post by adding an image field to your blog collection, connecting it to an image element with the brix-custom-favicon Webflow attribute in your blog post template.
Does Webflow support multiple favicons on the same website?
While Webflow natively supports only one site-wide favicon, our open-source custom script enables multiple favicons across different pages within the same Webflow project, perfect for multi-brand websites or campaign-specific pages.
Conclusion
Implementing custom favicons for specific pages in Webflow gives you precise control over your brand identity across different contexts. Whether you're managing a multi-brand website, creating campaign-specific landing pages, or building a content-rich CMS site, this solution provides the flexibility and reliability you need.
The combination of static page support and CMS integration means you can maintain consistent branding workflows while giving each page its own unique identity in browser tabs and bookmarks.
Need help implementing this solution or looking to explore more advanced use cases? Our top-notch Webflow agency specializes in creating custom solutions that enhance your Webflow site's functionality while maintaining clean, world-class designs. Feel free to reach out to discuss how we can help optimize your Webflow project.


Join readers commenting on this post!