When building websites in Webflow, incorporating video content through lightboxes is a common requirement for creating engaging user experiences. However, many developers encounter a frustrating issue: YouTube videos in lightboxes don't automatically play when clicked, requiring users to make an additional click to start the video. This creates unnecessary friction in the user experience and goes against fundamental UX principles of minimizing user actions.
In this guide, we'll show you how to implement YouTube video autoplay functionality in Webflow lightboxes, making the experience seamless for your users. Whether you're showcasing product demonstrations, client testimonials, or educational content, this solution will enhance your website's interactivity.
Understanding the solution
The key to enabling autoplay for YouTube videos in Webflow lightboxes lies in a simple URL parameter modification. By adding the specific ?autoplay=1 parameter to your YouTube video URL, you can instruct the video player to start playing automatically when the lightbox opens. This approach requires no custom code or complex configurations – just a small URL adjustment in your Webflow settings.
Step-by-step implementation of YouTube autoplay in Webflow lightbox
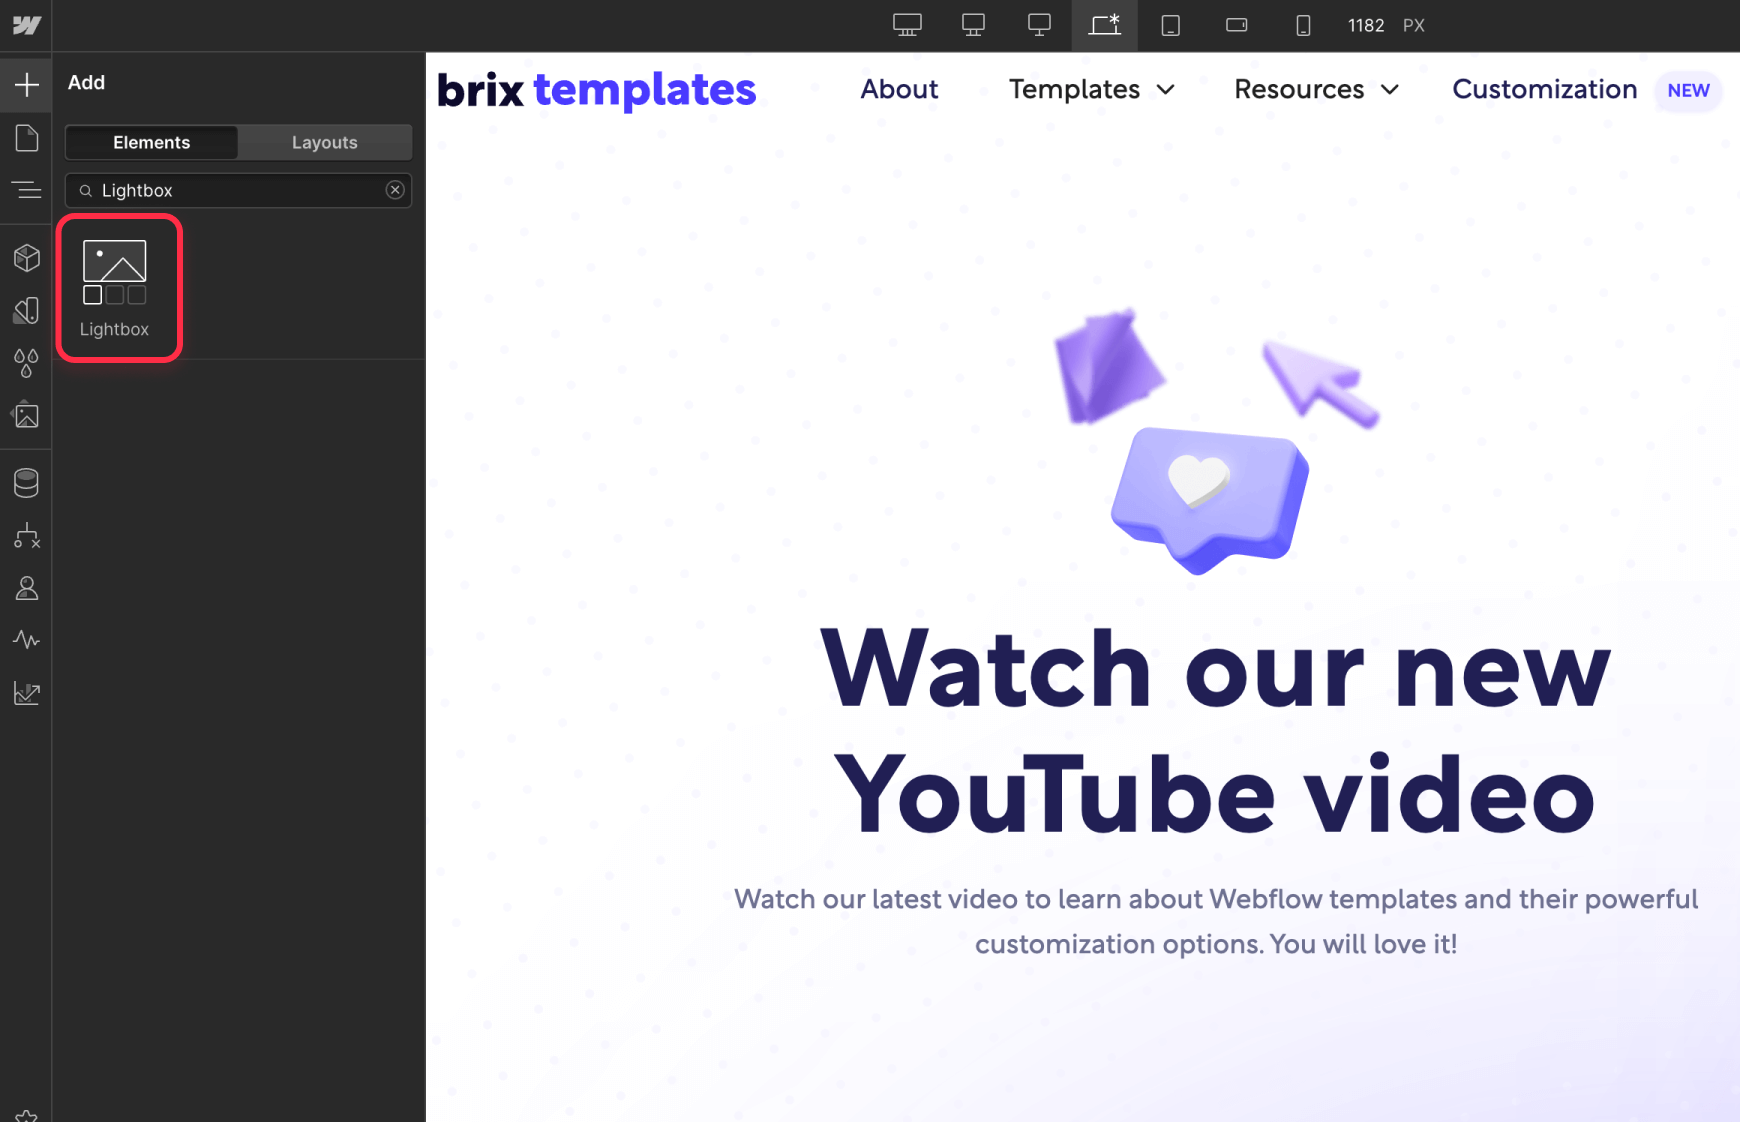
1. Setting up your button and lightbox
- First, add a Lightbox element to your Webflow page where you want the video trigger to appear
Then, you can continue to customize the lightbox settings to trigger a video lightbox.
- Select "Video" as the content type in the lightbox settings
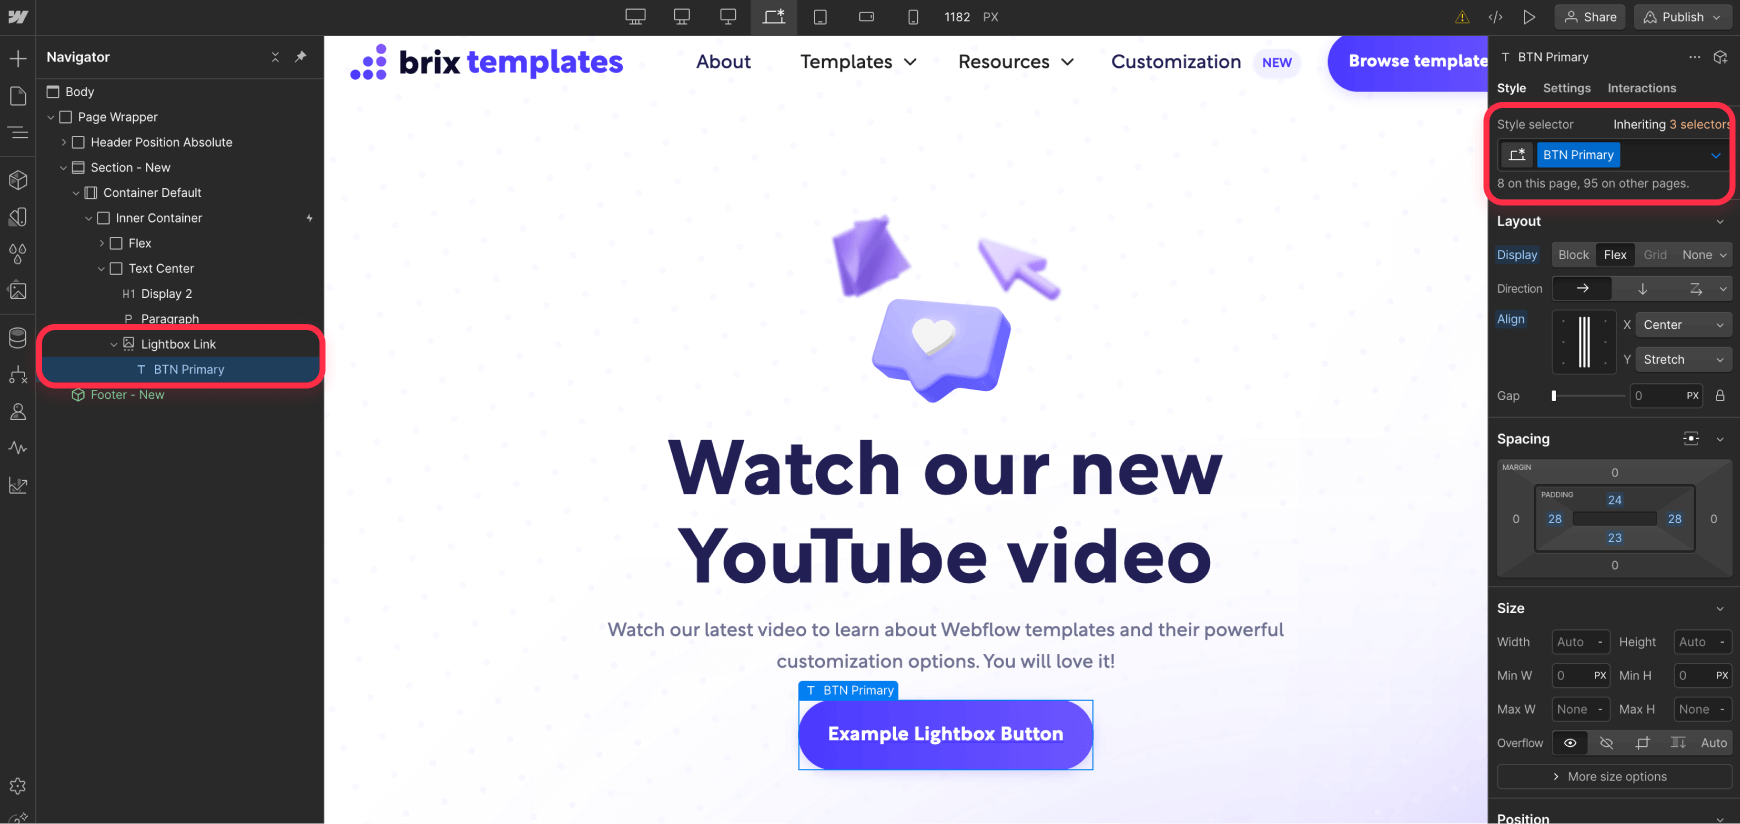
- Create a text block and place it inside the lightbox link
- Add a class to the text block to style it as a button (e.g., you can name it "video-button" and add your desired button styling)
2. Adding your YouTube video
- Copy your YouTube video URL from YouTube (it should look like: https://www.youtube.com/watch?v=VIDEOID)
- In Webflow, select your lightbox element and click the gear icon to open Element Settings
- Locate the Video URL field in the Lightbox settings
- Paste your YouTube video URL
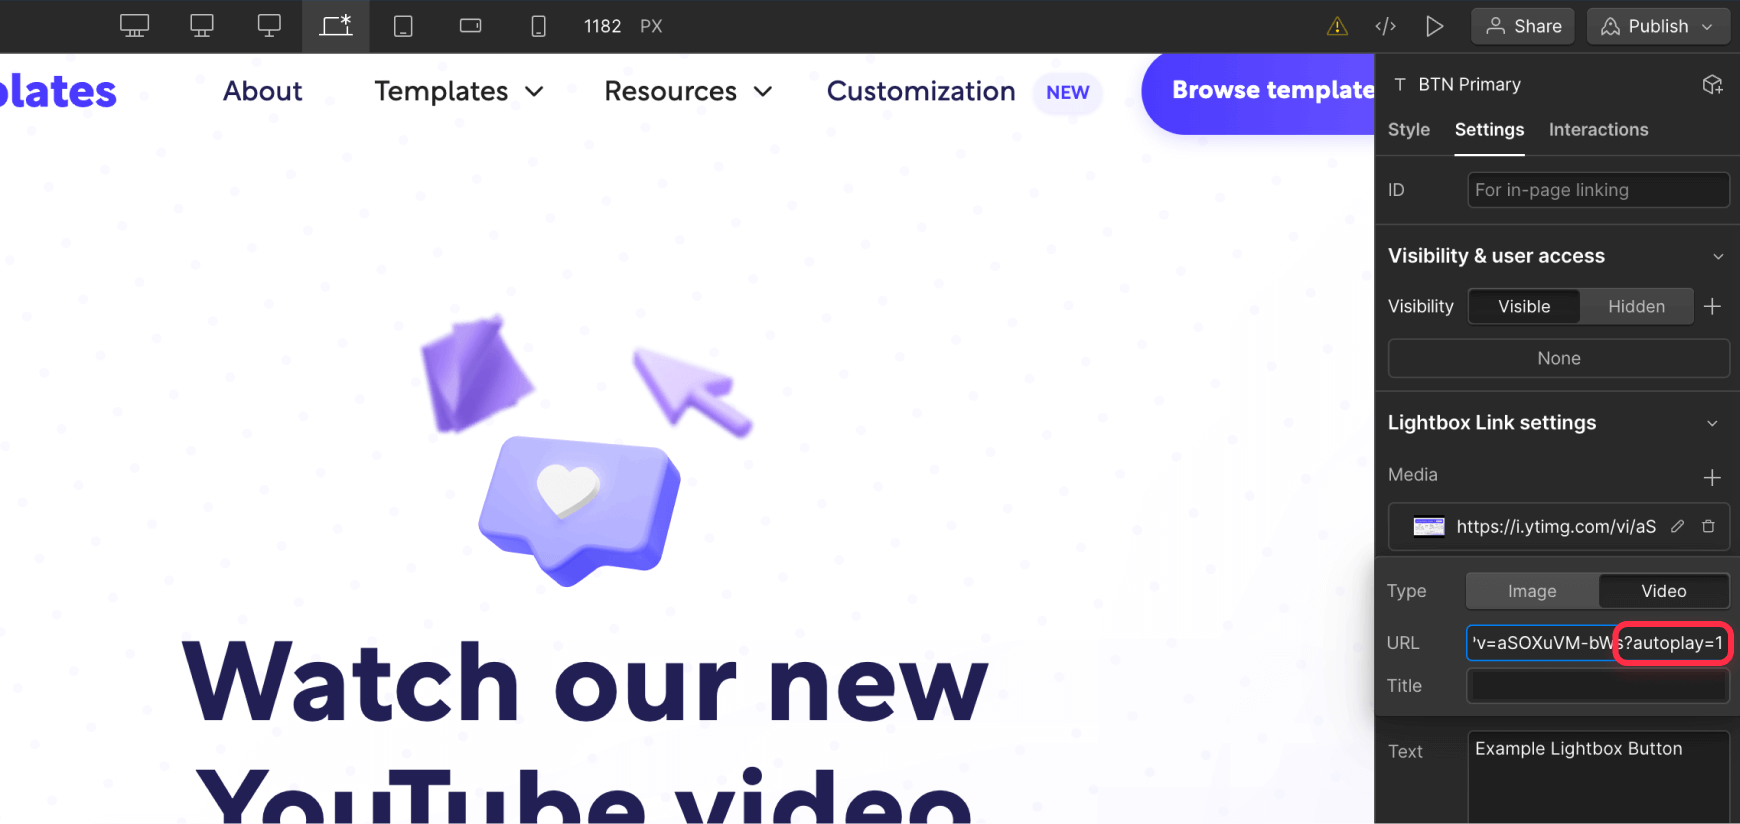
3. Enabling autoplay
- At the end of your YouTube video URL, add the parameter ?autoplay=1
- Your final URL should look like this: https://www.youtube.com/watch?v=VIDEOID?autoplay=1
Additional YouTube video customization options
Removing video controls
If you want to create a more streamlined viewing experience, you can hide the YouTube player controls by adding the &controls=0parameter after the autoplay parameter. It would look something like this: https://www.youtube.com/watch?v=VIDEOID?autoplay=1&controls=0
Troubleshooting common issues
If you encounter issues with the autoplay functionality, verify these common points:
- Check that the URL parameter ?autoplay=1 is correctly added to the end of your YouTube video URL
- Ensure there are no spaces or additional characters in the URL
- Verify that your lightbox settings are properly configured for video content
- Test the functionality across different browsers to ensure consistent behavior
Important considerations
- Browser behavior: Some browsers may require user interaction before allowing autoplaying audio. This is a built-in security feature that helps prevent unwanted audio experiences.
- Mobile devices: On mobile devices, autoplay behavior might vary depending on the user's device settings and the browser being used. It's recommended to test your implementation across different devices and browsers.


Join readers commenting on this post!