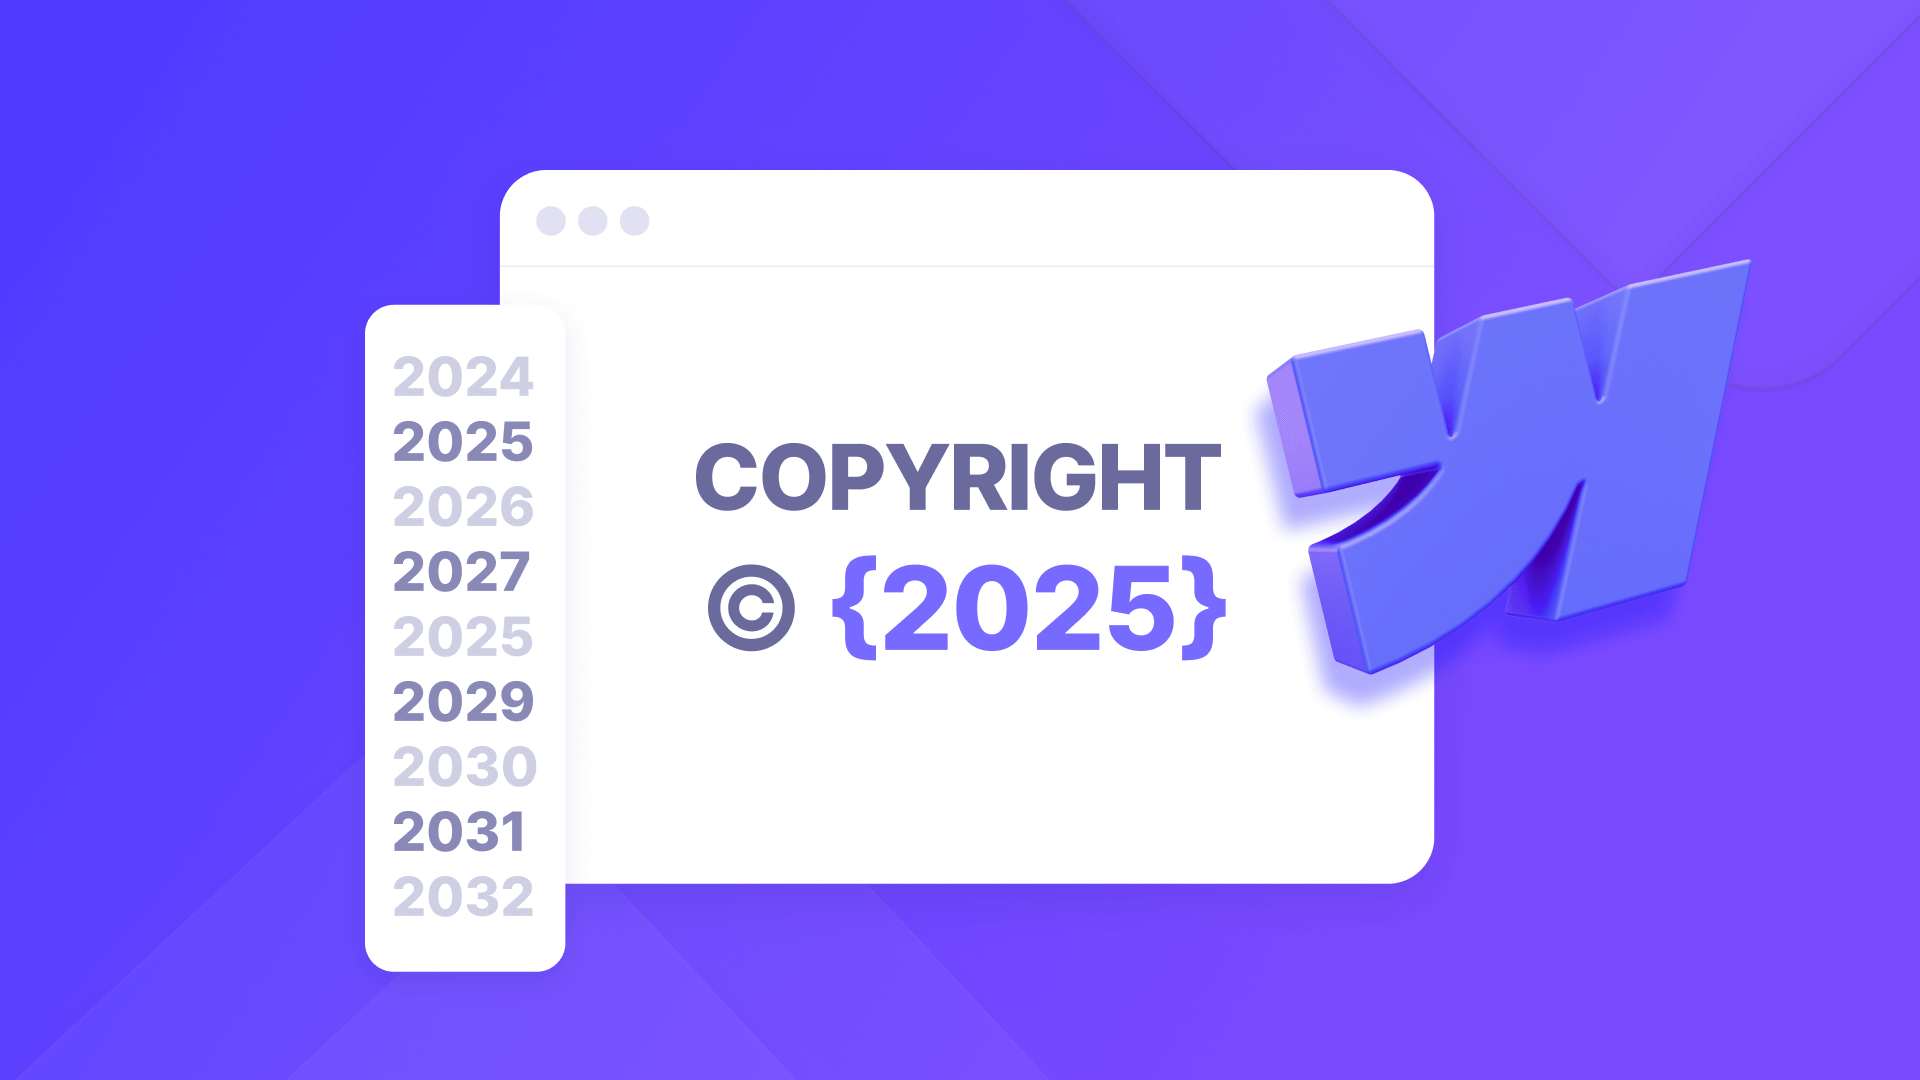
As Webflow designers and site owners, we've all been there: January rolls around, and suddenly you realize your website's copyright year is outdated. If you manage multiple sites, this seemingly small task can become a time-consuming burden. But what if you could set it up once and never worry about it again?
In this guide, we'll show you how to automatically update your copyright year in Webflow using a simple, secure JavaScript solution that runs entirely in your browser. No external scripts, no security concerns, and no privacy issues—just a clean, efficient solution you can implement in minutes.
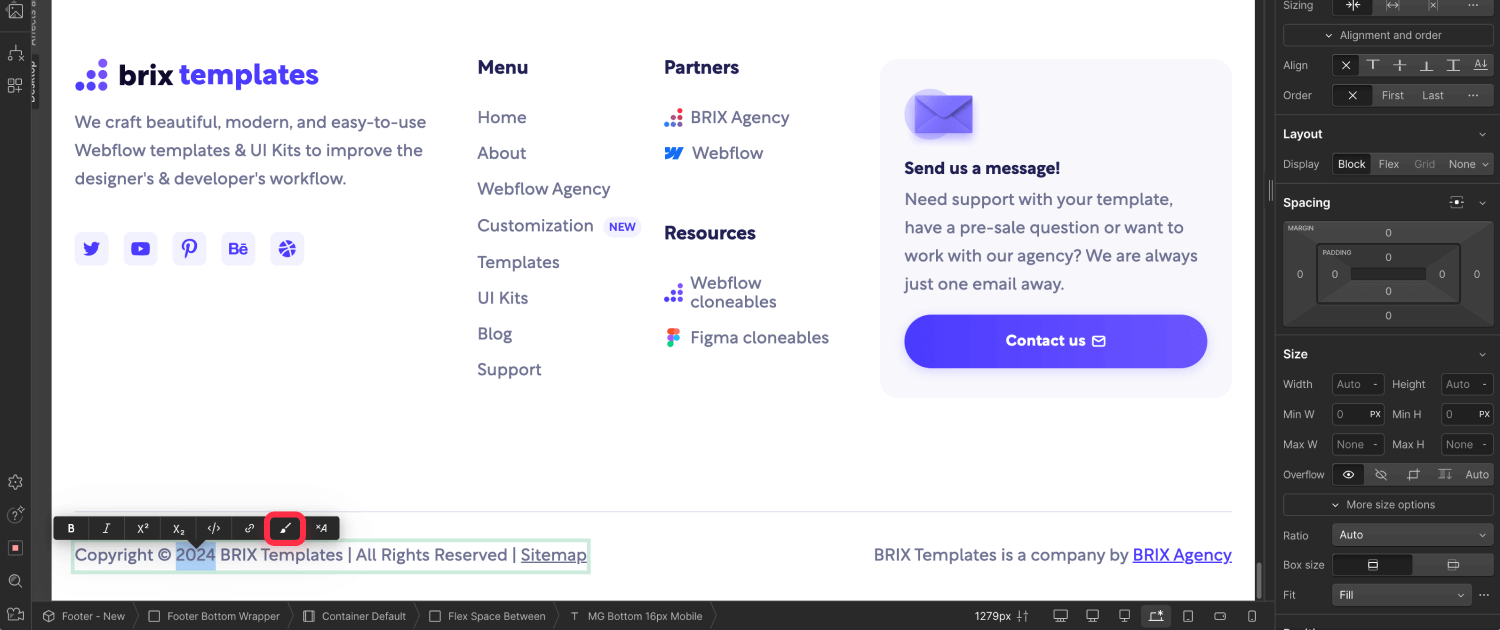
Implementation of the Webflow footer copyright year updater JS code
1. Prepare your copyright text in Webflow
First, let's set up the copyright text in Webflow's Designer:
- Open your Webflow project's Designer
- Navigate to your footer section
- Locate your copyright text
- Select the text containing your copyright year
- In the top toolbar, click the brush icon labeled "Grab with Span"
- In the Settings panel (right sidebar), enter "copyright-brix" in the ID field
2. Add the automatic copyright year update script
Next, we'll add our JavaScript code to automatically update the year under your Head section of your Webflow project settings, so it is applied to all pages.
In order to do that, you just need to follow the next four steps:
- Return to your Webflow Dashboard
- Go to Site Settings
- Navigate to Custom Code
- In the Head code section, add the following script:
<script>
  /**
   * Simple Webflow Copyright Year Updater
   * Automatically updates the copyright year in Webflow sites
   * @author BRIX Templates
   * @version 1.0.0
   * @description Finds and updates the copyright year element based on current date
   * @requires DOM element with ID 'copyright-brix'
   */
  window.addEventListener('DOMContentLoaded', function() {
    /**
     * Locate the copyright year element in the DOM
     * @type {HTMLElement}
     */
    const yearElement = document.getElementById('copyright-brix');

    /**
     * Get the current year using JavaScript Date API
     * @type {number}
     */
    const currentYear = new Date().getFullYear();

    /**
     * Update the copyright year if the element exists
     * Prevents potential errors if element is not found
     */
    if (yearElement) {
      yearElement.textContent = currentYear;
    } else {
      console.warn('Copyright year element with ID "copyright-brix" not found');
    }
  });
</script>
How the Webflow copyright year update code works
Let's break down each part of our script:
- window.addEventListener('DOMContentLoaded', function() {...}):
- Waits for your page to fully load before running the code
- Ensures all elements are available before we try to update them
- const yearElement = document.getElementById('copyright-brix'):
- Finds the specific element we marked with the ID "copyright-brix"
- This is why we set that specific ID in the Designer
- const currentYear = new Date().getFullYear():
- Creates a new Date object to access the current date
- getFullYear() extracts just the year (e.g., "2024")
- if (yearElement) { yearElement.textContent = currentYear }:
- Checks if we found our year element
- Updates the text to show the current year
- If the element isn't found, logs a warning message in the console
Security and privacy considerations
When implementing any JavaScript code on your website, security and privacy are important concerns. Our copyright year updater solution stands out for its simplicity and security-first approach. The code runs entirely within your visitor's browser, using JavaScript's built-in date functionality without any external dependencies or resources.
Unlike more complex solutions that might require external libraries or API calls, this implementation is completely self-contained. It doesn't collect, store, or transmit any data, making it fully compliant with privacy regulations like GDPR. This means you can implement it with confidence, knowing it won't impact your site's security level or privacy compliance.
Verify the copyright year updater works
After implementation, verify your setup:
- Preview your site in your Webflow staging link
- Check that the year displays correctly
- Use your browser's inspect tool to confirm the ID is properly set
- Test across different browsers and devices to ensure consistent behaviorNext Steps
Once implemented, your copyright year will automatically update each year without any manual intervention. This setup will continue working as long as you maintain the same element ID in your Webflow design.
Need help with this or other Webflow customizations? Feel free to reach out to BRIX Templates's team of experts for personalized assistance.


Join readers commenting on this post!