How to automatically detect country data in Webflow forms

Capturing user location data enhances form intelligence and personalization opportunities without adding complexity to your user experience.
While traditional Webflow forms require manual country selection, brix-autocountry attribute automatic detection silently gathers valuable geographic information while users complete other fields.
This approach provides rich data for analytics, lead routing, and more without extending form length or creating additional steps that could impact conversion rates.
Best of all, this Webflow attribute can be implemented for free in under 5 minutes.
Introduction
Form optimization involves balancing data collection needs with user experience requirements. The brix-autocountry attribute helps achieve this balance by automatically detecting and filling country fields using IP geolocation technology.
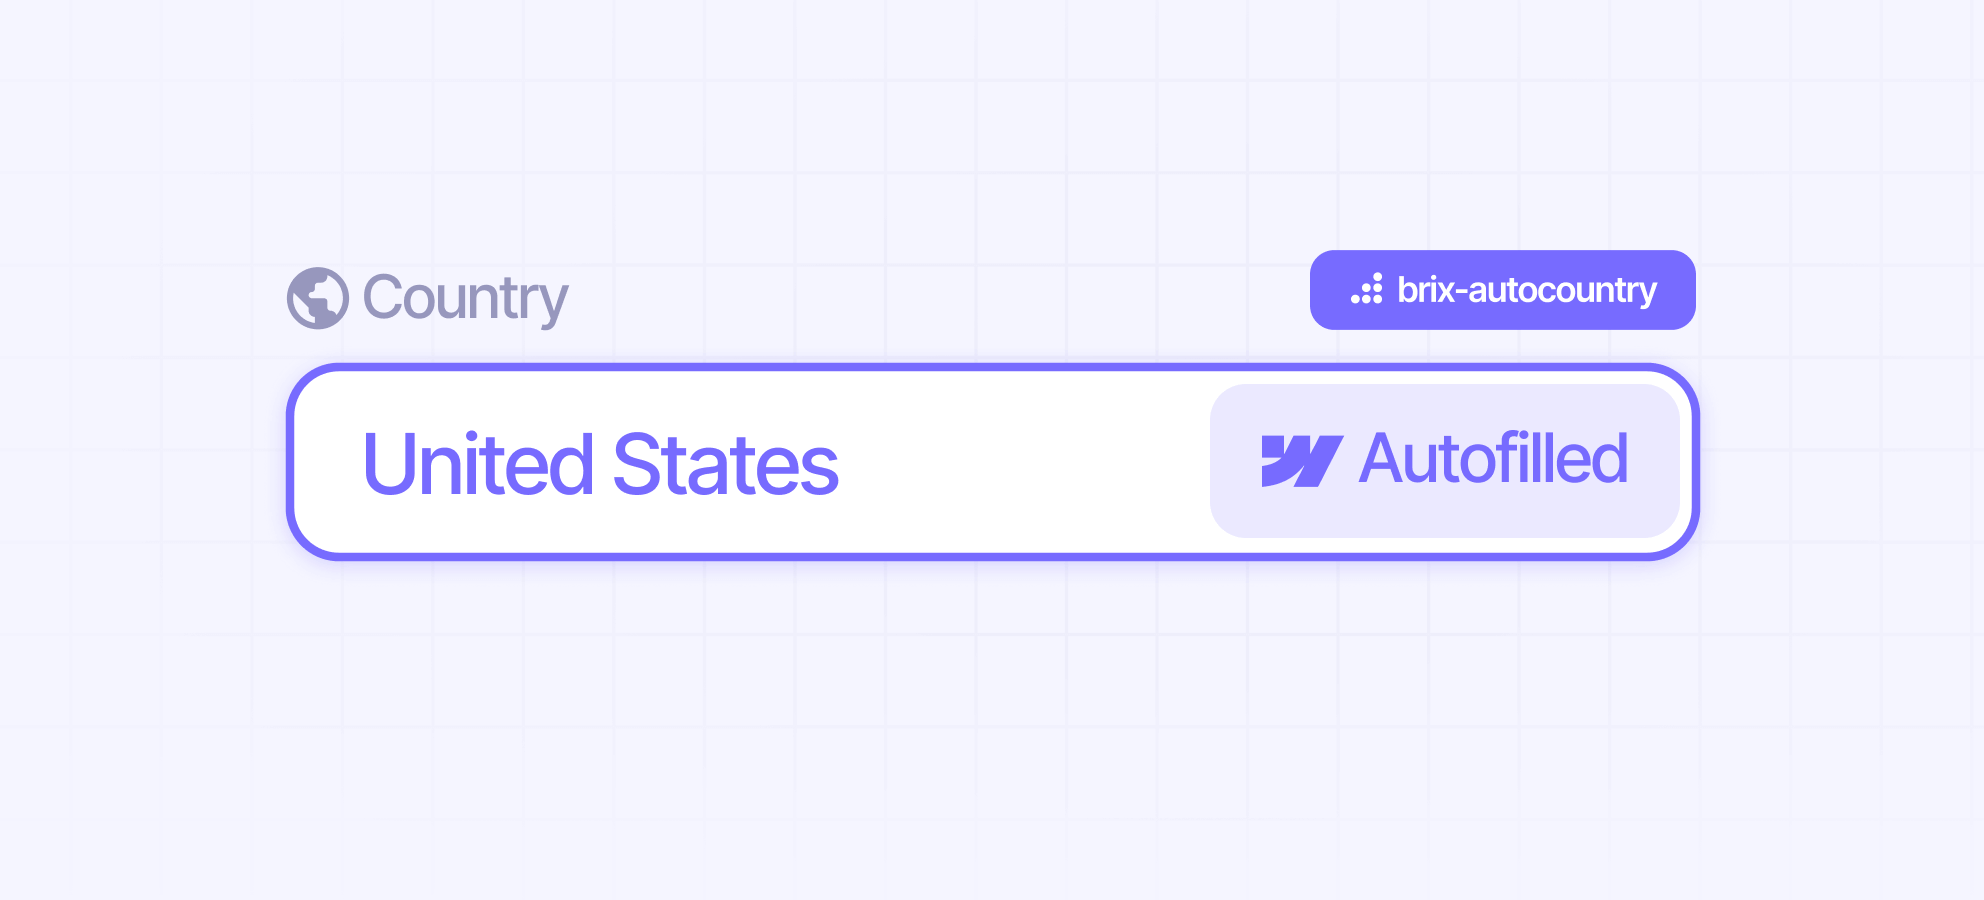
This implementation captures valuable location data while users focus on completing other form fields, creating an intelligent data collection system that works behind the scenes. You'll learn how to implement seamless country detection in any Webflow form using free IPinfo's reliable geolocation API.
Why automatic country detection matters for Webflow sites
Understanding the strategic value of country detection helps you implement this feature effectively across different form types:
- Newsletter signup forms with regional targeting: Automatically capture subscriber locations to segment email lists by geography, send region-specific content and promotions, and ensure compliance with local data protection regulations like GDPR
- Lead generation forms for sales routing: Pre-fill country fields to automatically route leads to appropriate regional sales teams, track geographic distribution of prospects, and personalize follow-up communications based on location
- Contact forms with regional support: Direct inquiries to location-appropriate support teams, provide relevant contact information based on user geography, and capture location data for support analytics and resource planning
- Survey and feedback forms: Gather location context for responses without requiring manual input, analyze feedback patterns by geographic region, and improve response rates by reducing form completion time
Understanding why we need IP geolocation services for Webflow country detection
Browser geolocation requires user permission (which people often decline) and returns GPS coordinates instead of country names. IP geolocation works differently - it uses your visitor's IP address to determine their country automatically. Since Internet Service Providers assign IP addresses by geographic regions, services like IPinfo can instantly tell you "this visitor is from Canada" without any popups or permission requests.
1 - IPinfo for Webflow country detection
IPinfo provides 99.5% accuracy for country detection and processes billions of requests monthly. Setting up your free account takes just a few minutes.
Setting up your free IPinfo account for Webflow
Follow these steps to create your account and get the credentials you need:
- Visit IPinfo and sign up: Go to ipinfo.io and click Sign Up > Choose the Free Plan (no credit card needed) > This gives you 50,000 monthly requests - perfect for most sites.
- Fill out the registration: Enter your email and create a password > Fill your your use case from the list of options
- Verify your email: Check your inbox for the verification email > Click the link to activate your account. Check spam folder if you don't see it.
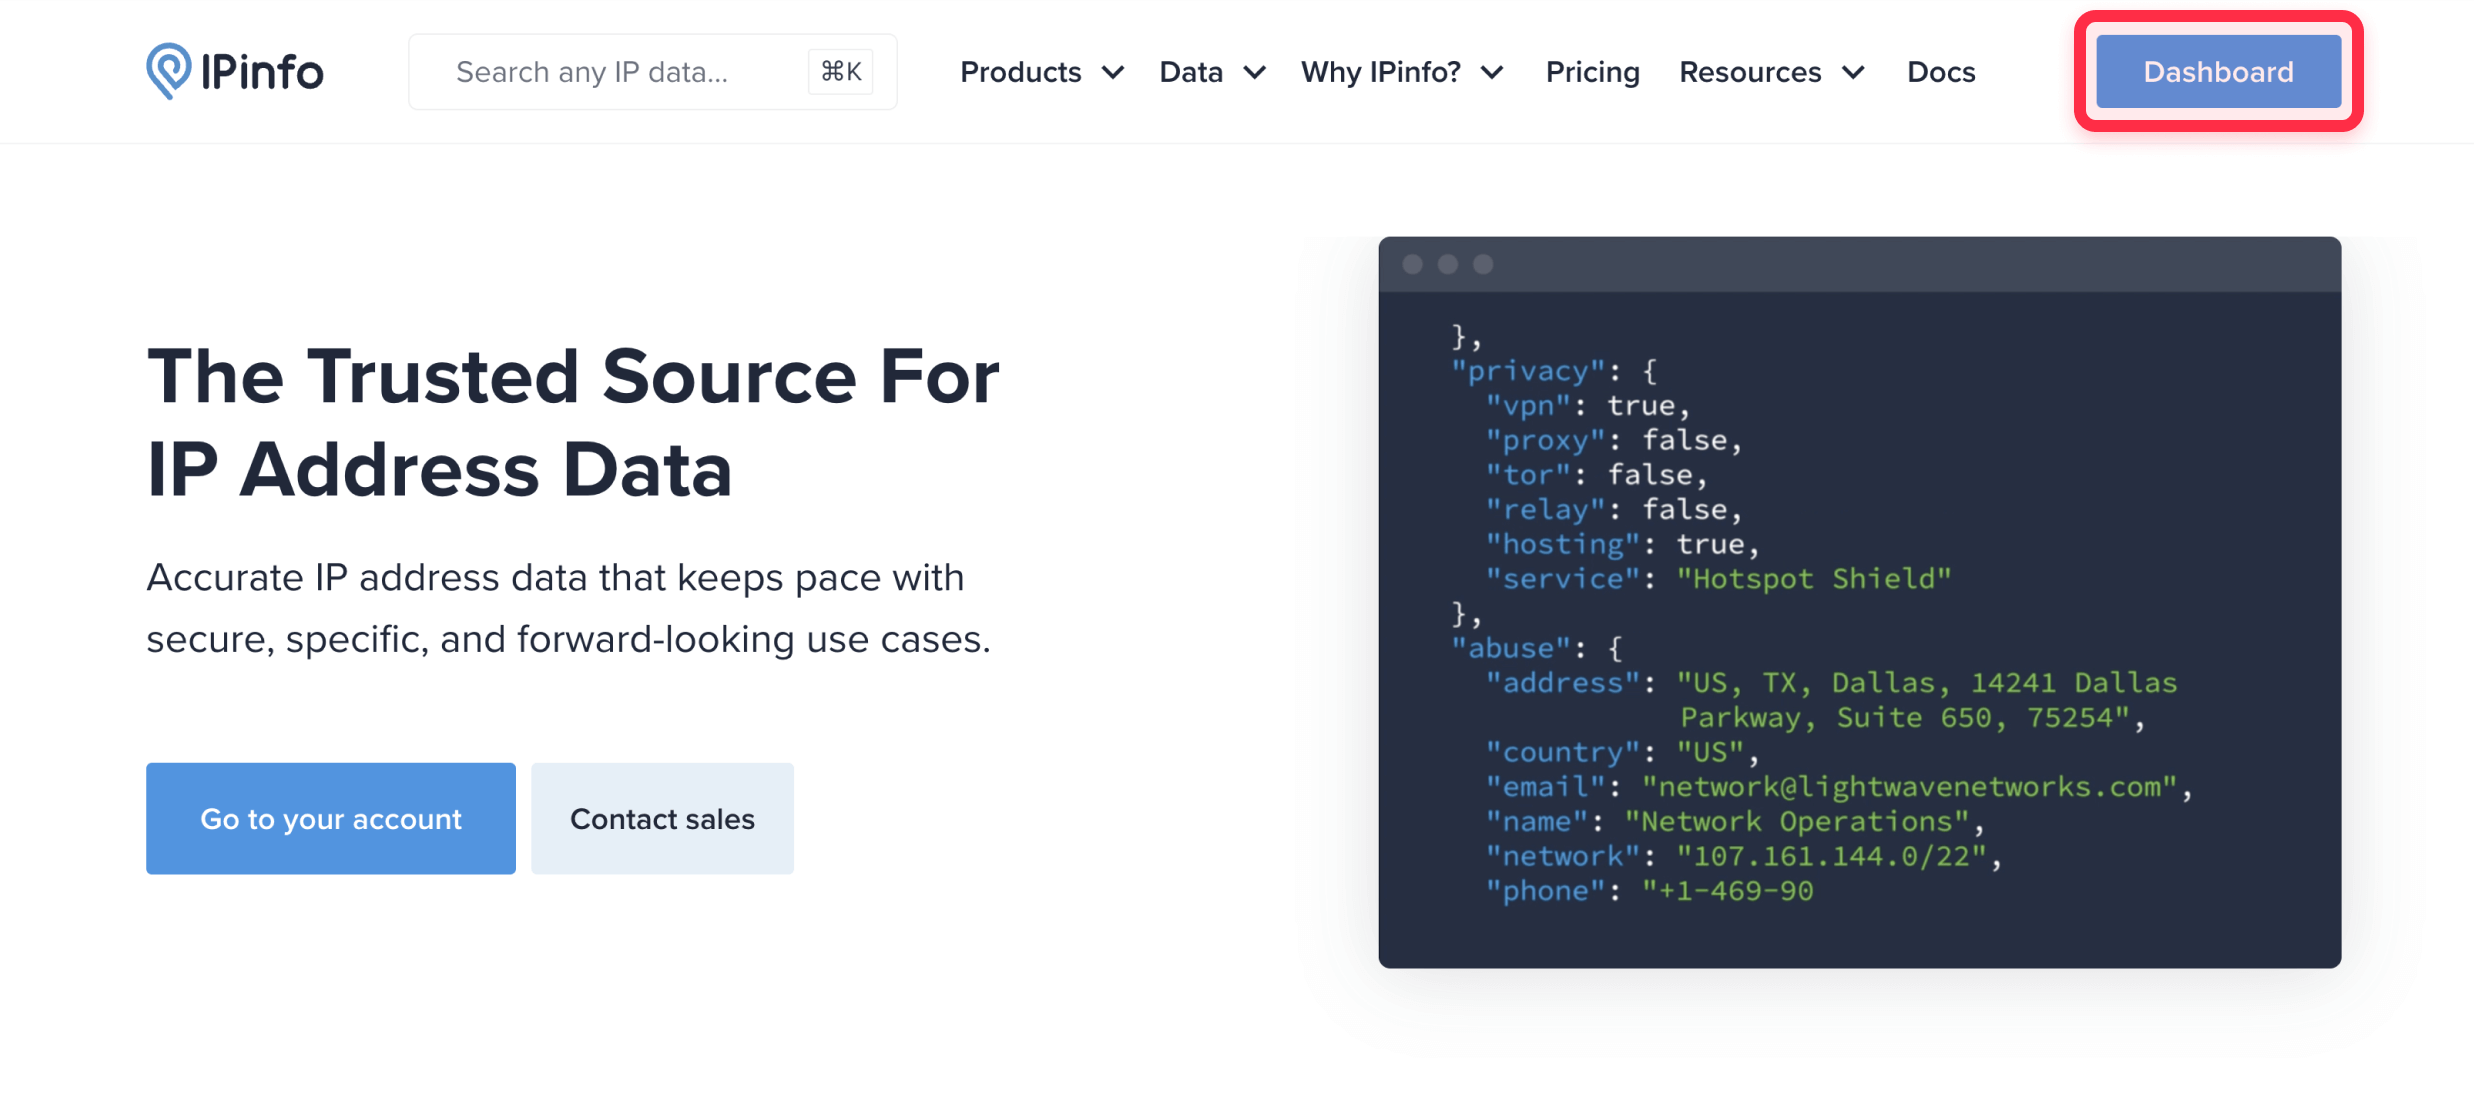
Getting your IPinfo API token for Webflow integration
Once you're in the dashboard, grab your API token:
- Find your token: Look for the Token API section in the sidebar. Your token looks like 11a89552cfa1fb.
- Copy and save it: Click Copy next to your token. Keep this safe - you'll need it for the implementation.

Your free plan includes everything you need: full country names, country codes, continent data, and no rate limiting for basic country requests.
2 - Implementing automatic country detection in Webflow forms
The setup involves adding JavaScript to your Webflow project and configuring form fields with the brix-autocountry attribute.
Adding the brix-autocountry script to your Webflow project
Here's how to add the country detection functionality:
1 - Copy the implementation script: Use this code that handles all the country detection magic:
<script>
/**
 * BRIX Templates Auto Country Detection
 * Automatically fills country fields using IPinfo API
 * @version 1.0.1
 */
(function() {
  'use strict';

  // Configuration
  const IPINFO_TOKEN = 'YOUR_TOKEN_HERE'; // Replace with your IPinfo token

  async function detectCountry() {
    try {
      const url = `https://api.ipinfo.io/lite/me?token=${encodeURIComponent(IPINFO_TOKEN)}`;
      const response = await fetch(url, {
        headers: { 'Accept': 'application/json' }
      });

      if (!response.ok) {
        throw new Error(`API Error: ${response.status}`);
      }

      const data = await response.json();

      // Enhanced console output
      console.log('━━━━━━━━━━━━━━━━━━━━━━━━━━━━━━━━━━━━━━━━━━━━━━━━━━━━━━━━━━━━━━━━━');
      console.log('🌎 BRIX Templates Auto Country Attribute - User detected in ' + data.country);
      console.log('━━━━━━━━━━━━━━━━━━━━━━━━━━━━━━━━━━━━━━━━━━━━━━━━━━━━━━━━━━━━━━━━━');

      return {
        country:   data.country        || '',
        countryCode: data.country_code || '',
        continent: data.continent      || '',
        ip:        data.ip
      };
    } catch (error) {
      console.error('Country detection failed:', error);
      return null;
    }
  }

  async function initBrixAutoCountry() {
    // Find all inputs with brix-autocountry attribute
    const countryInputs = document.querySelectorAll('[brix-autocountry]');

    if (countryInputs.length === 0) {
      console.log('No inputs with [brix-autocountry] attribute found.');
      return;
    }

    // Detect country once
    const locationData = await detectCountry();

    if (!locationData) {
      console.log('Country detection failed - inputs remain empty for manual entry');
      return;
    }

    // Fill each country input
    countryInputs.forEach(input => {
      const fillType = input.getAttribute('brix-autocountry') || 'country';

      switch (fillType) {
        case 'country':
          input.value = locationData.country;
          break;
        case 'country-code':
          input.value = locationData.countryCode;
          break;
        case 'continent':
          input.value = locationData.continent;
          break;
        default:
          input.value = locationData.country;
      }

      // Trigger change event for form validation
      input.dispatchEvent(new Event('change', { bubbles: true }));
    });
  }

  // Run when DOM is ready
  if (document.readyState === 'loading') {
    document.addEventListener('DOMContentLoaded', initBrixAutoCountry);
  } else {
    initBrixAutoCountry();
  }
})();
</script>
2 - Replace your token: Find const IPINFO_TOKEN = 'YOUR_TOKEN_HERE';. Replace YOUR_TOKEN_HERE with your actual token. Make sure there are no extra spaces.
3 - Add the script to Webflow:
- For single-page implementation: Open Page Settings (gear icon) > Go to Custom Code section > Paste into Before </body> tag > Hit Save.
- For your whole site implementation: Go to Project Settings > Custom Code > Add to Footer Code section > Click Save Changes.

4 - Publish your site: Click Publish in the top-right > Select your domains and publish
Configuring Webflow form fields with brix-autocountry
Now let's set up your form fields to automatically receive country data:
- Find your form: Open your page in Webflow Designer > Locate the form you want to enhance
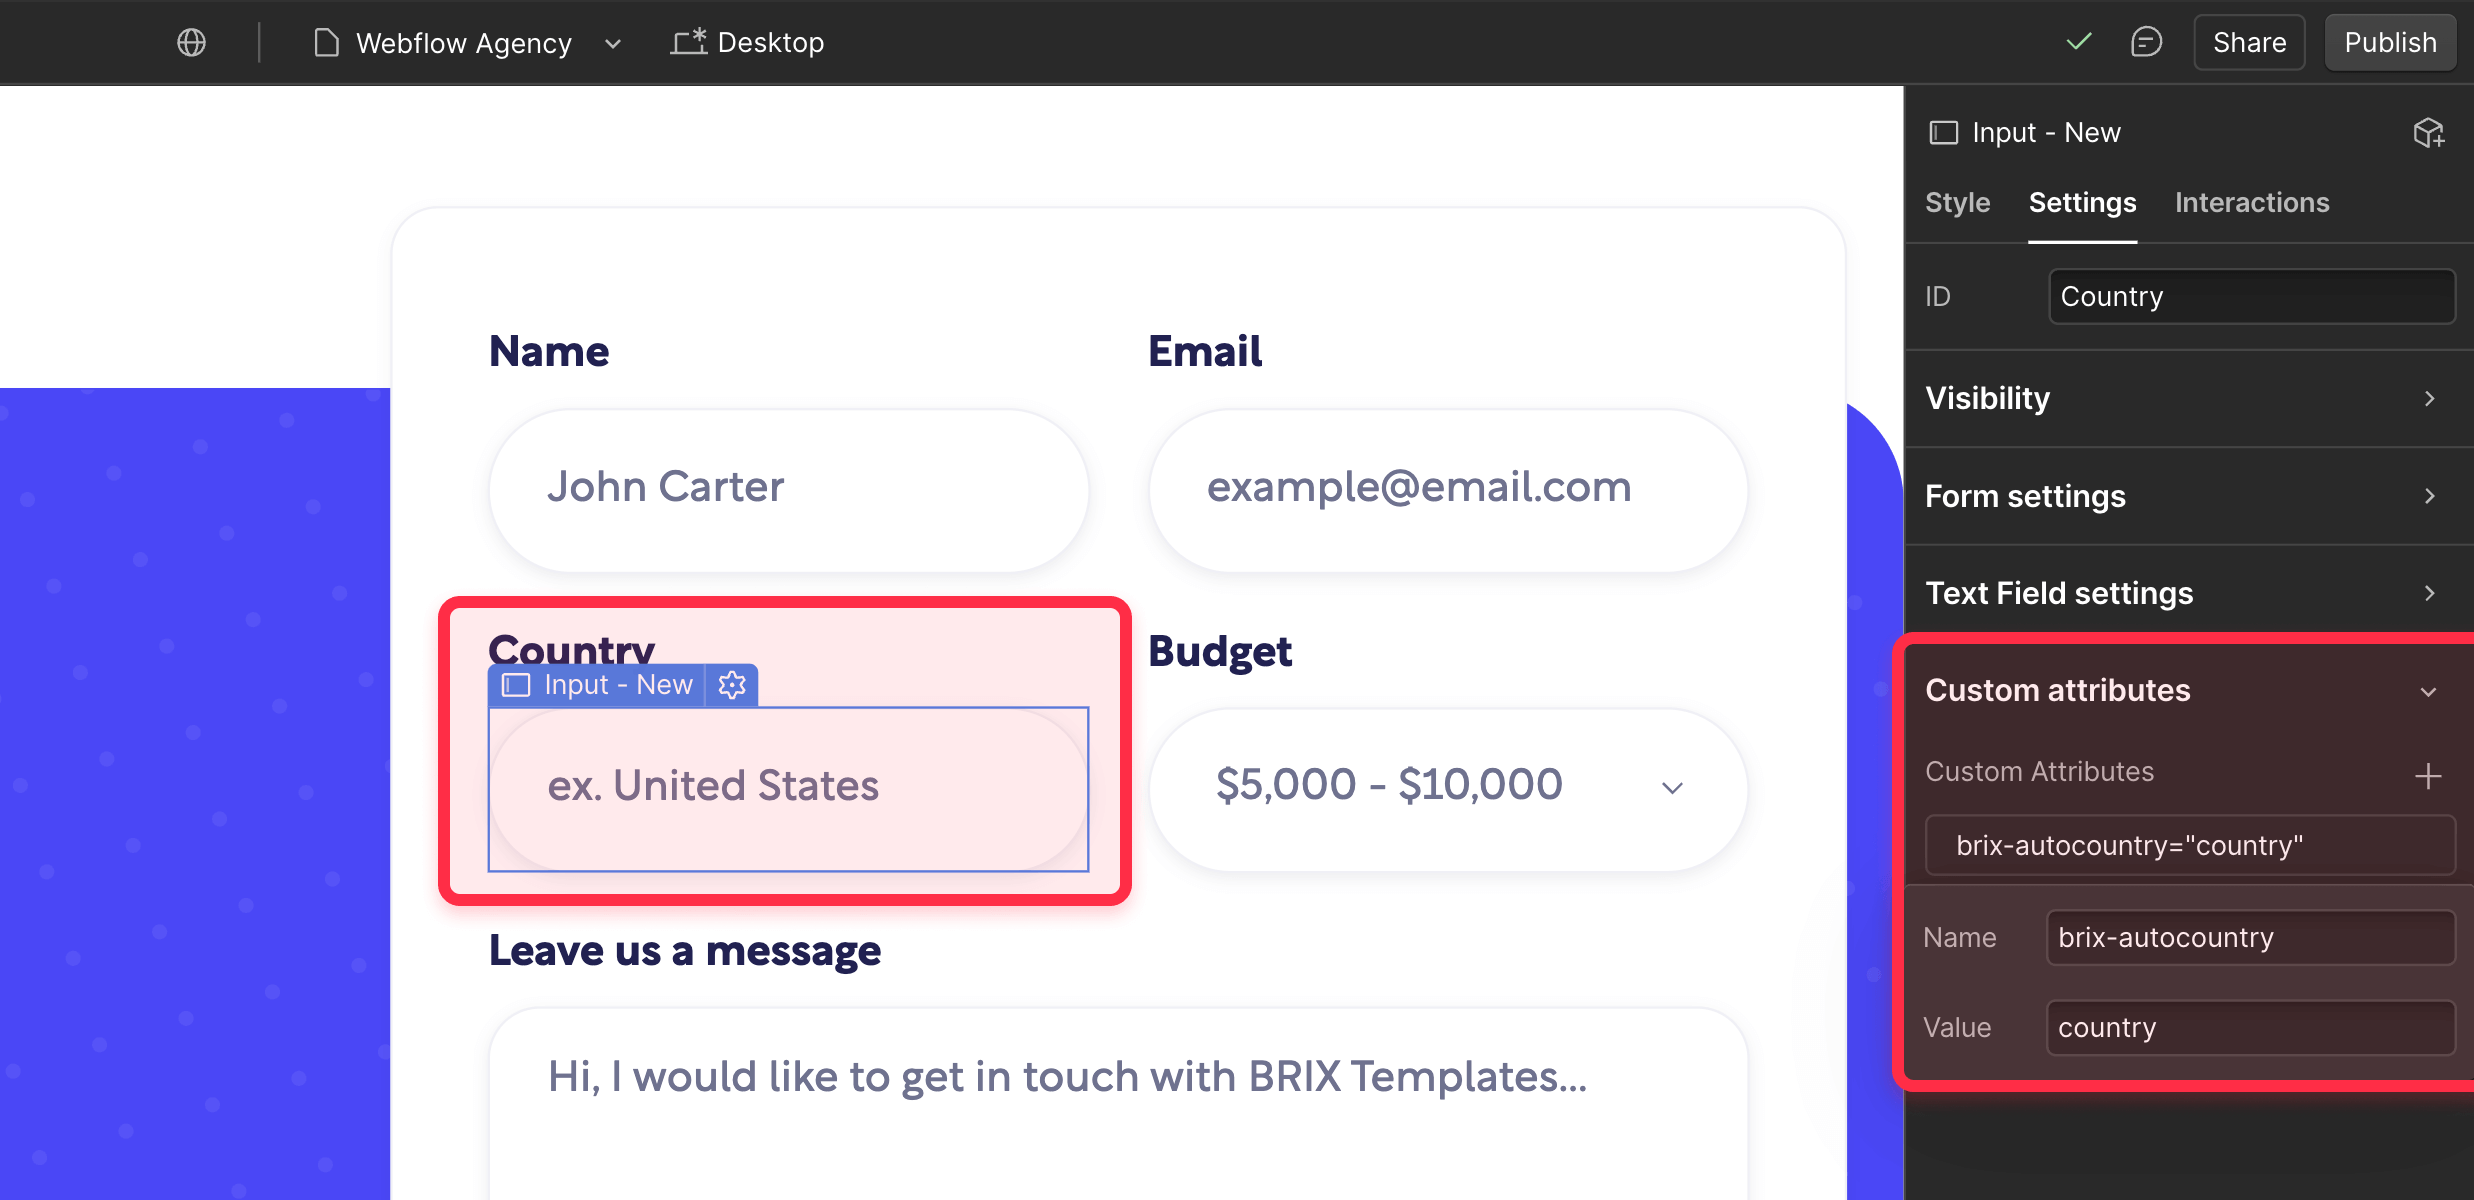
- Select your country field: Click on your existing country input > Don't have one? Drag a Text Input from the Add panel into your form
- Configure the basic settings: In the Settings panel, set Name: country (important for form submissions) > Placeholder: Leave blank or add optional text > Required: Leave unchecked (in case detection fails)
- Add the magic attribute: Scroll to Custom Attributes > Click + to add a new attribute:
- Name: brix-autocountry
- Value: Choose from the options below - Want hidden data capture? Create an additional text input > Set them to display: none; > Perfect for analytics without cluttering your form
Understanding brix-autocountry attribute values for Webflow
The brix-autocountry attribute accepts different values depending on what kind of country data you want. This gives you flexibility to capture exactly what your forms need.
You can use these attribute values:
- country (or leave blank): Full country names like "United States", "Canada", or "United Kingdom"
- country-code: ISO codes such as "US", "CA", or "GB"
- continent: Continent names like "North America", "Europe", or "Asia"
Need more specific location data? IPinfo's paid plans starting at $49/month unlock city-level detection, state/province information, postal codes, and even neighborhood-level precision. These enhanced features are perfect for businesses requiring detailed geographic segmentation or local service routing.
If your project needs this level of location intelligence, we can easily modify the script to capture and utilize this additional data - just reach out to our Webflow team and we'll customize the implementation for your specific requirements.
Testing your Webflow country detection implementation
Time to make sure everything works perfectly:
- Do a basic test: Publish your site > Visit your form page in a new browser tab > Check that country fields populate automatically > Try editing the auto-filled country to make sure it works
- Check the console output: Press F12 to open developer tools > Go to the Console tab > Refresh your page > Look for the success message: "🌎 BRIX Templates Auto Country Attribute - User detected in [Country]"
- Test different scenarios: Try on mobile (should work the same) > Test with a VPN if you have one (it'll show VPN location) > Check that form submission works with the auto-detected data
- Verify form integration: Submit a test form > Make sure country data appears in your form results > Check any email notifications include the country info
Troubleshooting common Webflow country detection issues
Here's how to fix the most common problems:
Nothing happens - fields stay empty:
- Double-check that your IPinfo token is pasted correctly
- Make sure you haven't hit your monthly limit (check IPinfo dashboard)
- Try on a different network
- Look at the browser console for error messages
Wrong country shows up:
- This is normal if someone's using a VPN or a corporate network
- Always let users edit the field manually
Script doesn't run at all:
- Verify the script is in the right place (before </body> tag)
- Check that brix-autocountry is spelled correctly
- Make sure you published your site after adding the code
- Confirm your form fields have proper Name attributes
Frequently asked questions about automatic country detection in Webflow
Can I automatically detect the country of users and load it in my Webflow form?
Yes! The brix-autocountry attribute makes this super easy. Just add our JavaScript code to your Webflow project and apply the brix-autocountry attribute to any form field. The system detects your visitor's IP address, looks up their country using IPinfo's database, and automatically fills the field with their country name. Users can still edit it if needed.
Does country auto-detection work with third-party form systems for Webflow?
Absolutely! The brix-autocountry implementation works seamlessly with any third-party forms for Webflow as well. It doesn't interfere with form submissions, email notifications, or any integrations you have set up. The script simply pre-fills fields with country data and triggers the right events so Webflow's form validation continues working normally.
How much does it cost to implement country detection in Webflow forms?
IPinfo's free tier gives you 50,000 requests per month at zero cost - that covers about 1,600 daily visitors. This includes full country names, country codes, and continent data with no setup fees. For busier sites, paid plans start at $49 monthly with higher limits and extra features like city-level detection.
Conclusion
Implementing automatic country detection with the brix-autocountry attribute makes your Webflow forms smarter by capturing valuable location data without any user friction. This solution improves data collection efficiency, enables better lead routing and analytics, and provides geographic insights that support business decision-making. The combination of Webflow's intuitive form builder and IPinfo's reliable geolocation service creates a powerful tool for intelligent data capture.
Start with IPinfo's generous free tier to test everything out, then upgrade as your traffic grows. Your forms will become smarter, your data more comprehensive, and your user experience more streamlined through reduced manual input requirements.
For advanced implementations requiring custom conditional logic, multi-step form integration, or city or neighbourhood geolocation features, our Webflow development team can create sophisticated solutions that perfectly align with your specific business requirements.
How to embed unique HTML on each Webflow CMS page
Learn three options to embed unique HTML on every Webflow CMS page using Dynamic Embeds, Page Custom Code, and Rich Text blocks.

How to lazy load external videos in Framer for faster page speed
Learn two ways to lazy load YouTube and Vimeo in Framer: a quick Code Override tweak plus a click-to-load pattern to boost performance.

How to lazy load external videos in Webflow for faster page speed
Learn two ways to lazy load YouTube and Vimeo in Webflow: quick native fix plus click-to-load pattern for better performance.


