
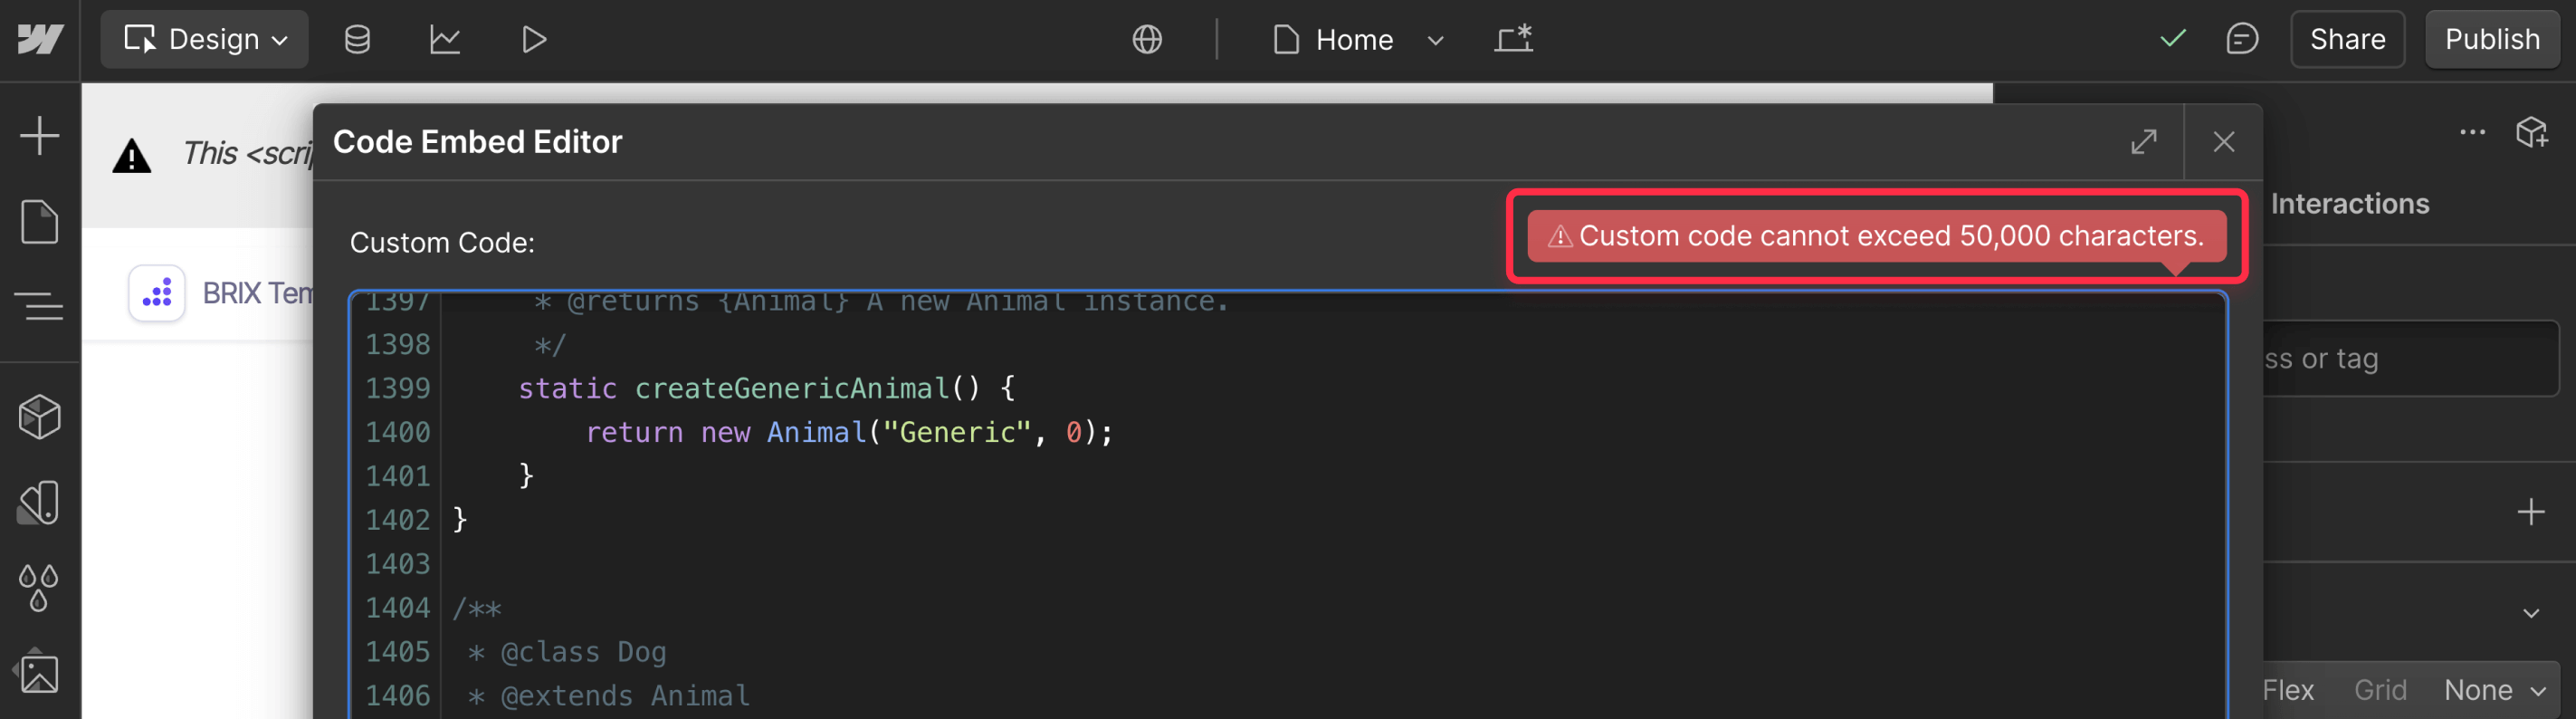
Webflow's 50,000 character limit for custom code is quite limiting when you're embedding large custom code, but fortunately the Webflow community has engineered several effective workarounds.
This article explores 3 distinct approaches to bypass the 50,000-character limit—from the highly recommended GitHub/jsDelivr method to the purpose-built Slater tool and a quick but messy multiple embed hack.
Common use cases when the 50,000 characters limit for Webflow custom code blocks are not enough
When building advanced Webflow sites, you'll often find yourself needing more code space than the platform allows. Here are several scenarios where you'll likely hit the character limit, and why having a solution is crucial.
- Complex interactive elements: Build advanced animations, custom sliders, and interactive features that require substantial JavaScript
- Third-party integrations: Incorporate external services and APIs that need large chunks of code to function properly
- Detailed SVG graphics: Include sophisticated vector graphics and illustrations without compromise
- Custom functionality: Implement bespoke features that extend Webflow's native capabilities like multi-step forms or custom e-commerce experiences
Method 1: GitHub + jsDelivr - The best solution for Webflow custom code
Before diving into implementation, it's important to understand why this approach is considered the gold standard. Using GitHub to store your code and jsDelivr to serve it combines free, reliable infrastructure with professional version control. This method is widely recommended by the Webflow community for both JavaScript and CSS files.

How to implement the GitHub + jsDelivr method in Webflow
1. Create a GitHub repository: First, you need a place to store your code. If you don't already have a GitHub account, create one (it's free), then create a new public repository for your Webflow custom code. 💡 Tip: Name your repository something related to your project for easy identification, such as my-webflow-site-scripts.
2. Upload your code files: Create and upload your JavaScript or CSS files to the repository. For example, create a file called main.js and paste your script. Commit the file to GitHub.
For those unfamiliar with GitHub, you can simply click the Add file button in your repository, create a new file, paste your code, then click Commit new file.
3. Get the jsDelivr URL: Once your file is uploaded, you'll need to create a jsDelivr URL to serve it. The general format is:
https://cdn.jsdelivr.net/gh/YourUsername/YourRepo@latest/filename.jsReplace YourUsername with your GitHub username, YourRepo with your repository name, and filename.js with the name of your file.
Tip: For production sites, you may want to version your files by replacing @latest with a specific version or commit hash, such as @v1.0 or @5a9c98b.
4. Add the script to Webflow: In Webflow, go to the page settings where you want to add the code (or site-wide settings for global code). Add an HTML embed component or use the custom code section and insert:
<script src="https://cdn.jsdelivr.net/gh/YourUsername/YourRepo/main.js"></script>This tiny snippet is well under 50,000 characters and will load your full script from jsDelivr's CDN, no matter it's character count.
5. Publish your site: After publishing your Webflow site, your custom code will load from jsDelivr each time a user visits your site.
Best practices for the GitHub + jsDelivr method
- Minify your code before uploading to reduce file size and improve load speed
- Use versioning for critical production code by tagging releases in GitHub
- Organize multiple files logically by function or page to keep your repository clean
- Add comments and documentation in your repository to make future maintenance easier
- Test thoroughly on both staging and production environments before finalizing
This approach is incredibly performant as jsDelivr is a global CDN that caches your files worldwide, ensuring fast loading times for users in different regions. It also keeps your Webflow site's HTML lighter, resulting in better overall performance.
When updates are needed, simply modify the file in GitHub and the changes will be reflected on your site (assuming you're using the @latest tag). This workflow eliminates the need to republish your Webflow site for each code change.
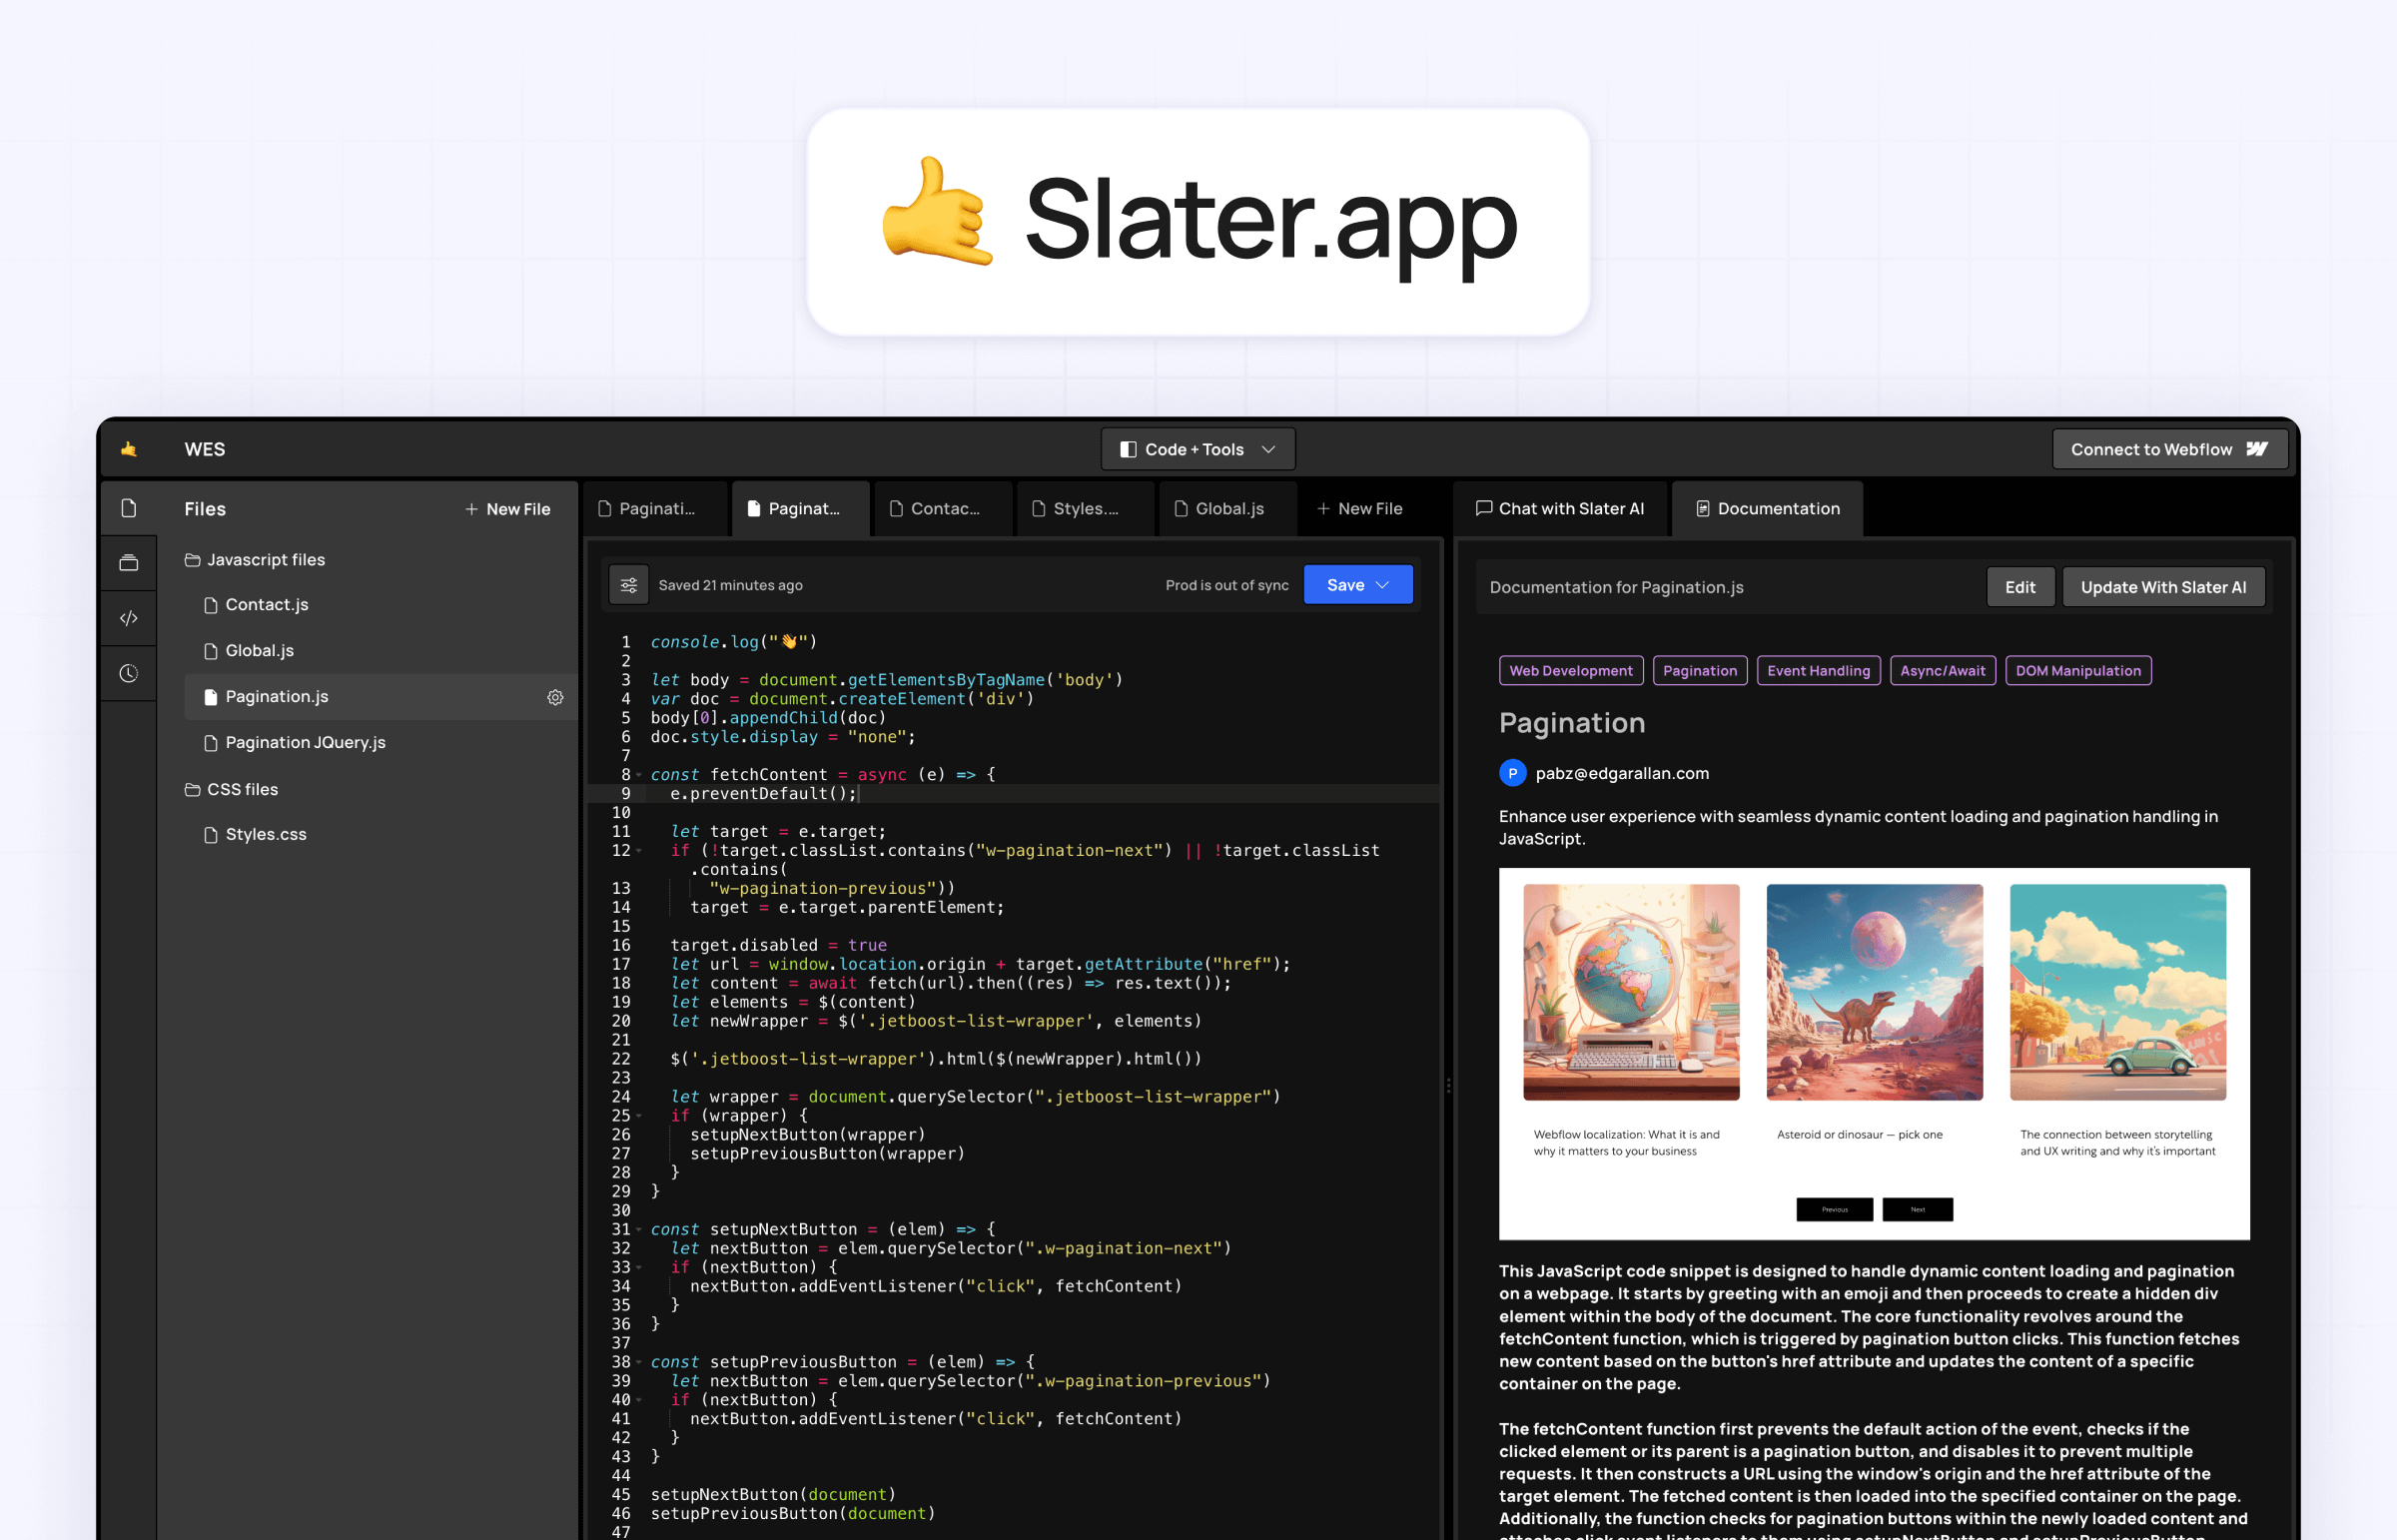
Method 2: Slater - The specific tool for Webflow custom code
If you're looking for a solution specifically designed for Webflow, Slater by Edgar Allan is an excellent choice. It's an AI-powered coding environment that integrates seamlessly with Webflow and eliminates the character limit entirely.
How to implement the Slater method in Webflow
1. Sign up for Slater: Create an account on slater.app. They offer a free "Playground" plan that works for basic needs, allowing you to connect up to 3 projects with up to 30 files in total.
2. Connect your Webflow project: There are two ways to connect Slater to your Webflow project:
- Via Webflow App Marketplace: Install Slater from the Webflow App Marketplace, which embeds Slater directly into the Designer UI as a sidebar panel.
- Manually: Slater provides a script snippet that you can paste into your Webflow site's custom code section (usually the footer).
3. Write or paste your code in Slater: Once connected, Slater presents an editor where you can create JavaScript files (and now CSS files too). You can either write code from scratch or paste your existing code.
4. Save and publish your code: After writing your code in Slater, simply save it. Your code is now hosted externally on Slater's servers, and the embed script in your Webflow site will pull in this code automatically.
5. Test and iterate quickly: One of Slater's biggest advantages is that you can make changes to your code and see them instantly on your Webflow staging site without republishing. Simply save your changes in Slater and refresh your Webflow page.
Benefits of using Slater for Webflow custom code
- No character limit: Write as much JavaScript or CSS as you need without restrictions
- AI-powered assistance: Generate code using natural language prompts, even if you're not a JavaScript expert
- Real-time editing and testing: See changes immediately without republishing your Webflow site
- Team collaboration: Invite team members to work on code together (on paid plans)
- Staging vs production publishing: Test code on your staging site before pushing it live
- Code library: Save and reuse snippets across multiple projects
- Modern editor experience: Syntax highlighting, multiple files, and tabs make coding more comfortable
Slater's free tier is generous enough for small projects, but for professional use, they offer paid plans starting at $5/month per user. The paid plans provide unlimited projects, file access controls, and more extensive AI capabilities.
While Slater is a newer tool compared to GitHub + jsDelivr, it has quickly gained popularity in the Webflow community for its ease of use and tight integration with the Webflow ecosystem.
Method 3: Multiple embed components - The quick but (very) messy workaround
If you need a solution that stays entirely within Webflow and doesn't require external services, you can split your code into smaller chunks and distribute them across multiple embed components or custom code areas.
How to implement the multiple embeds method in Webflow
1. Analyze your code for logical split points: Examine your code and find natural breaking points where it can be divided. Good split points include:
- Between functions or modules
- After closing tags in HTML
- Between sections of related CSS rules
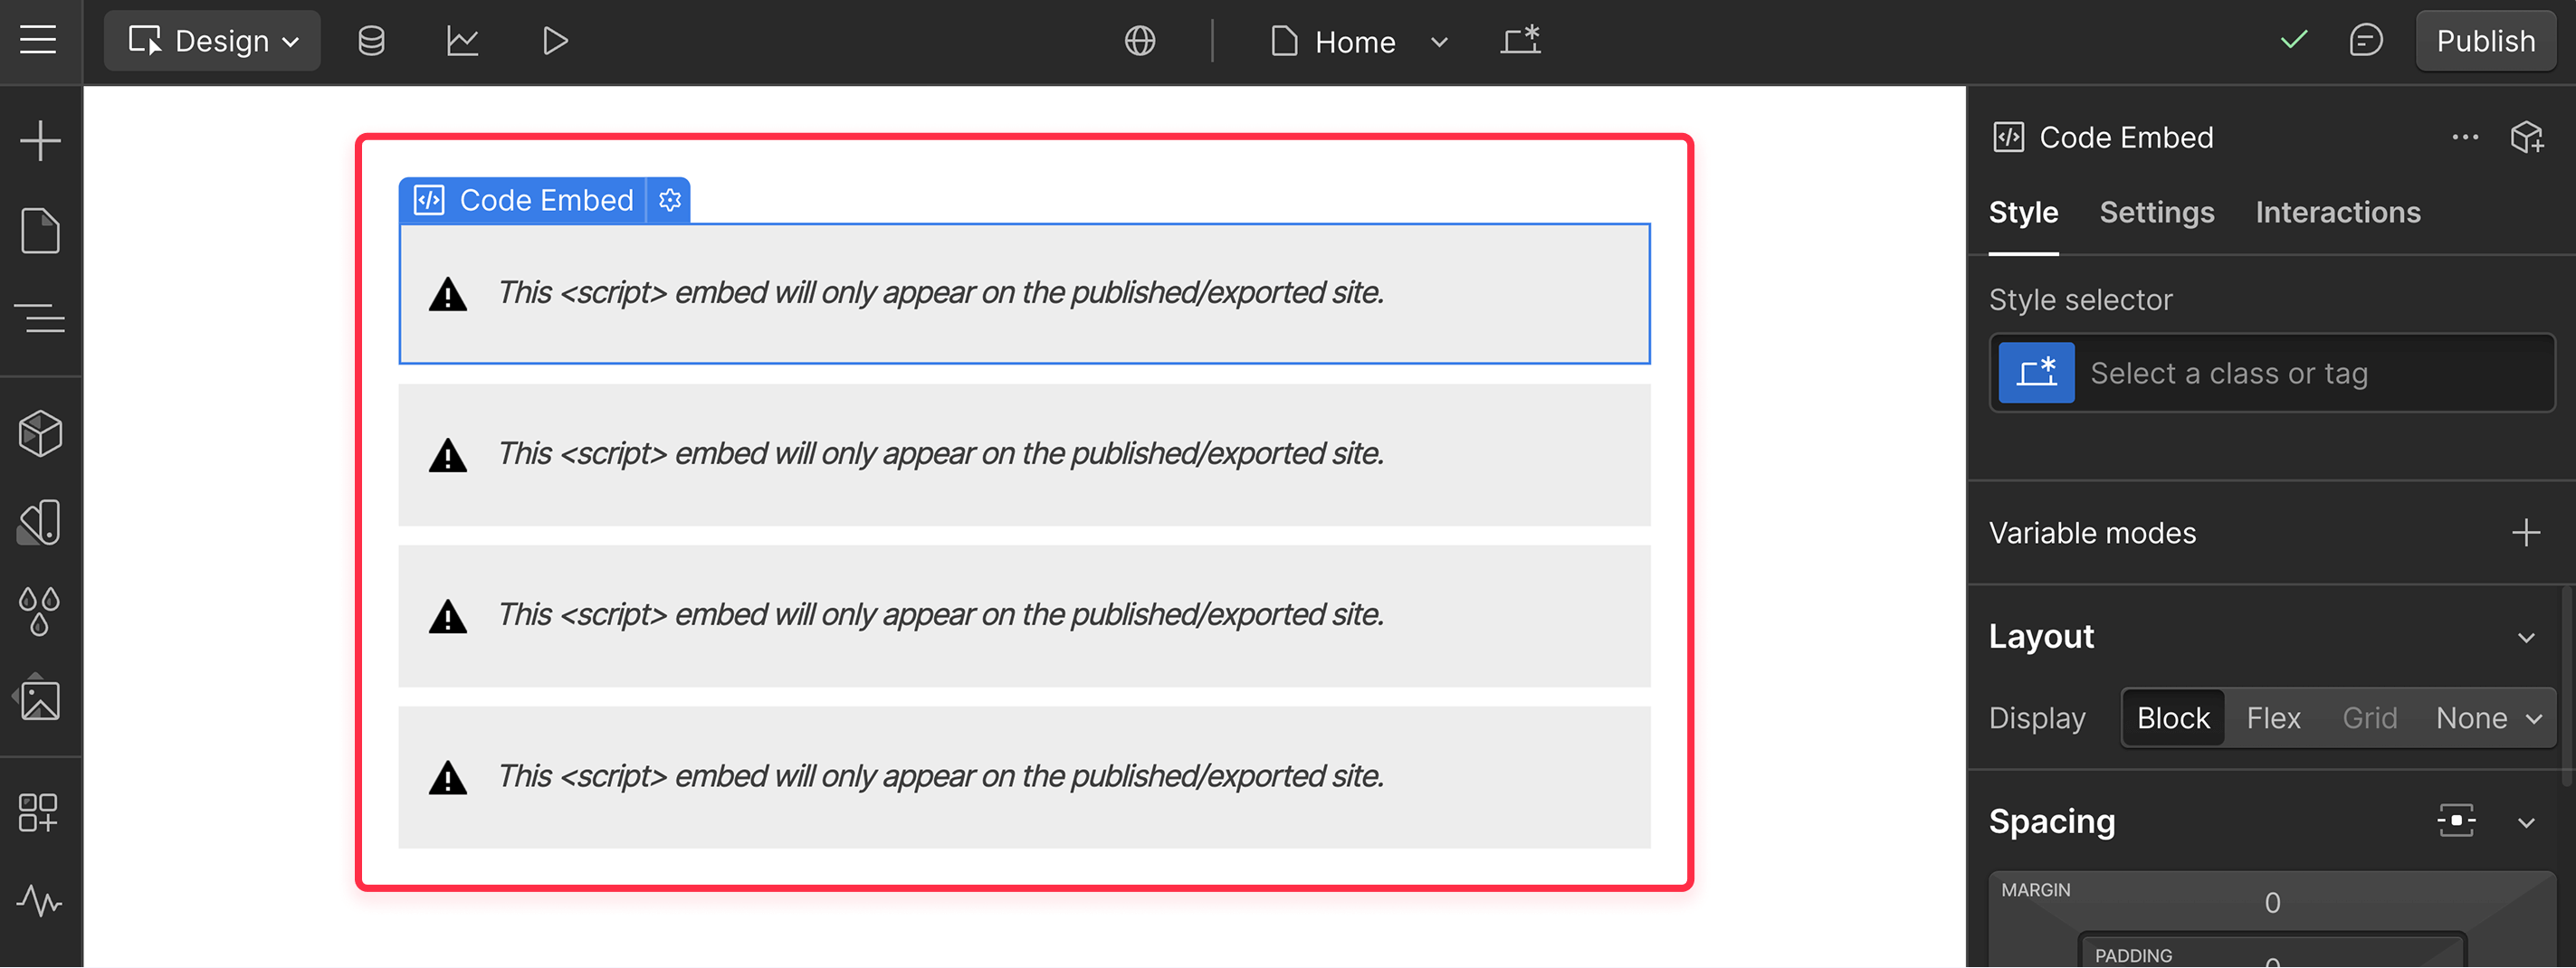
2. Add multiple HTML embed components: In the Webflow Designer, add multiple HTML embed components to your page. For example, you might place two embed elements at the bottom of the page, just before the closing body tag.
3. Distribute your code across embeds: Copy the first portion of your code into the first embed, and subsequent portions into additional embeds. Each section should be under 50,000 characters.
4. Maintain the correct order
Make sure your embed components are placed in the correct sequence in the Designer. The order matters for proper code execution.
TIP: Add comments at the beginning of each embed to help you identify the sections, such as <!-- Animation Code Part 1 -->.
5. Publish and test
After publishing your site, verify that everything works as expected. If something is wrong, check for typos or missed code at the split points.
Limitations and considerations of the multiple embeds method for overcoming the Webflow custom code character limit
While this approach works, it comes with significant drawbacks:
- Maintenance nightmare: Updating your code becomes difficult as it's fragmented across multiple components
- Debugging challenges: Errors can be harder to track down when code is split
- No version control: Unlike GitHub, there's no history or easy way to revert changes
- Performance impact: Multiple script blocks can affect page loading performance
- Organization issues: As your project grows, keeping track of which code is where becomes increasingly difficult
This method should be considered a last resort when you need a quick fix and can't use external services. It's particularly unsuitable for code that will need frequent updates or for team environments where multiple people might work on the code.
Conclusion
Overcoming Webflow's 50,000-character custom code limit is essential for creating sophisticated, feature-rich websites. Among the three methods we've explored, the GitHub + jsDelivr approach offers the best balance of reliability, performance, and maintainability for most projects. It's free, industry-standard, and gives you complete control over your code.
Slater provides an excellent alternative with its Webflow-specific features and AI assistance, making it particularly valuable for teams and those less experienced with JavaScript. While it requires a subscription for full features, the productivity gains often justify the cost.
The multiple embeds method, while quick to implement, should be reserved for temporary fixes or very simple cases due to its maintenance challenges.
If you're looking for assistance implementing any of these solutions or need help with advanced Webflow development, our agency services can help bring your vision to life. Check out our custom Webflow development agency for more information.


Join readers commenting on this post!