UTM parameters are one of the most effective ways to track marketing attribution across your Webflow website. But there's a common challenge: these valuable tracking parameters are lost when visitors navigate between pages.
Don't worry—this guide will show you exactly how to maintain UTM parameters across your entire site, no third-party tools required!
When to use UTM parameter tracking in your Webflow site
Before diving into the implementation, let's explore when this solution can help your marketing efforts. This UTM tracking implementation is particularly valuable when:
- Your conversion process spans multiple pages or steps
- You want to track returns from paid search, social media campaigns or influencer partnerships
- You need to measure the effectiveness of email marketing campaigns
- You're looking to optimize ad spend based on actual conversions, not just initial clicks
Some real world examples where UTM parameters can help you better track conversions are the following:
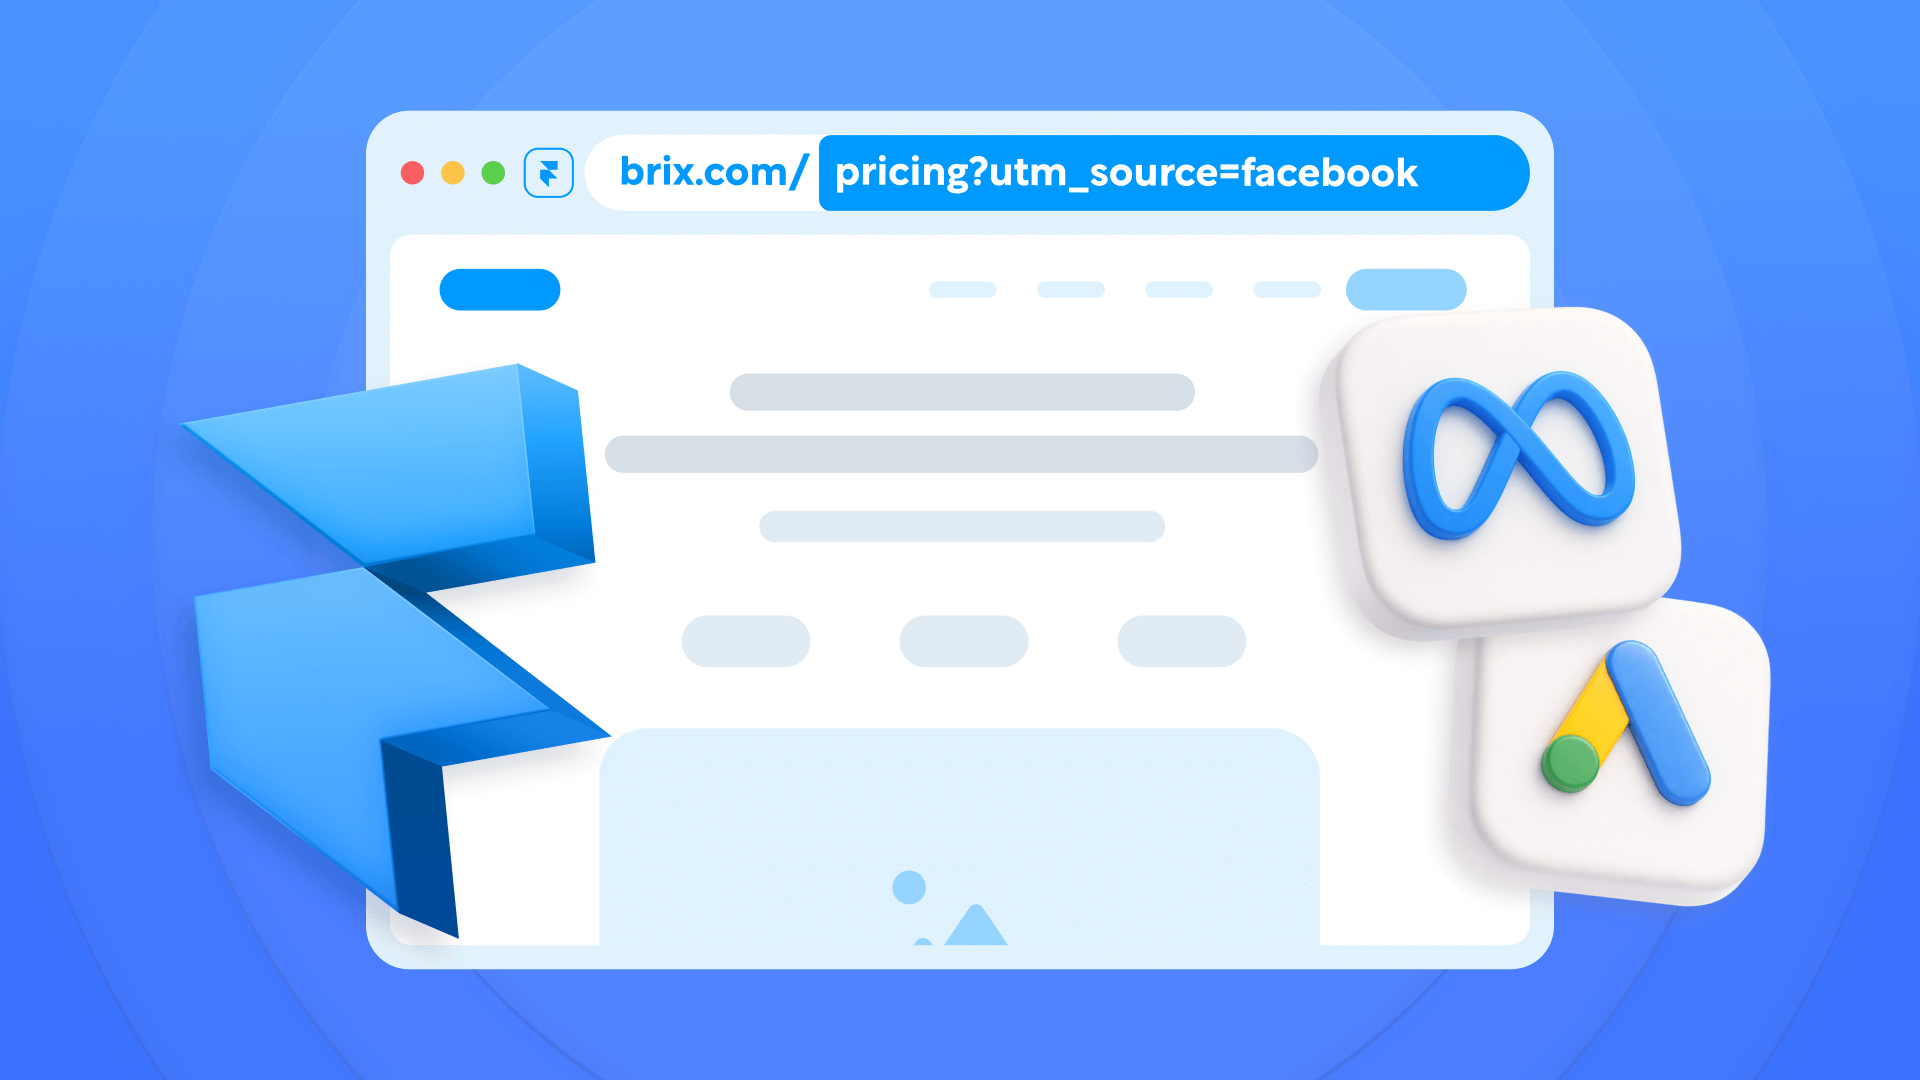
- E-commerce attribution from Facebook Ads: Imagine running Facebook Ads for your tech gadget store. A customer clicks your ad, browses multiple products, and completes a purchase three days later.
- With persistent UTM tracking, you'll know exactly which ad drove that sale—even if they visited multiple pages or returned days later. This is particularly valuable in Webflow e-commerce sites where understanding your most effective marketing channels directly impacts your ROI.
- Conversion attribution from LinkedIn Ads: For a consulting firm running LinkedIn campaigns, proper UTM tracking ensures you know which specific ad generated a lead, even if they browse your services pages before submitting a contact form.
- This data can automatically flow into your CRM, helping your sales team understand the lead's origin and tailor their approach accordingly.
Understanding UTM parameters and why they matter for your Webflow site
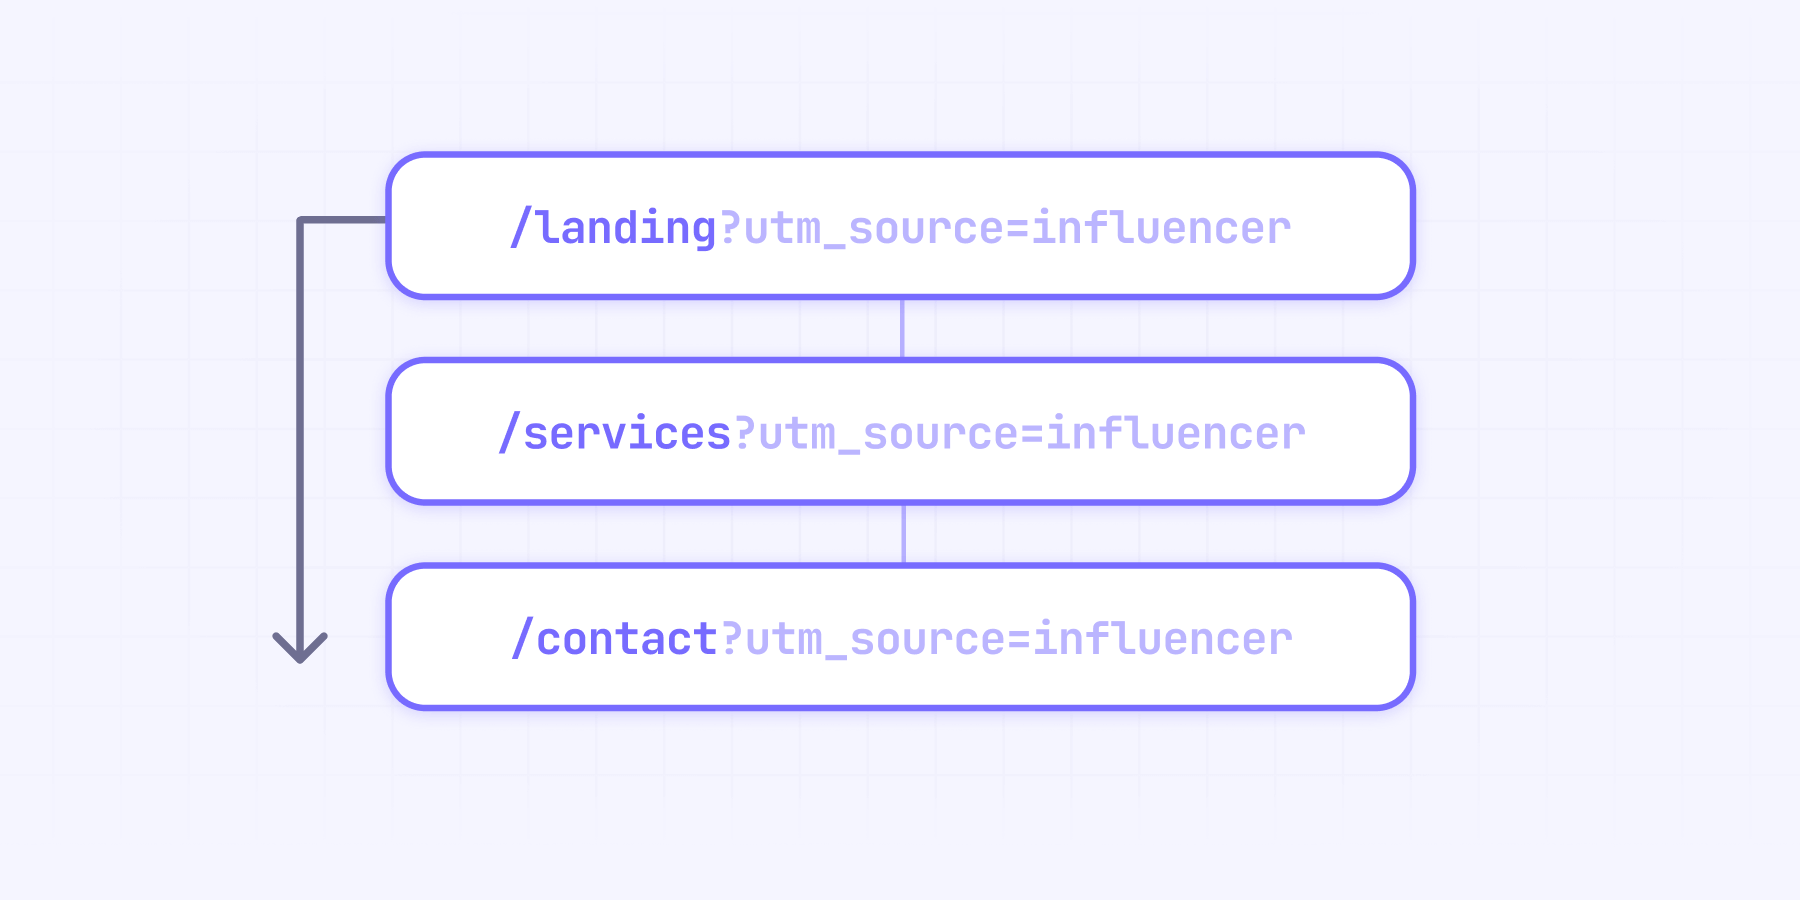
UTM parameters are special tags added to your URLs (after a question mark '?') that help track where your traffic comes from. For example, when you run a campaign with an influencer, you might use a URL like:
https://yoursite.com?utm_source=influencer&utm_medium=social&utm_campaign=spring_launch
When someone clicks this link, analytics tools like Google Analytics can track that this visit came from your influencer campaign.
☝🏻 However, here's where things get tricky: if the visitor clicks to another page on your site (like your contact page), these UTM parameters are typically lost. This means:
- You can't track which marketing campaigns drive actual conversions
- Your CRM won't know which campaign generated a lead if the conversion happens on a different page
- Multi-step processes (like checkout flows) lose attribution data
Two approaches to preserve UTM parameters in Webflow
We'll cover two different methods to maintain UTM parameters across your Webflow site:
- Basic UTM pass-through: Simple JavaScript that passes parameters between pages during a single session
- Persistent UTM storage: A more robust solution that maintains UTM data across multiple sessions using localStorage
Approach 1: Basic UTM pass-through in Webflow
This method is perfect when you only need to track UTMs within a single visit. Here's the code you'll need:
<script>
/**
 * UTM Parameter Pass-through Script for Webflow
 * Automatically maintains UTM parameters across page navigation
 * @author BRIX Templates
 * @version 1.0.0
 * @description Basic version - maintains UTMs only during the current session
 */

(function() {
  // Wait for the page to fully load
  window.addEventListener('load', function() {
    // Get current URL parameters
    var params = new URLSearchParams(window.location.search);

    // Only proceed if we have parameters to work with
    if (params.toString().length > 0) {
      // Select all links on the page
      var links = document.querySelectorAll('a[href]');

      // Process each link
      links.forEach(function(link) {
        try {
          // Create URL object from the link
          var url = new URL(link.href);

          // Add each UTM parameter to the link
          params.forEach((value, key) => {
            // This will either add or update existing UTM parameters
            url.searchParams.set(key, value);
          });

          // Update the link with new URL including UTMs
          link.href = url.toString();
        } catch (error) {
          console.warn('Error processing link:', link, error);
        }
      });

      // Log confirmation message
      console.log("BRIX Templates: UTM parameters successfully appended to " + links.length + " links");
    }
  });
})();
</script>
This script works by:
- Checking if the current page has any UTM parameters
- Finding all links on the page
- Adding the current UTM parameters to each link
Approach 2: Persistent UTM storage and pass-through in Webflow
This approach provides more comprehensive tracking by storing UTM parameters in localStorage, allowing them to persist even after the user leaves your site. While this method offers better tracking capabilities (as it also tracks return visits), it's worth noting that it has implications under privacy regulations like GDPR and CCPA since it stores user data.
However, this shouldn't be a major concern as most analytics tools (including Google Analytics and Facebook Pixel) operate similarly—just be sure to update your privacy policy accordingly.
<script>
/**
 * Enhanced UTM Parameter Handler for Webflow
 * Maintains UTM parameters across sessions using localStorage
 * @author BRIX Templates
 * @version 1.0.0
 * @description Advanced version - persists UTMs across multiple sessions
 */

(function() {
  // Wait for the page to fully load
  window.addEventListener('load', function() {
    // Configuration - adjust these values as needed
    const config = {
      maxDays: 30,  // How long to store UTMs (in days)
      storageKey: 'brix_utm_params',  // localStorage key for UTMs
      debug: true  // Set to false to disable console logs
    };

    // Helper function for logging
    const log = (message) => {
      if (config.debug) console.log('BRIX Templates:', message);
    };

    // Get current URL parameters
    var params = new URLSearchParams(window.location.search);

    // If we have UTMs in the URL, store them
    if (params.toString().length > 0) {
      try {
        localStorage.setItem(config.storageKey, params.toString());
        localStorage.setItem(config.storageKey + '_timestamp', Date.now());
        log('UTM parameters saved to localStorage');
      } catch (error) {
        console.warn('Error saving UTMs:', error);
      }
    } else {
      // Try to retrieve stored UTMs
      try {
        const storedParams = localStorage.getItem(config.storageKey);
        const storedTime = localStorage.getItem(config.storageKey + '_timestamp');

        if (storedParams && storedTime) {
          // Check if stored UTMs are still valid
          const daysPassed = (Date.now() - parseInt(storedTime, 10)) / (1000 * 60 * 60 * 24);

          if (daysPassed < config.maxDays) {
            // Use stored UTMs if they haven't expired
            params = new URLSearchParams(storedParams);
            log('Retrieved valid UTMs from storage');
          } else {
            // Clear expired UTMs
            localStorage.removeItem(config.storageKey);
            localStorage.removeItem(config.storageKey + '_timestamp');
            log('Cleared expired UTMs from storage');
          }
        }
      } catch (error) {
        console.warn('Error retrieving UTMs:', error);
      }
    }

    // Add UTMs to all links if we have any parameters
    if (params.toString().length > 0) {
      const links = document.querySelectorAll('a[href]');

      links.forEach(function(link) {
        try {
          const url = new URL(link.href);
          params.forEach((value, key) => {
            url.searchParams.set(key, value);
          });
          link.href = url.toString();
        } catch (error) {
          console.warn('Error processing link:', link, error);
        }
      });

      log('UTM parameters appended to ' + links.length + ' links');
    }
  });
})();
</script>
Implementation steps for your Webflow site
- Choose your method: Decide whether you need simple pass-through or persistent storage + pass through UTM
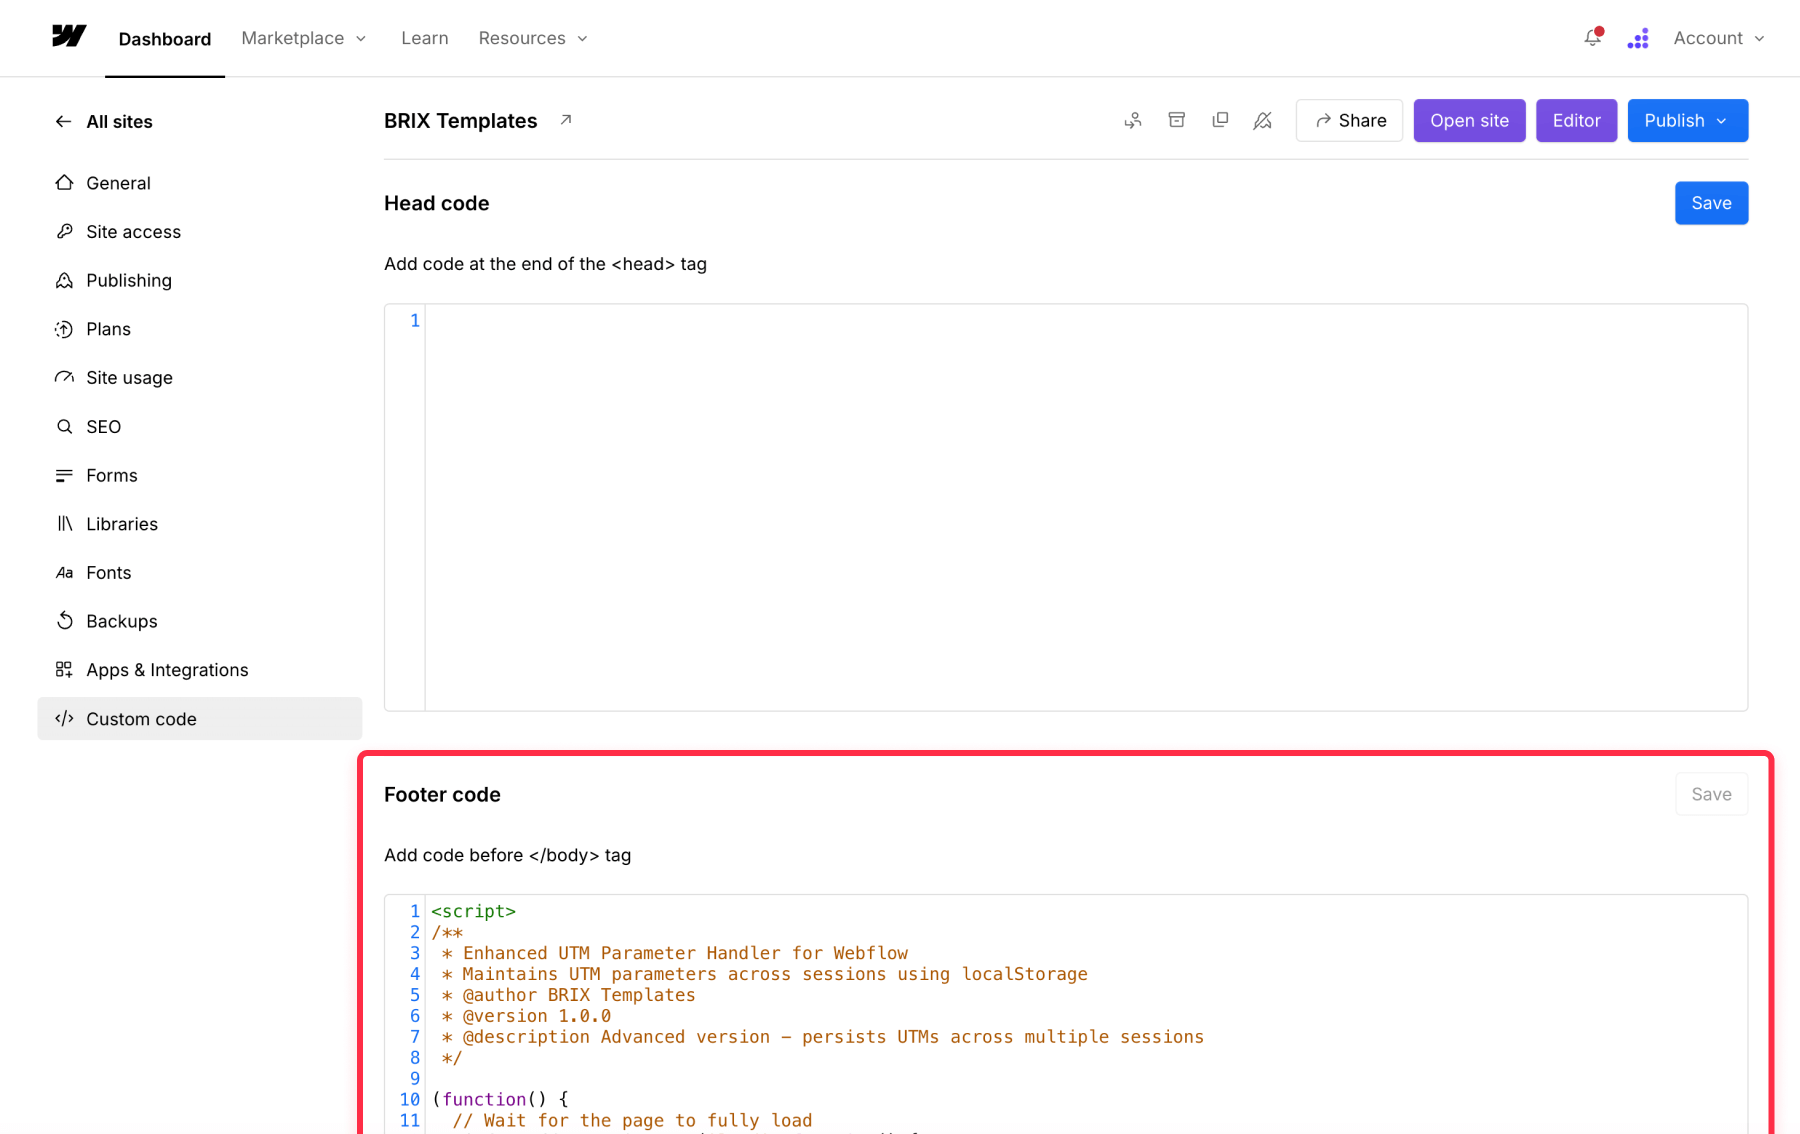
- Add the code:
- Go to your Webflow project settings
- Navigate to the 'Custom Code' section
- Paste the chosen script in the Footer Code section
- Publish your site in staging: The changes will take effect after publishing
Testing your UTM implementation
Before going live, verify everything works correctly:
- Add UTM parameters to your staging site's URL (e.g., ?utm_source=test)
- Click through multiple pages and verify the parameters remain
- For the localStorage version:
- Close your browser and return to the site
- Verify the UTMs are still being appended to links
Best practices and troubleshooting for Webflow UTM tracking
- Avoid conflicts: Never manually add UTM parameters to internal links in your Webflow designer. This can create parameter conflicts and lead to tracking inconsistencies.
- Instead, let the script handle all UTM management automatically. If you need to test specific UTMs, add them through the URL rather than hardcoding them.
- Check compatibility: Test your implementation across different browsers (Chrome, Firefox, Safari) and devices (desktop, mobile, tablet). Some older browsers might handle localStorage differently, so it's crucial to verify that your tracking works consistently across all platforms your visitors might use. According to Can I use, 97.12% of all global users have localStorage support (reference), so you shouldn't have much problem.
- Privacy compliance: If using the localStorage method, update your privacy policy to include UTM tracking information and be compliant.
Advanced use cases and customizations
While our basic implementation covers most needs, you might require more sophisticated tracking solutions, such as:
- Multi-campaign tracking: Track multiple concurrent campaigns with different attribution models
- Dynamic UTM generation: Create UTMs based on user behavior or source
- Custom parameter handling: Track additional parameters beyond standard UTMs
- Third-party integrations: Push UTM data directly to HubSpot, Salesforce, or other marketing platforms
If you need help implementing these advanced features or other custom tracking solutions, our team at BRIX Templates can help you create the perfect setup for your specific needs.
Conclusion
Proper UTM parameter tracking is crucial for understanding your marketing effectiveness and ROI in your Webflow site. By implementing either the basic or persistent tracking method, you'll maintain accurate attribution data throughout your visitors' journeys.
Need help with a more complex tracking setup? Our team at BRIX Templates specializes in advanced Webflow implementations. Whether you need custom UTM handling, integration with third-party tools, or other tracking solutions, contact us today for expert assistance.


Join readers commenting on this post!